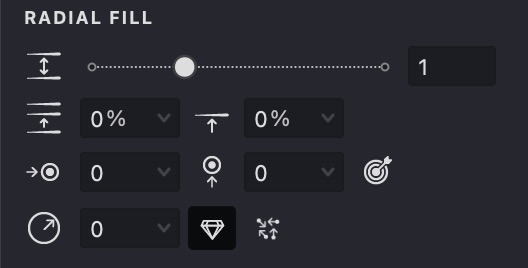
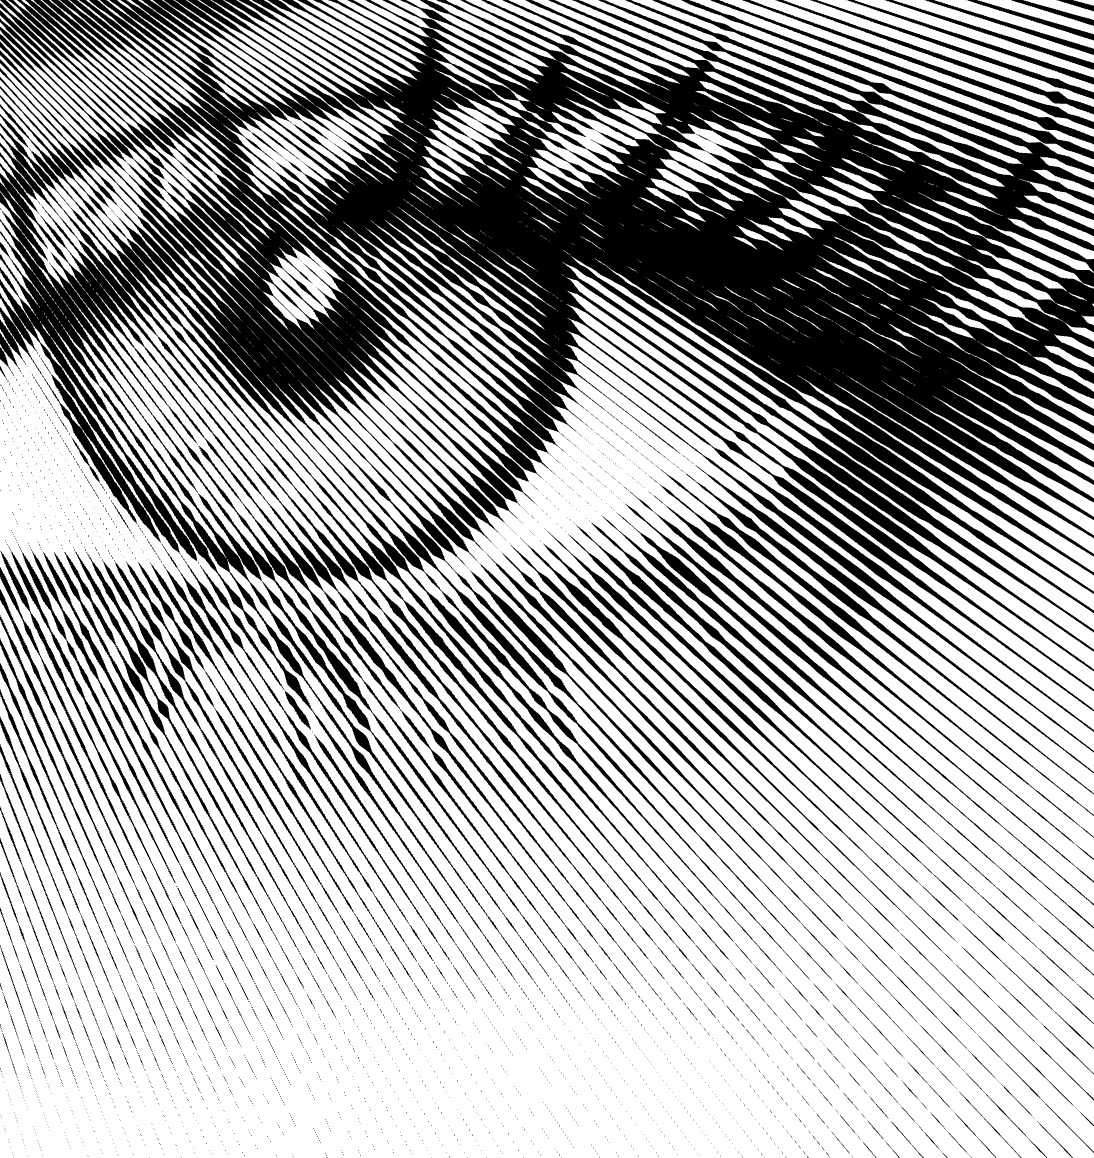
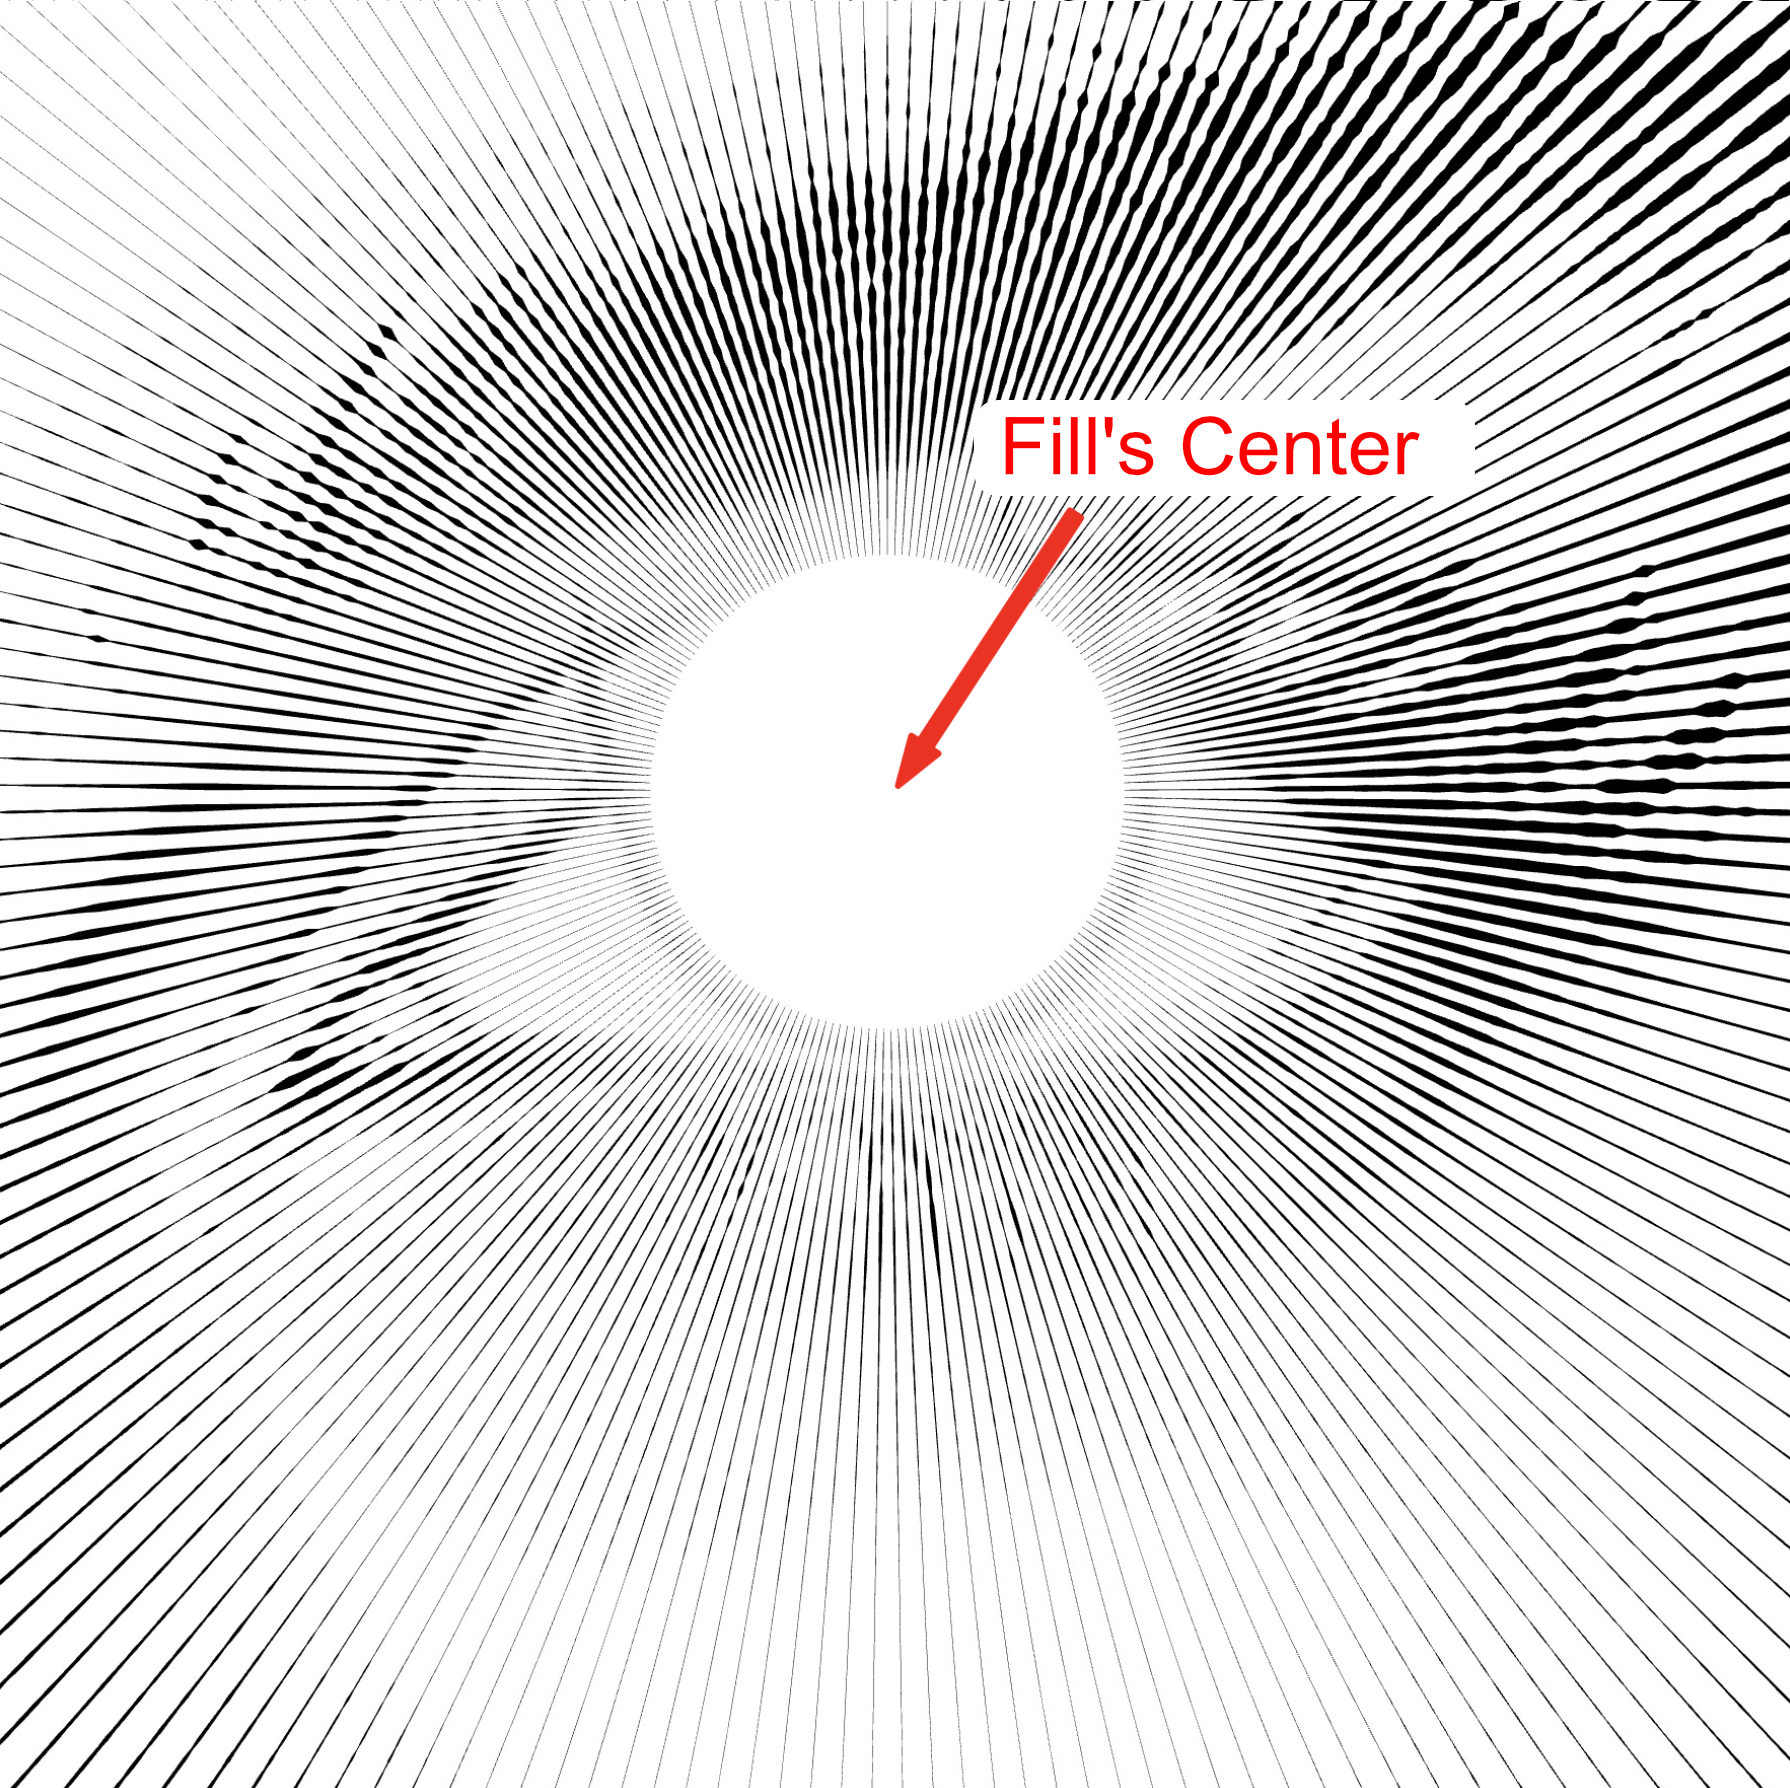
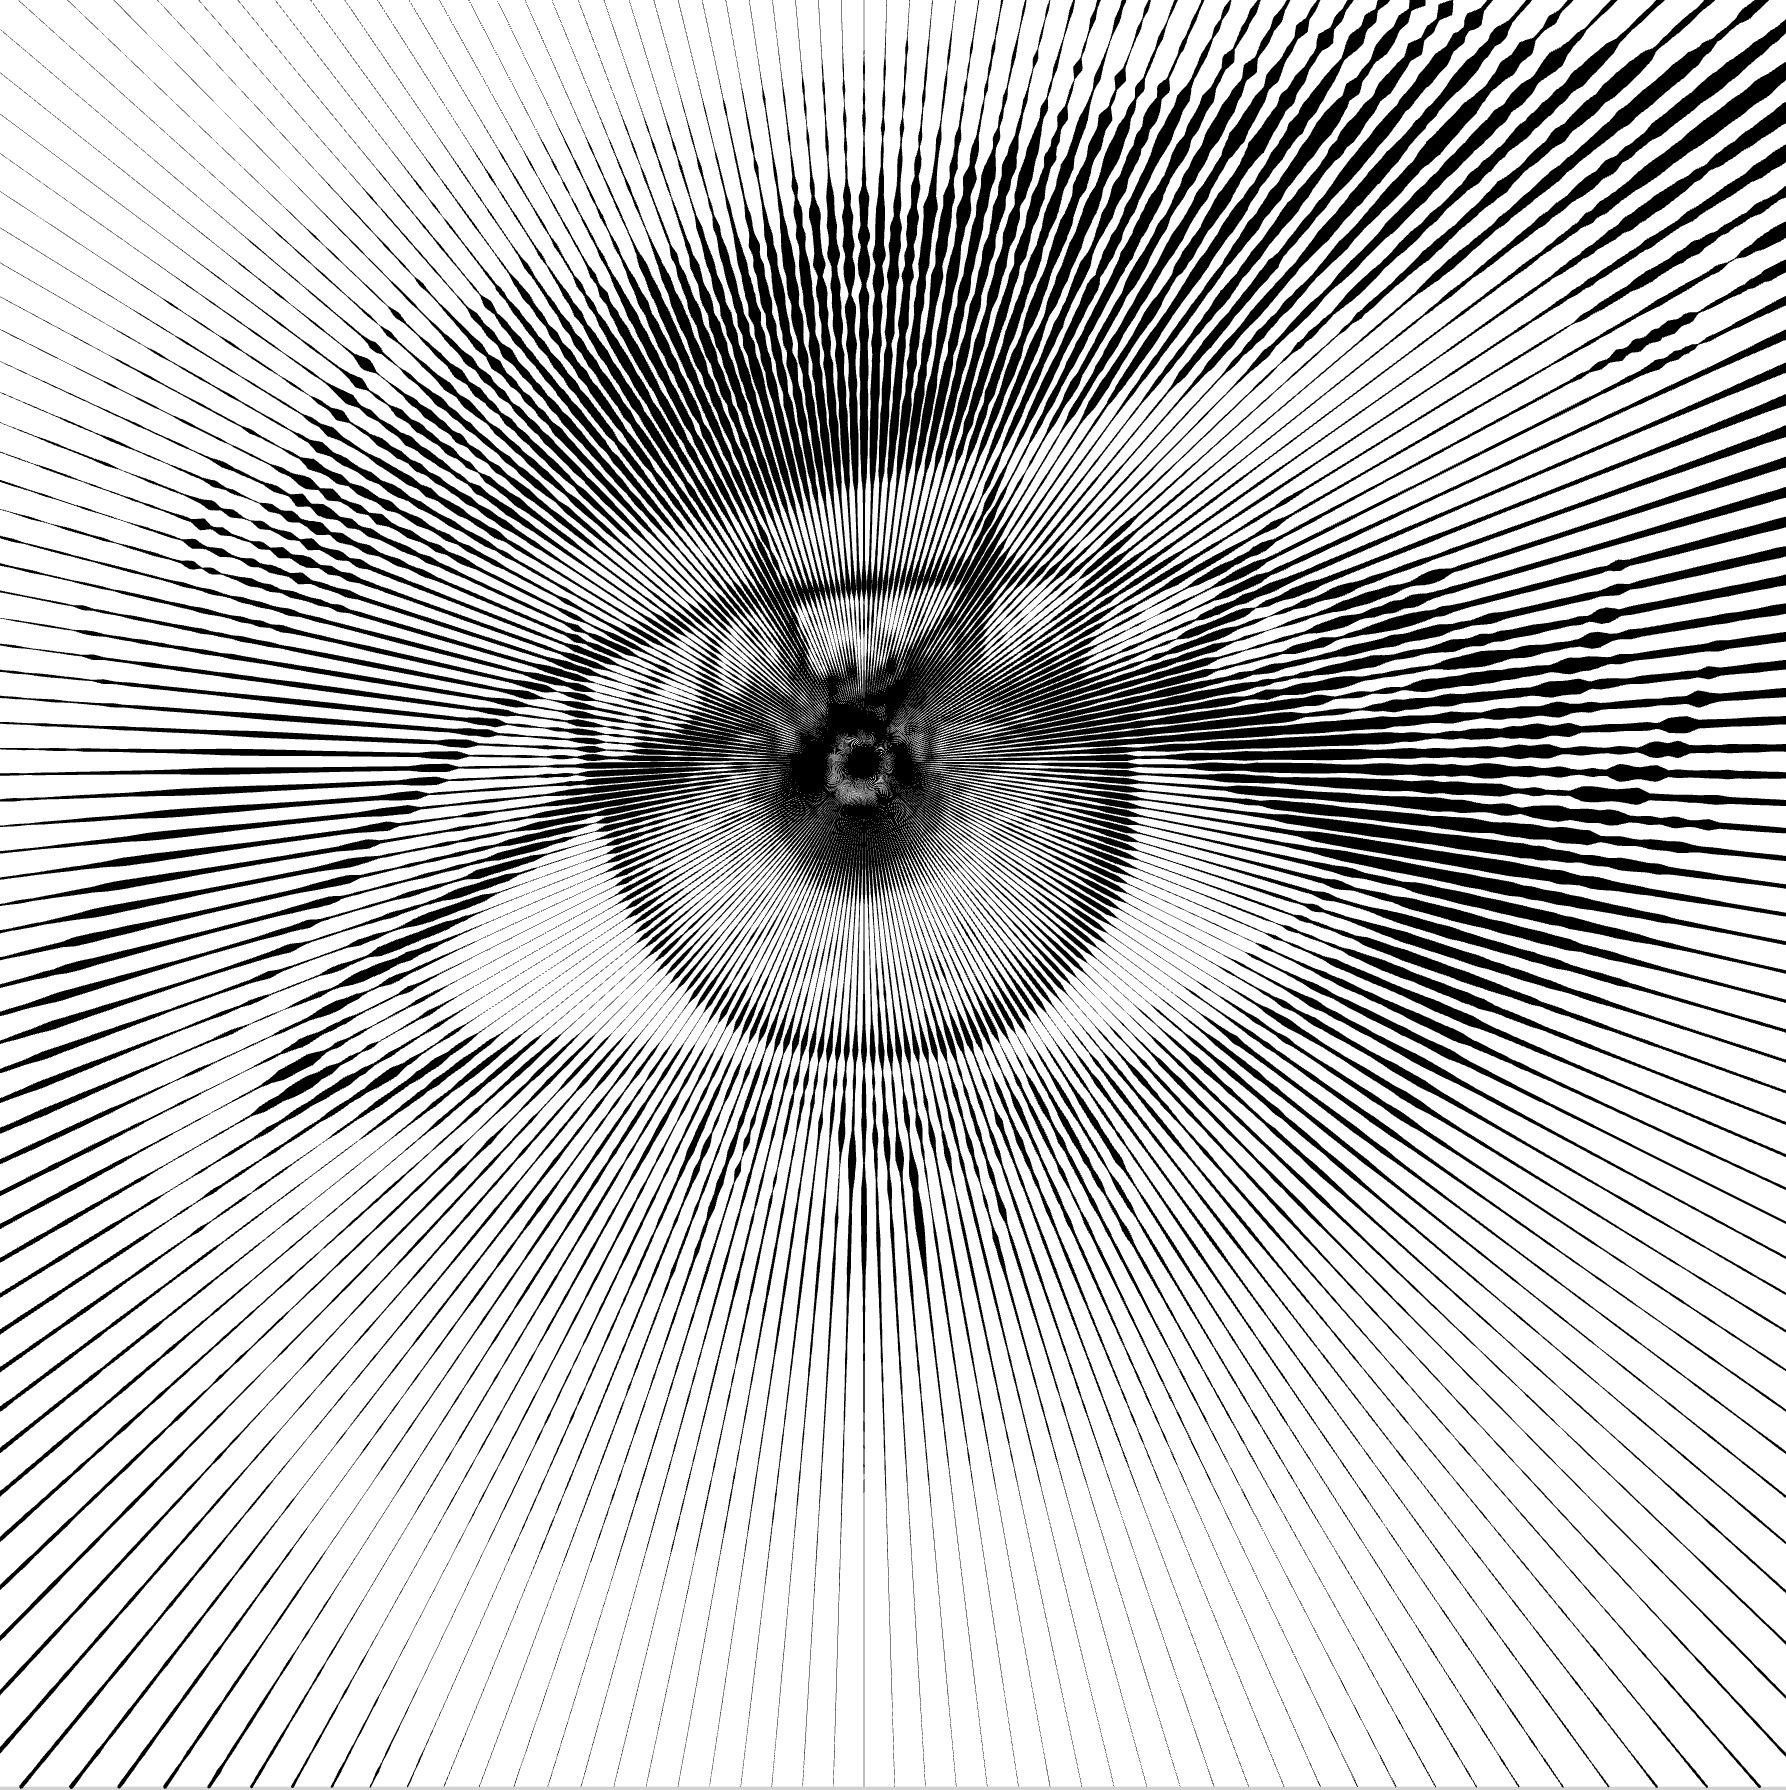
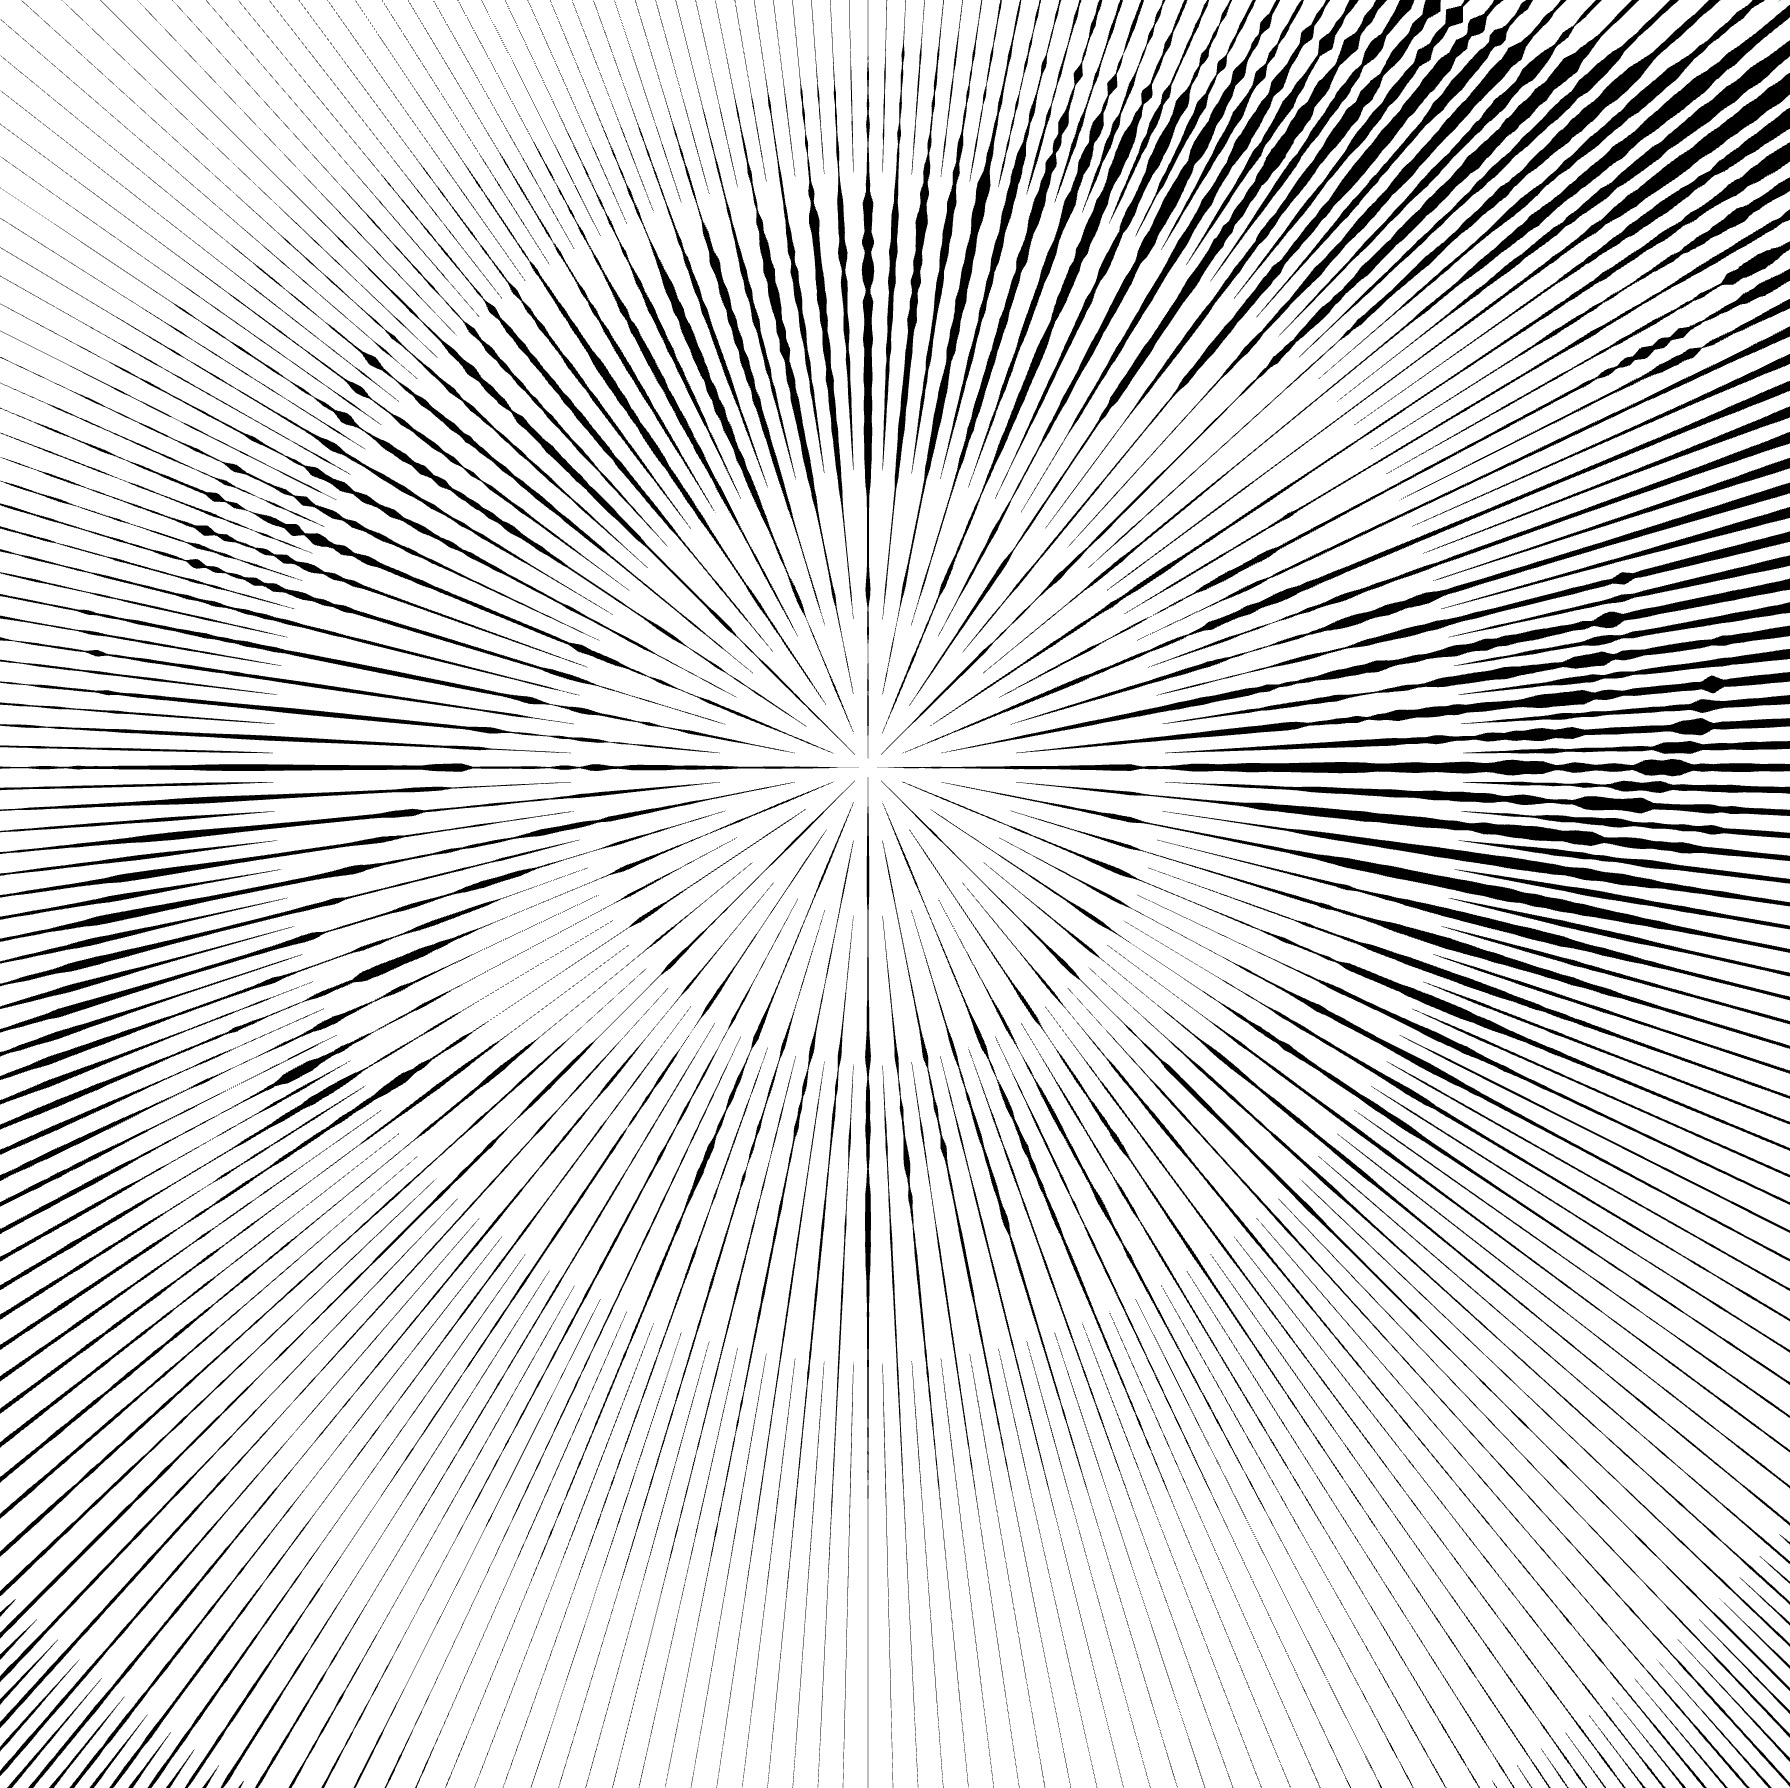
The Radial fill type in Vexy Lines creates patterns with linear strokes that radiate outward from a central point.

Fill Parameters
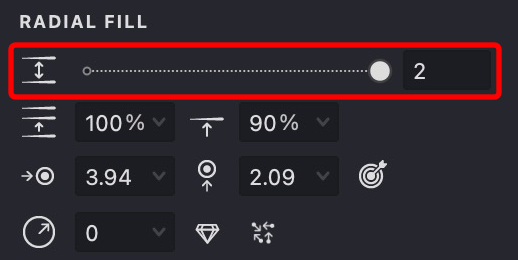
 Interval (units): Defines the distance between strokes measured at the middle of the radius.
 Randomization (%): Adds a touch of variation to the spacing between strokes for a more natural feel.
 Shift (%): Modifies the phase of the fill by rotating the strokes around the central point in a clockwise direction.
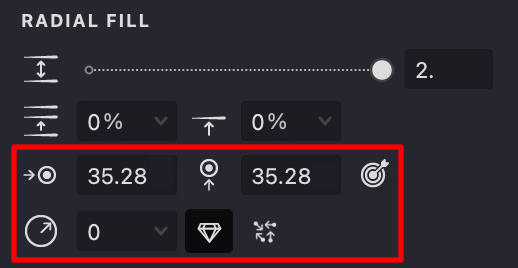
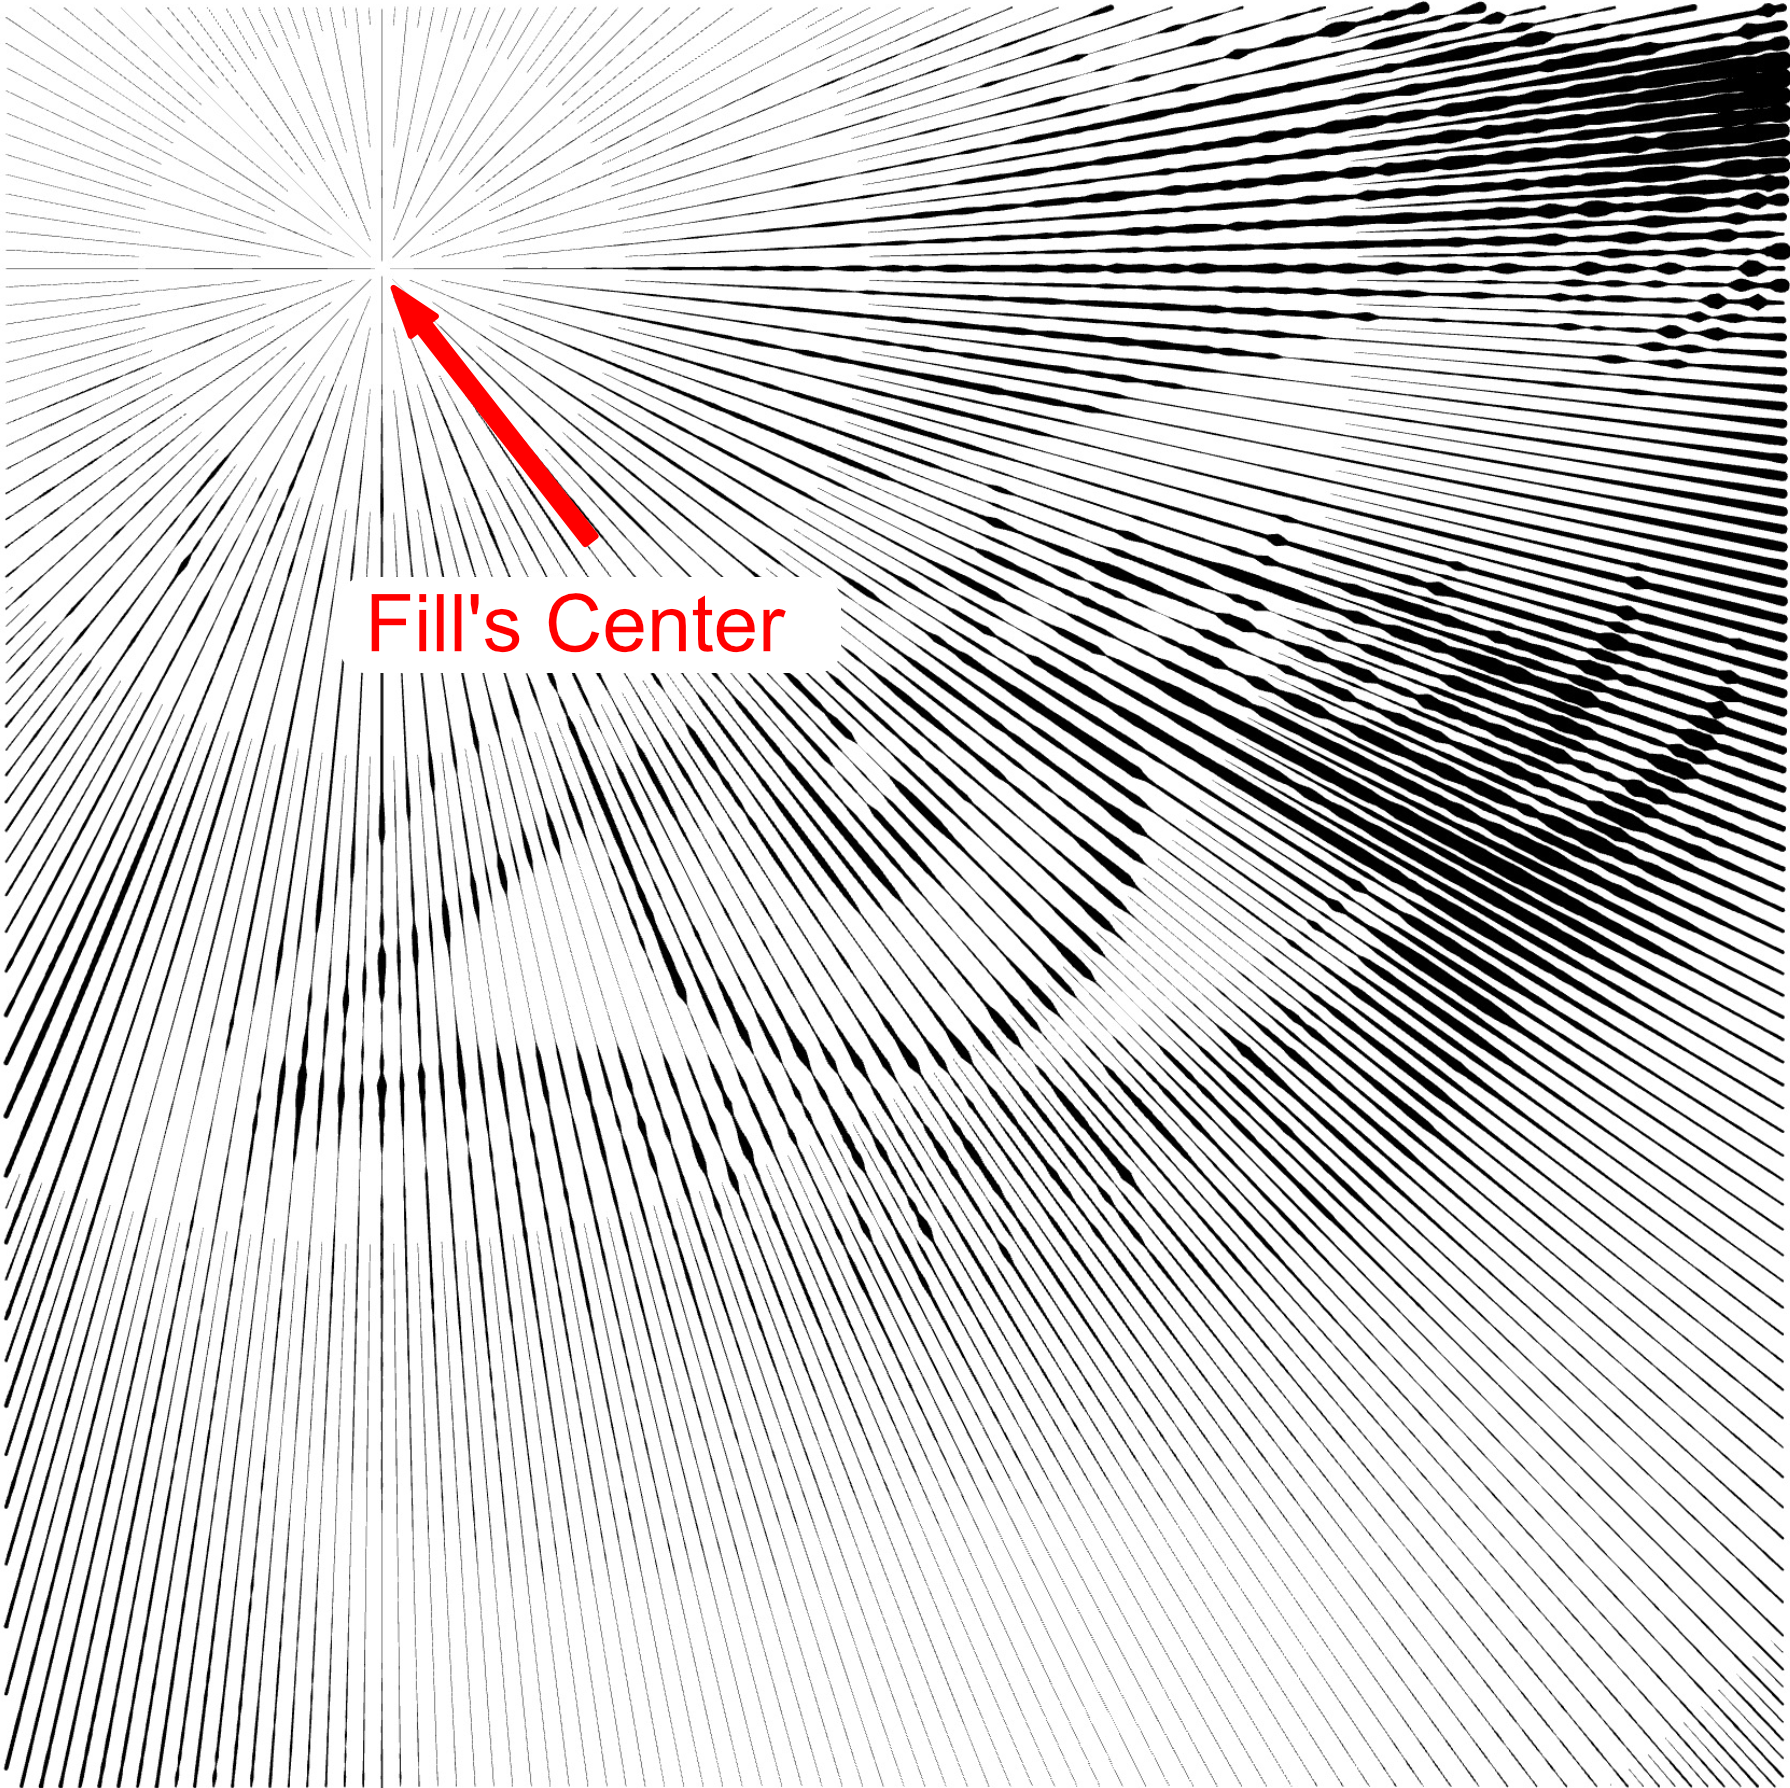
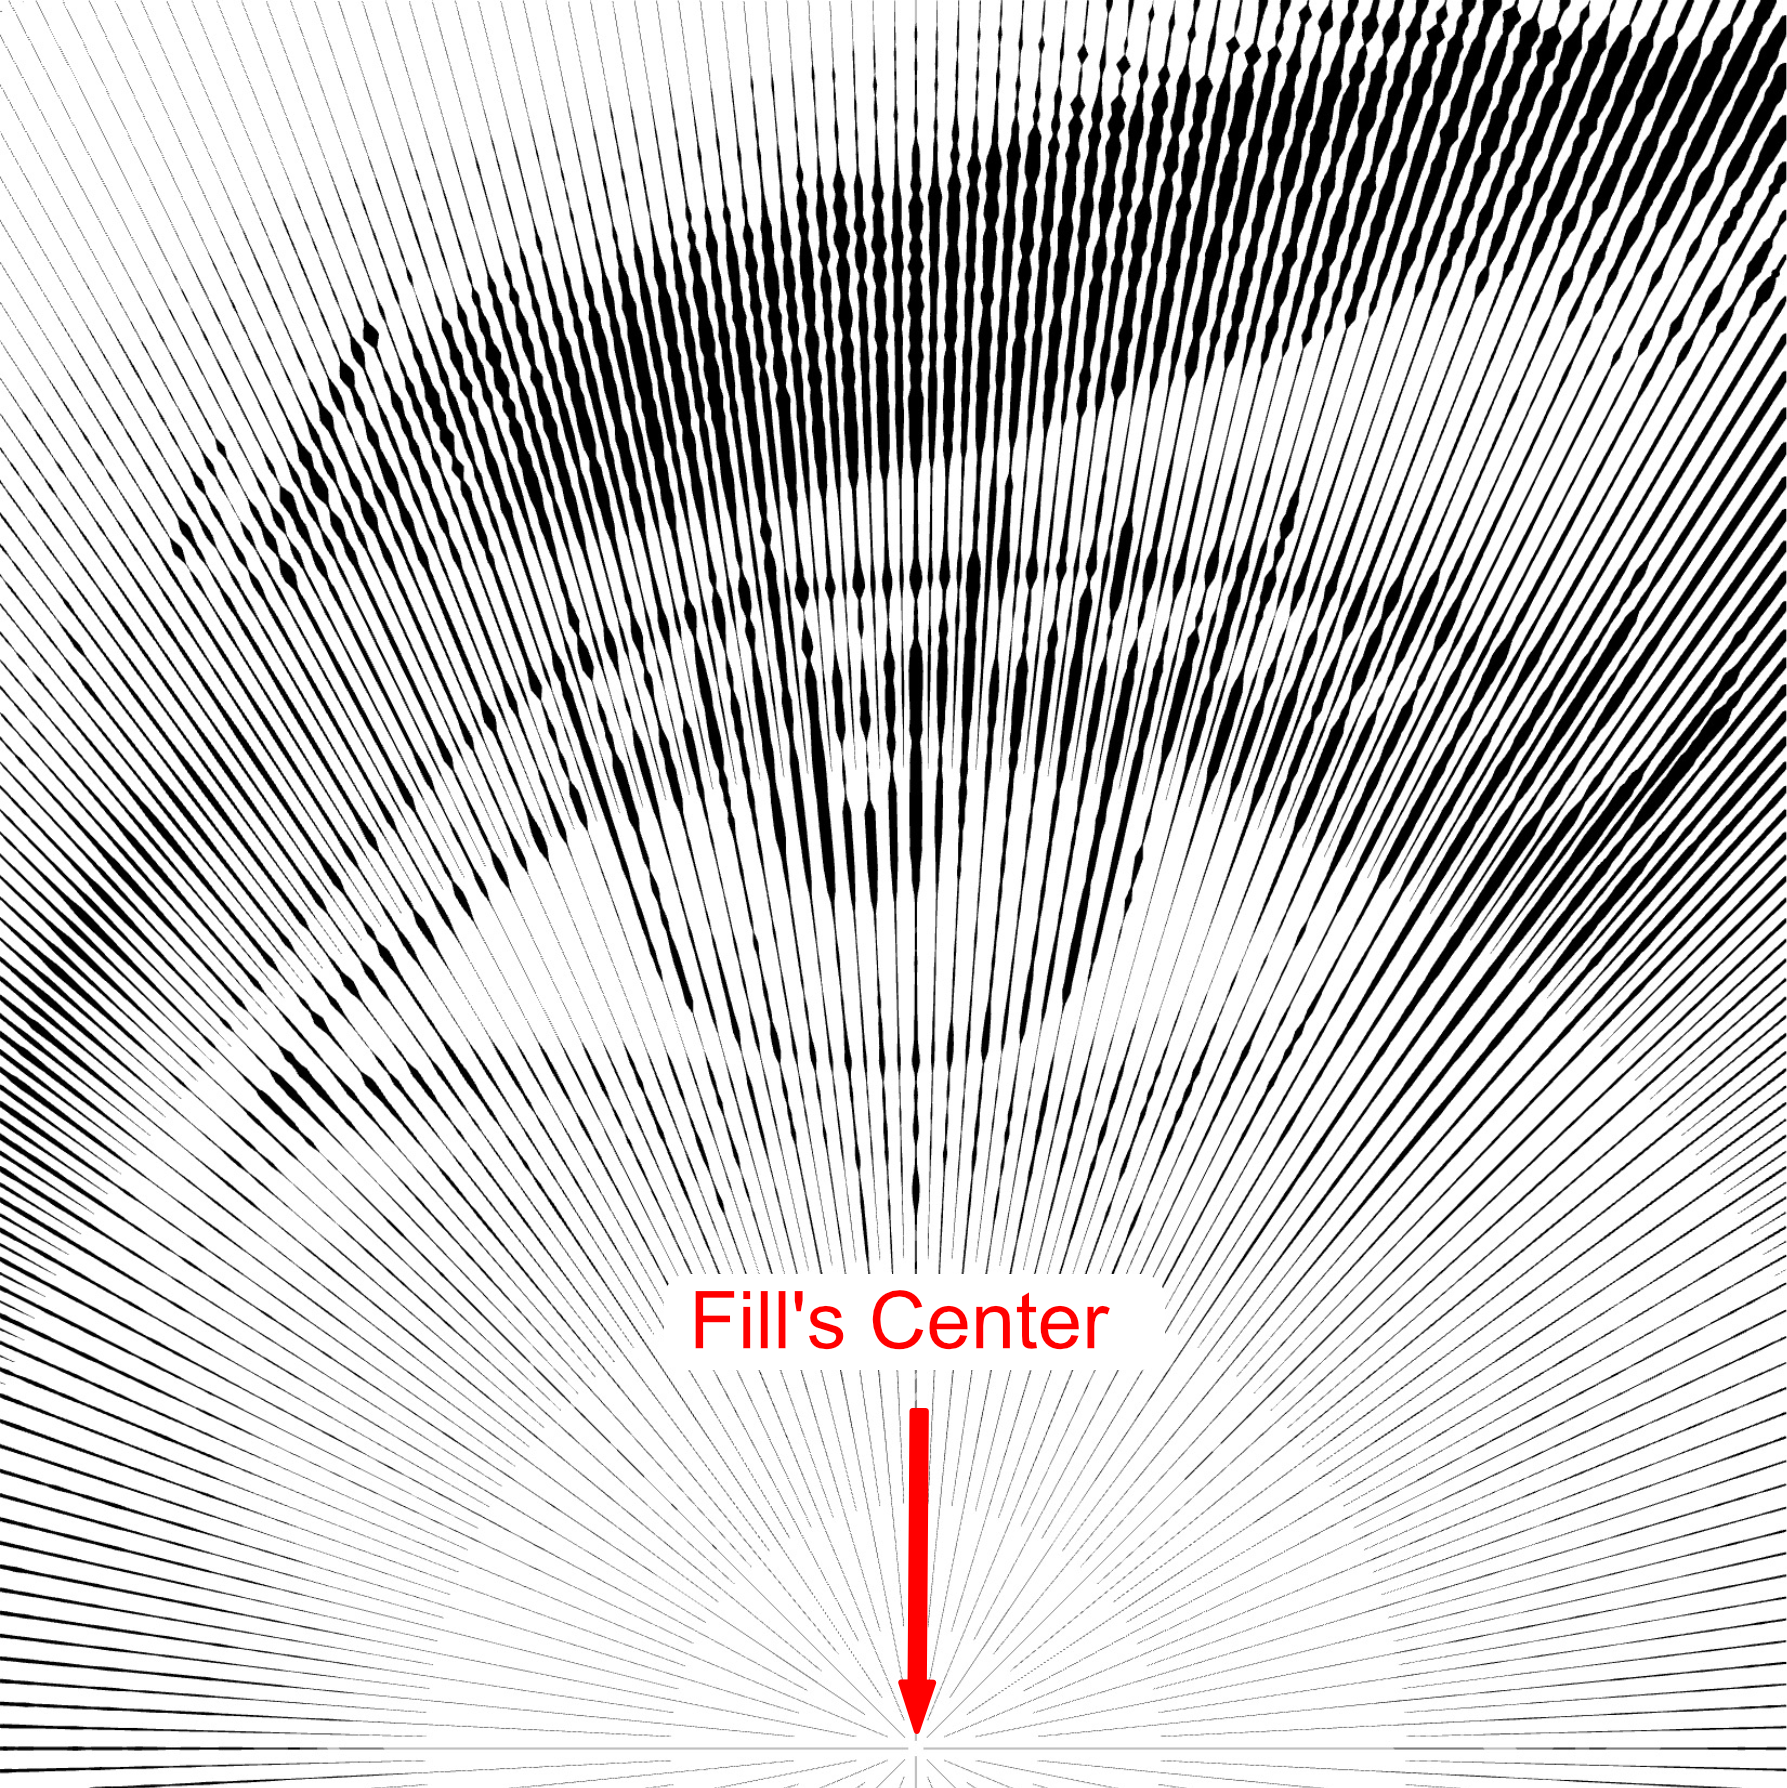
 Center (units): Specifies the horizontal and vertical coordinates for the fill's center.
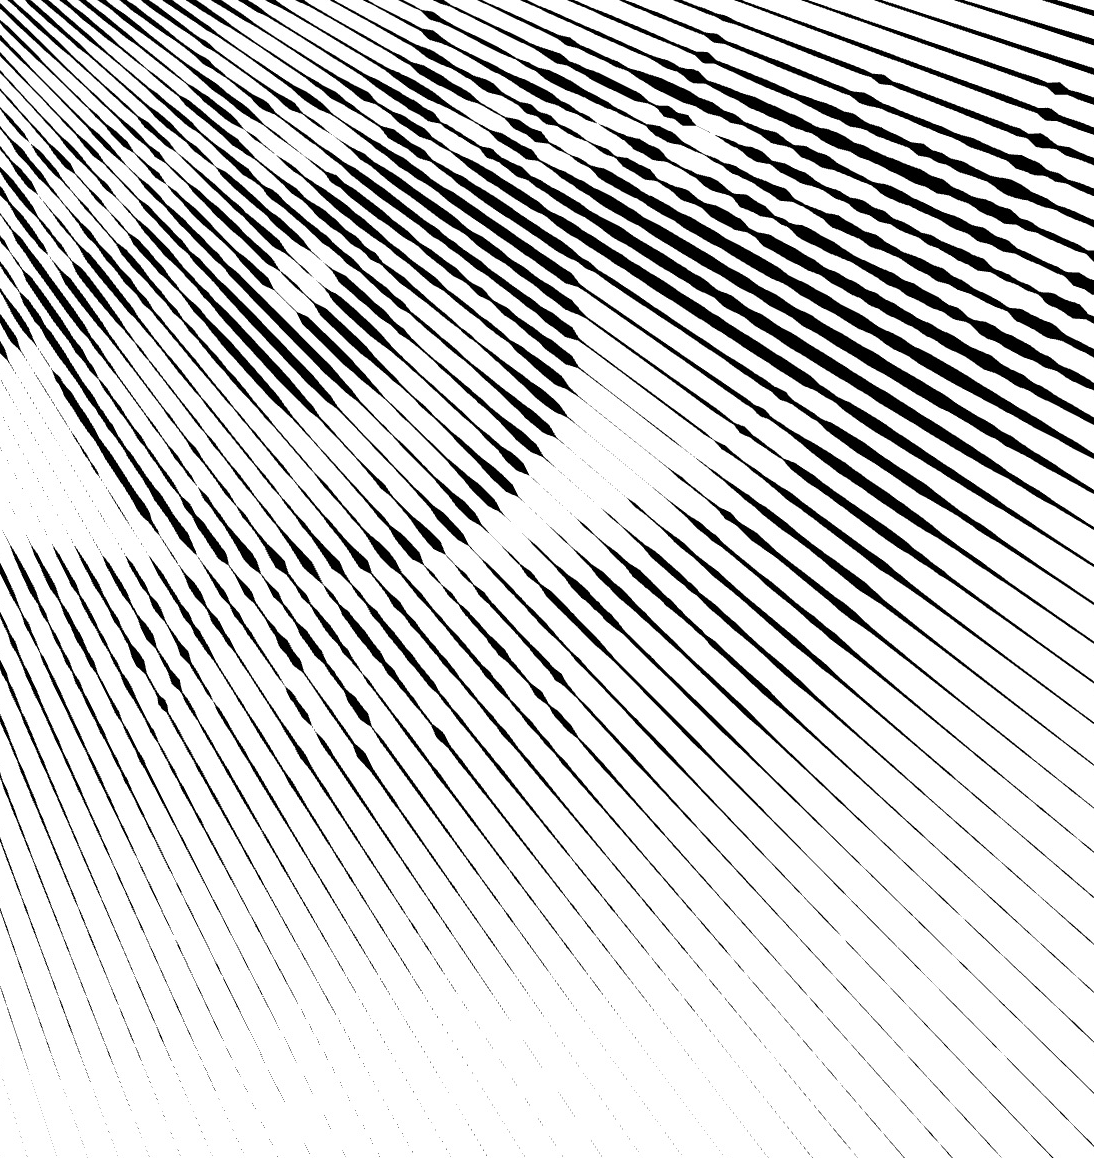
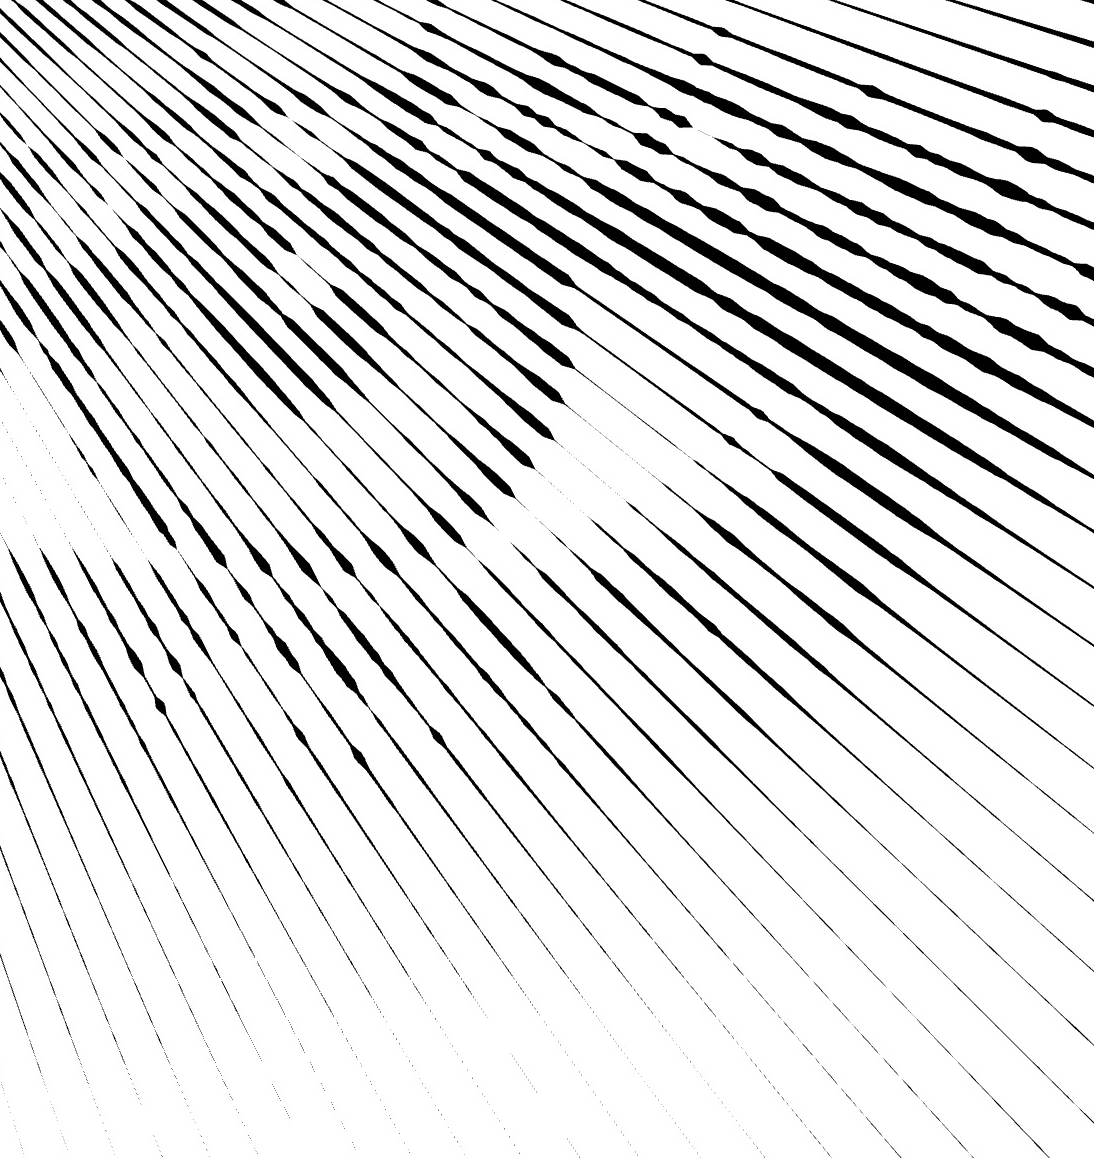
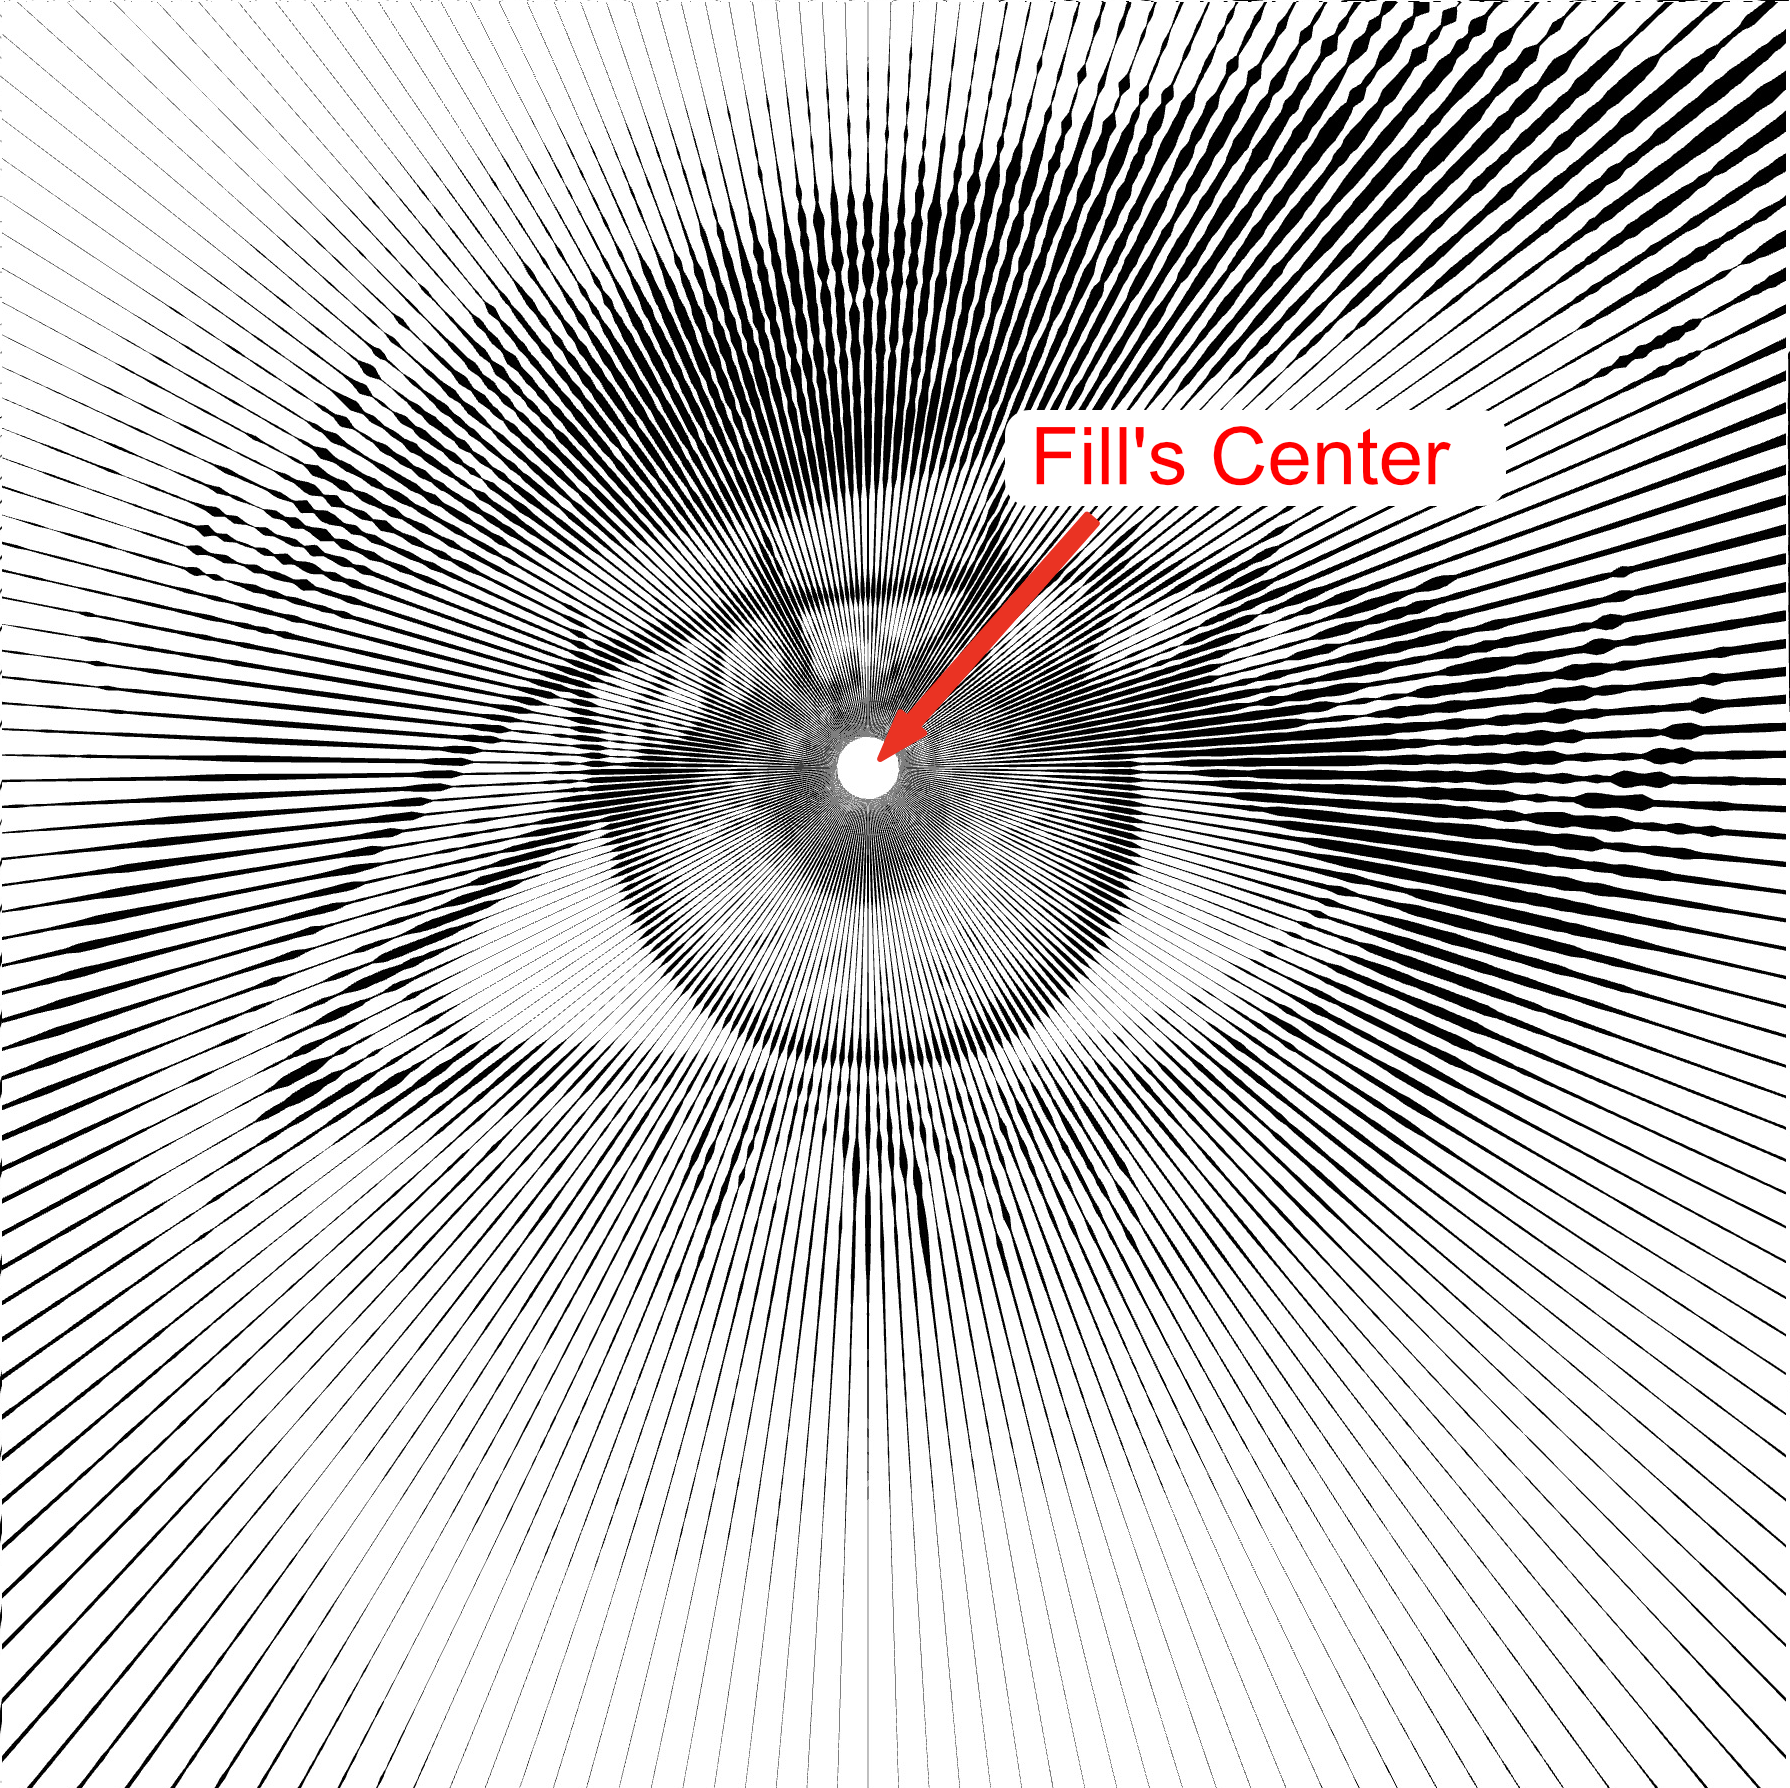
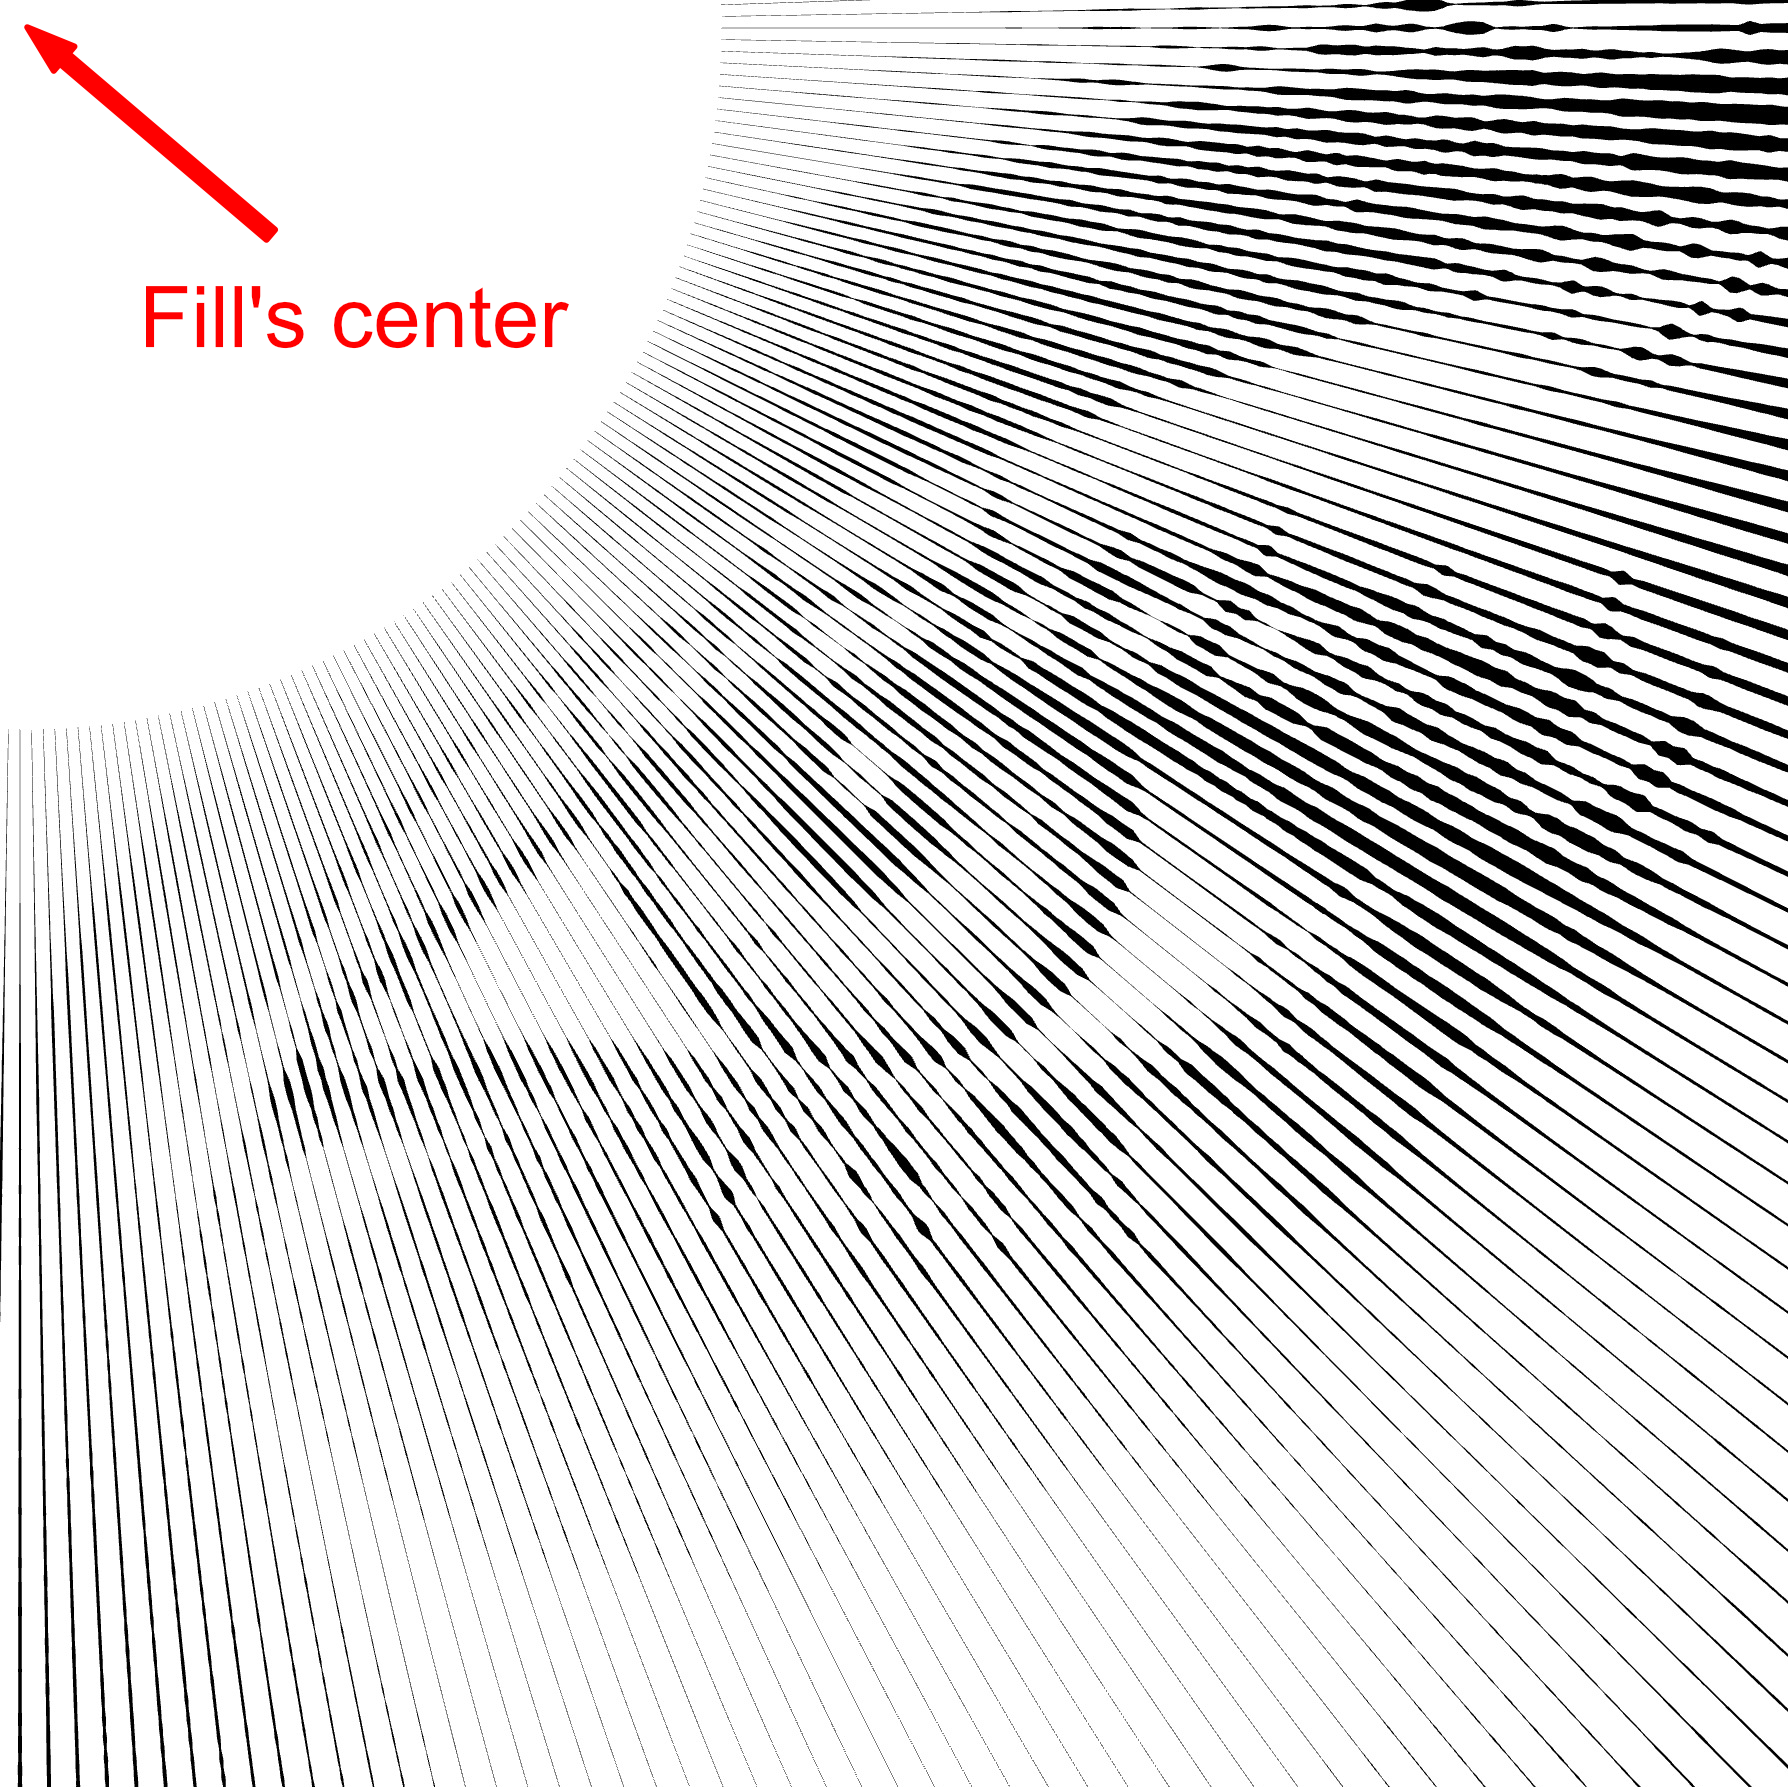
 Distance (units): Sets the starting point of the strokes from the fill's center.
 Auto Distance: When enabled, automatically calculates the optimal distance between the center and each stroke to prevent overlap.
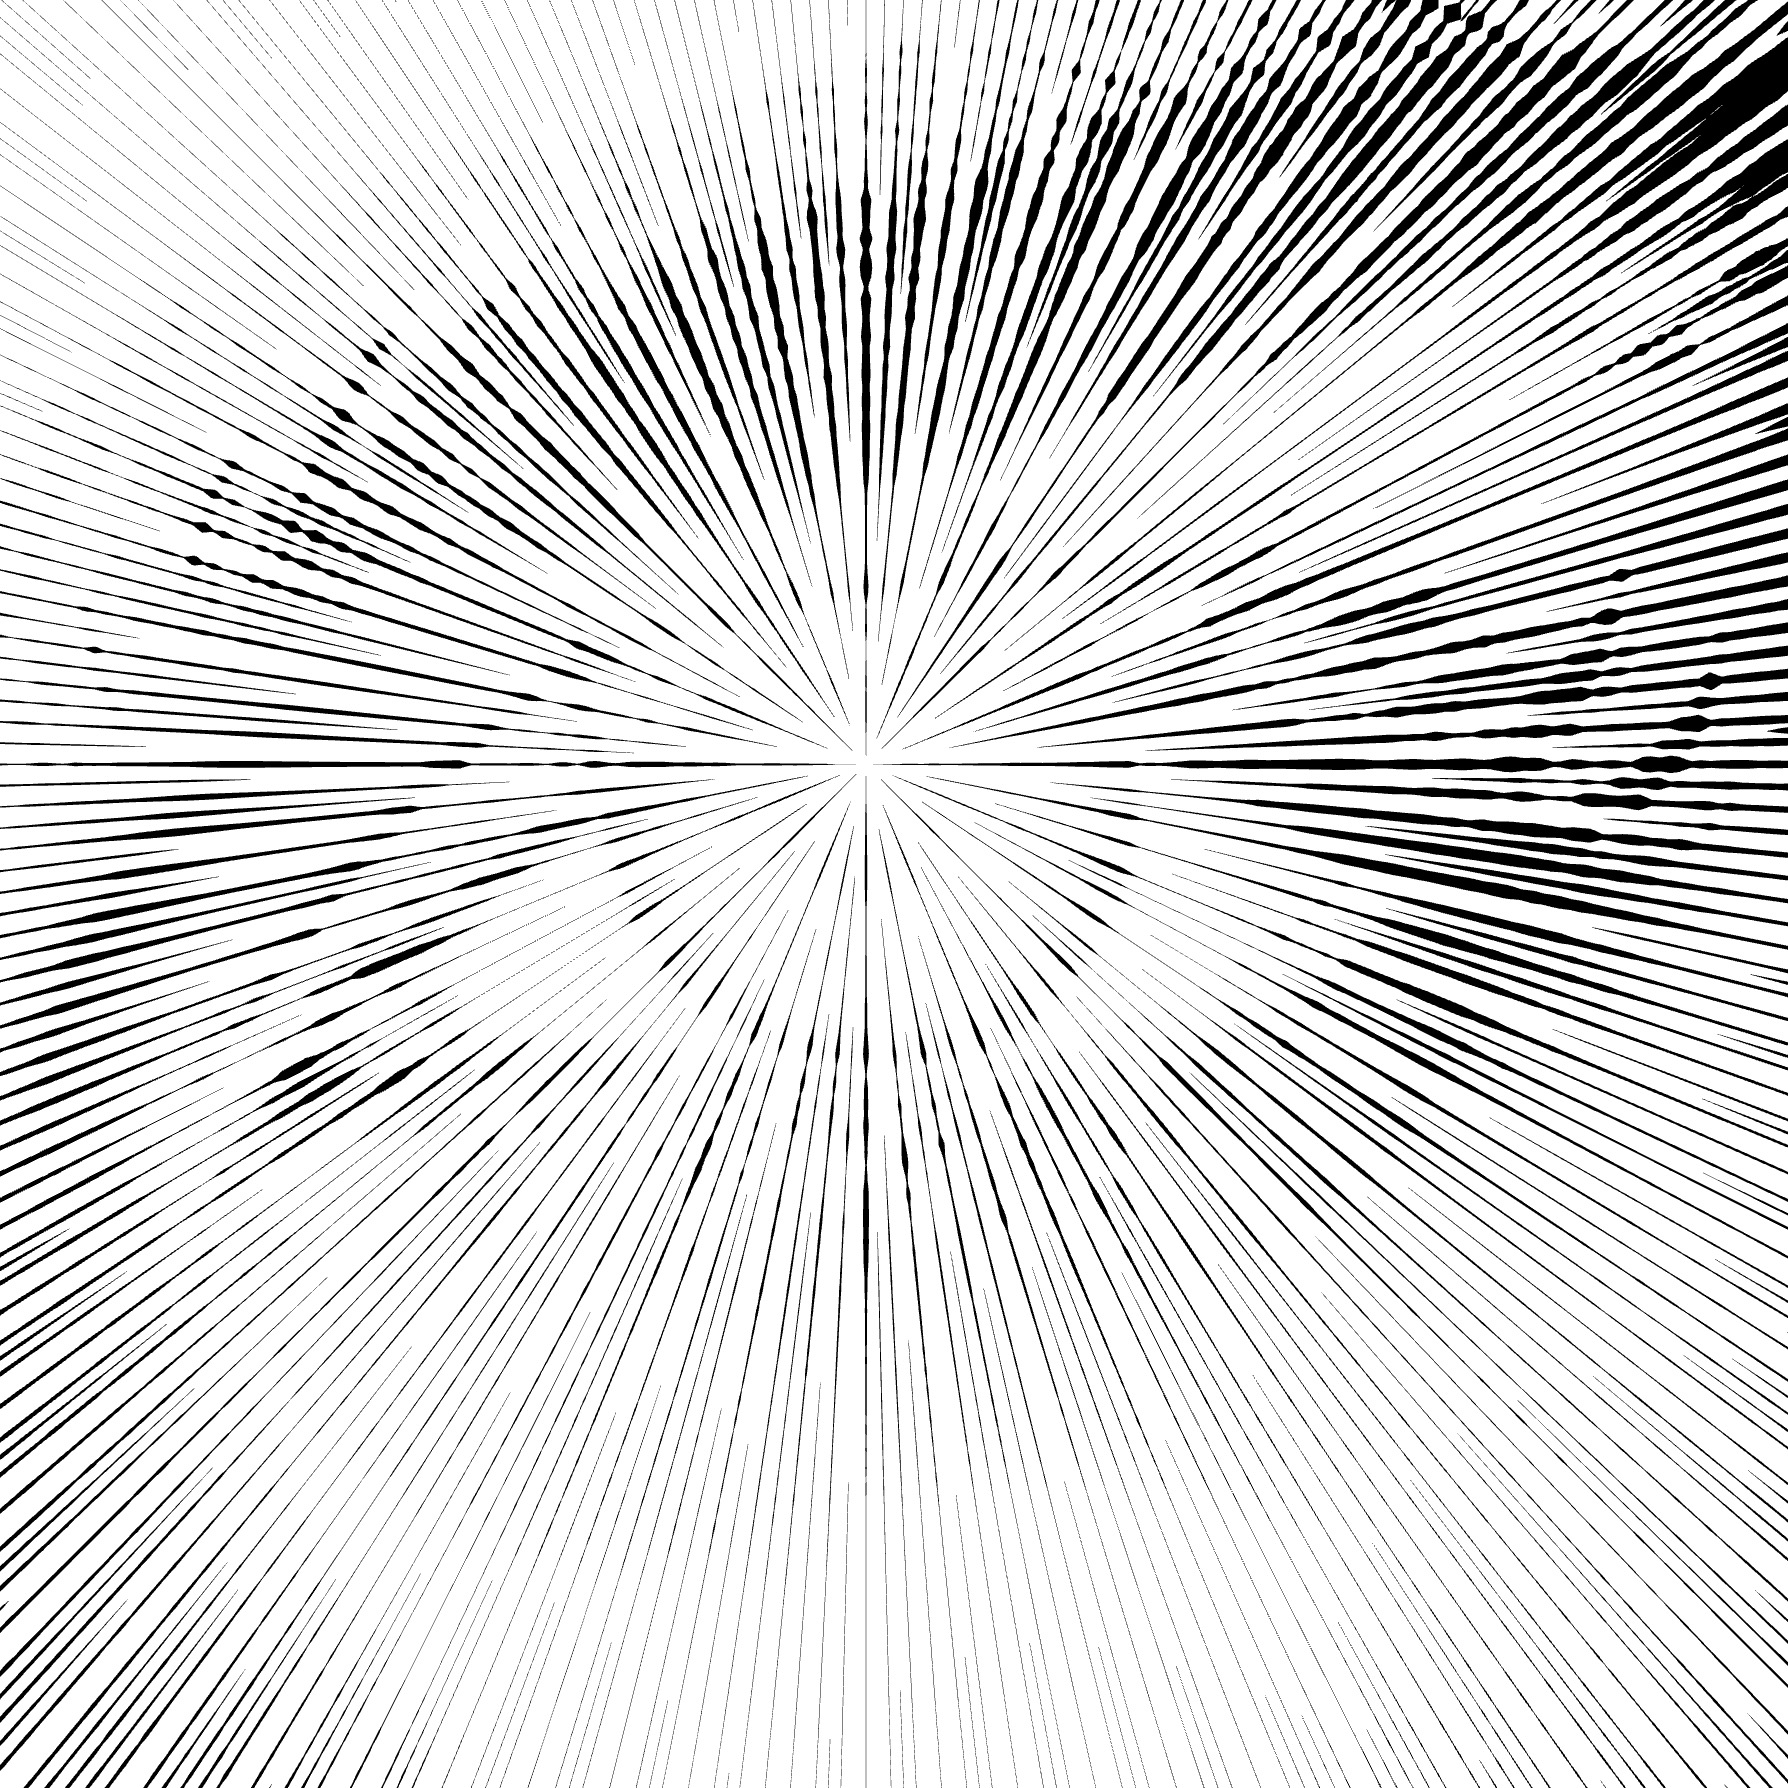
 Random Distance: When enabled, randomly varies the distance of each stroke from the center for a dynamic effect.
By adjusting these parameters, you can create intricate and unique fill patterns to enhance your vector artwork.
Create and Customize a Radial Fill
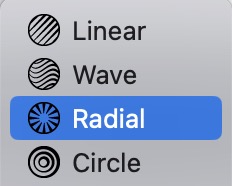
To create a new Radial fill type, follow the steps outlined in our Add a Fill guide. When the pop-up menu appears, select the "Radial" fill type.
Similar to the Linear fill type, the Radial fill shares the first three parameters — Interval, Randomization, and Shift. In addition, it offers four unique controls: Center, Distance, Auto Distance, and Random Distance. These extra settings shape the radial pattern.
Interval
- Find the Interval parameter.
- Adjust the distance between strokes using the slider or by entering a value directly.
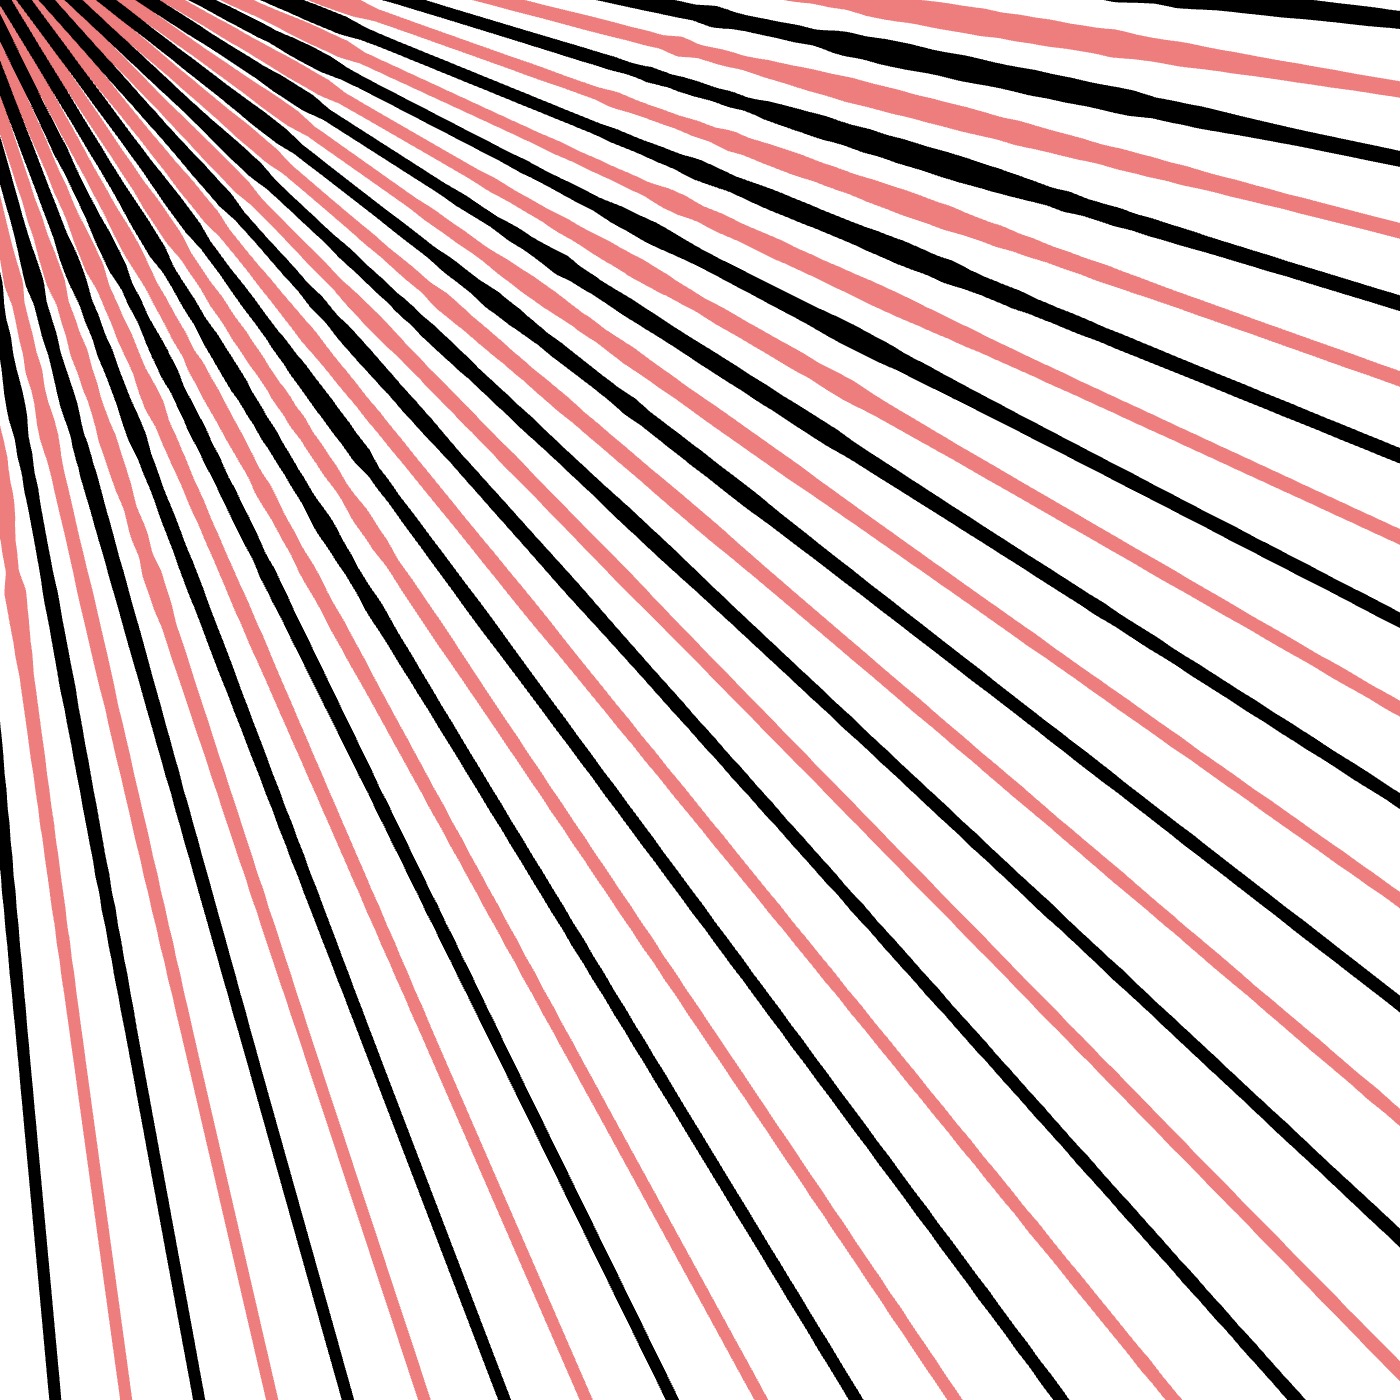
| interval:1 | interval:2 | interval:3 |
|---|---|---|
 |
 |
 |
Randomization
- Find the Randomization parameter.
- Adjust the slider or enter a value manually.
- Increasing randomness makes the spacing between strokes less uniform.
| 20% | 50% | 100% |
|---|---|---|
 |
 |
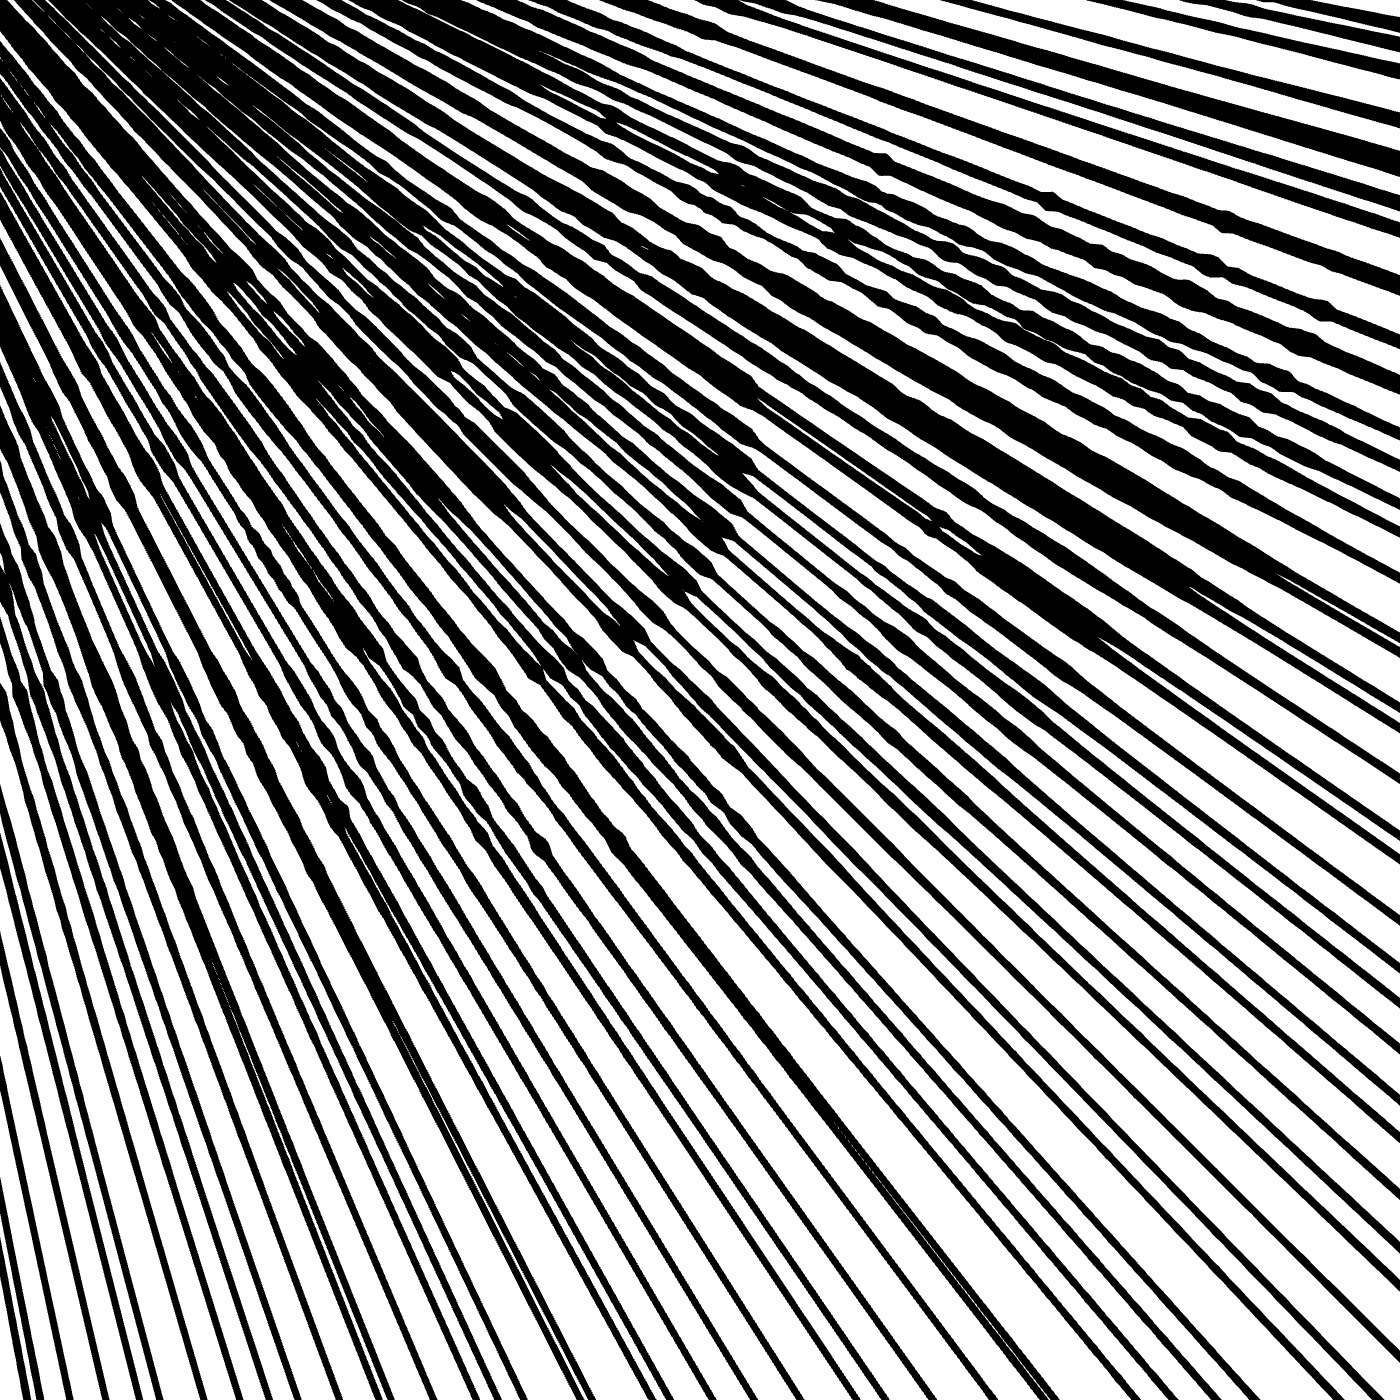 |
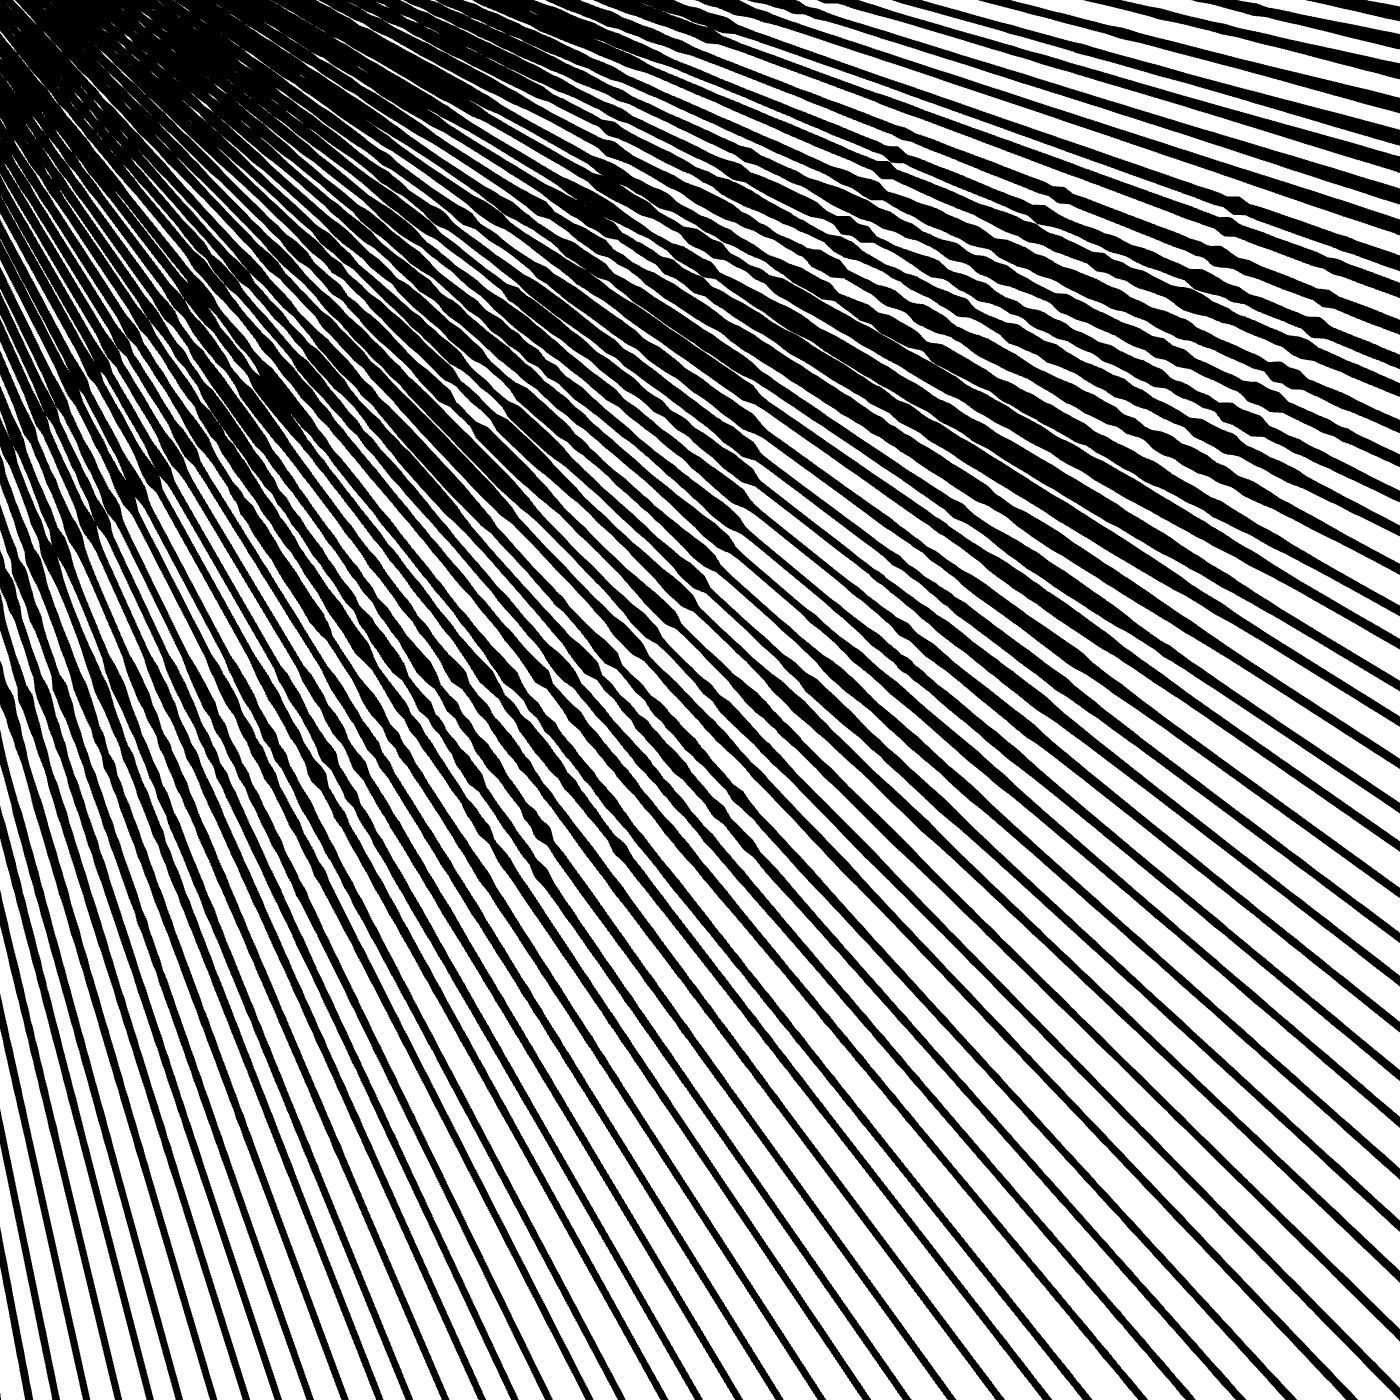
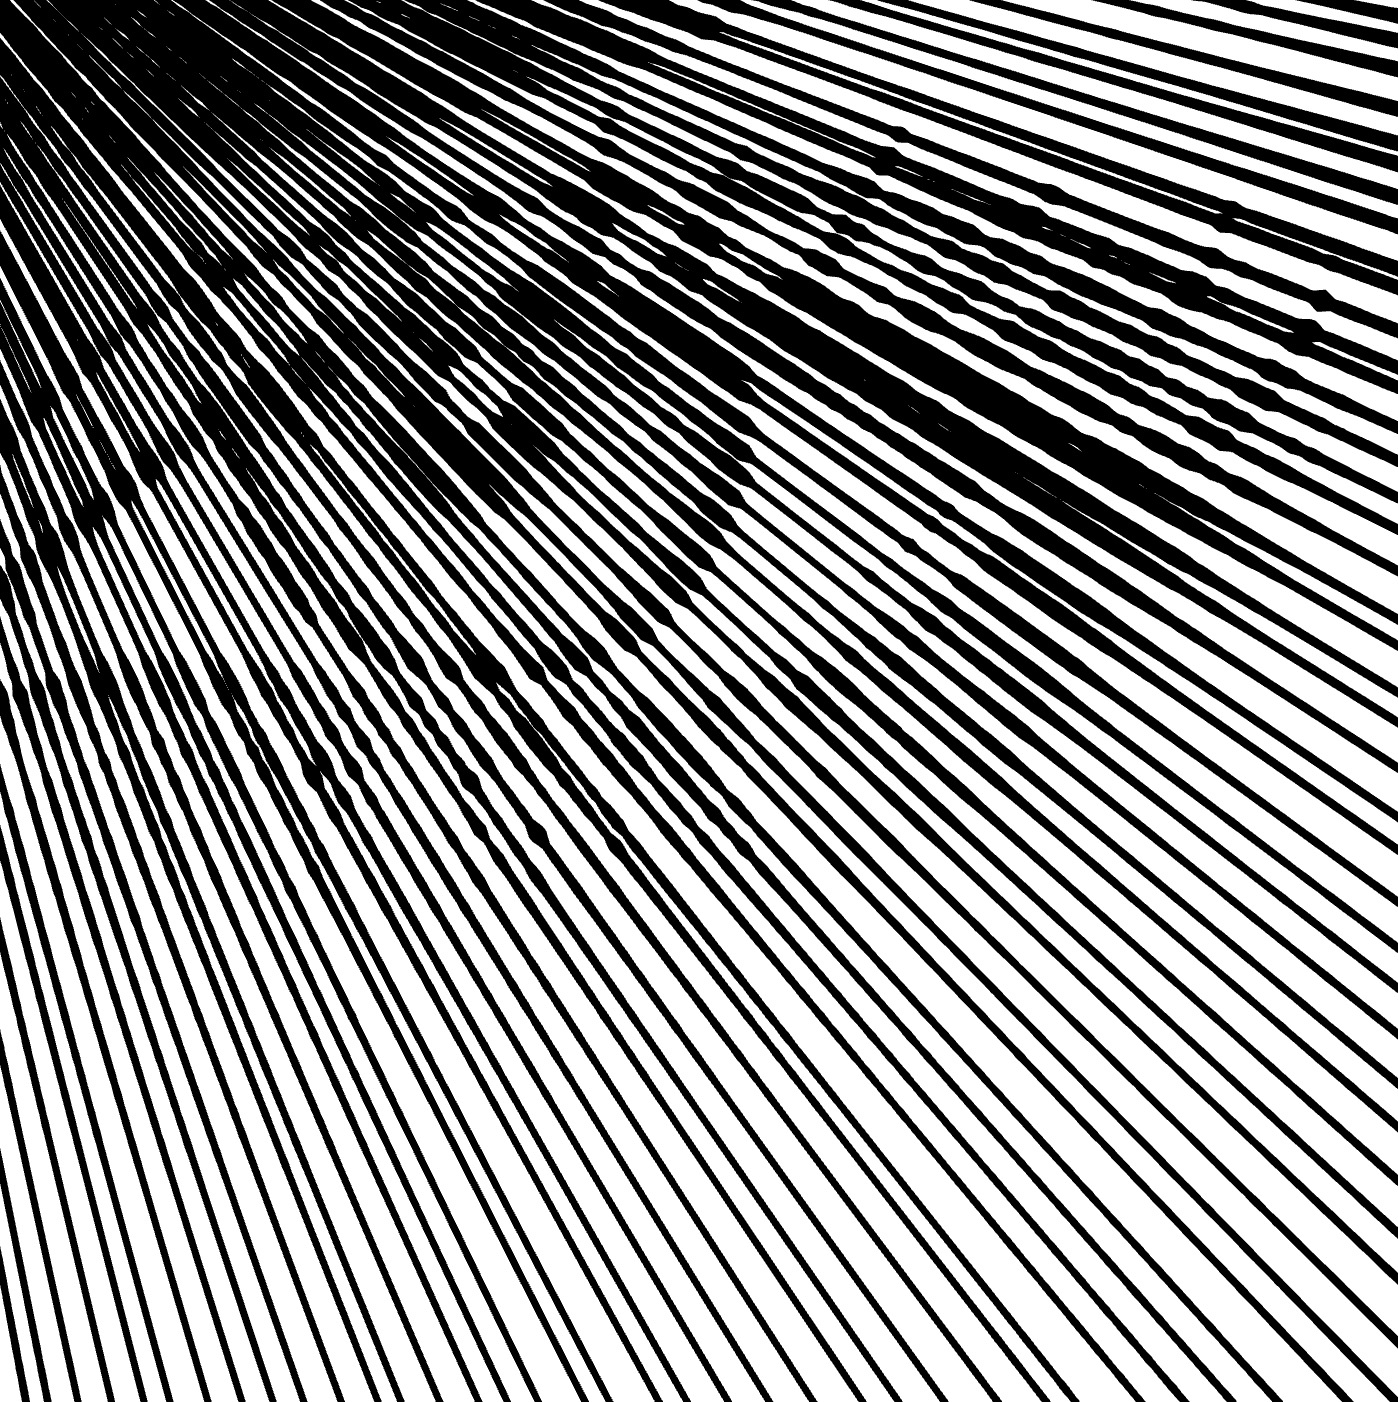
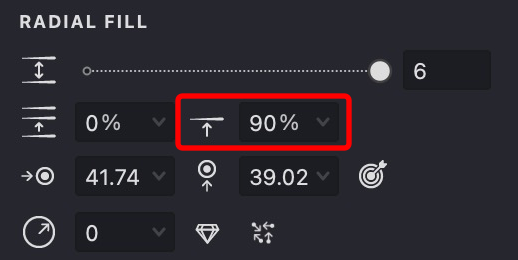
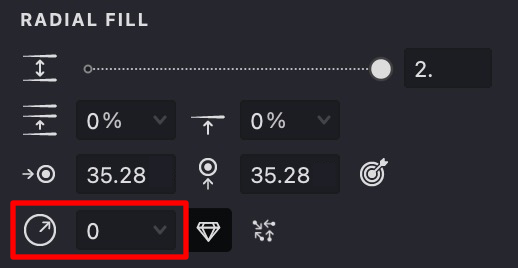
Shift
- Find the Shift parameter.
- Adjust the slider or enter a value manually.
- The Shift parameter rotates the fill pattern around the central point, changing the starting position of the strokes.
| shift:25% | shift:50% | shift:90% |
|---|---|---|
 |
 |
 |
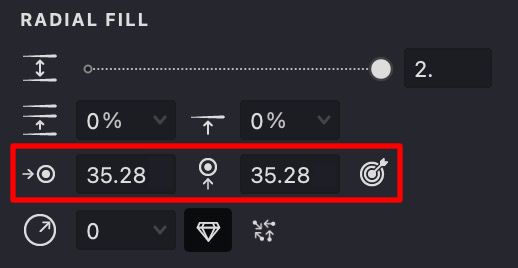
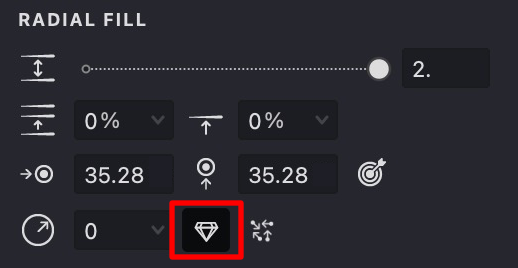
Center
- Look for the Center parameter under the RADIAL FILL section.
- You will see two input fields for the horizontal and vertical coordinates.
- Adjust these values using the drop-down slider or by typing directly.
- Alternatively, use the "Auto Center Detection"
 feature to automatically set the coordinates based on your click.
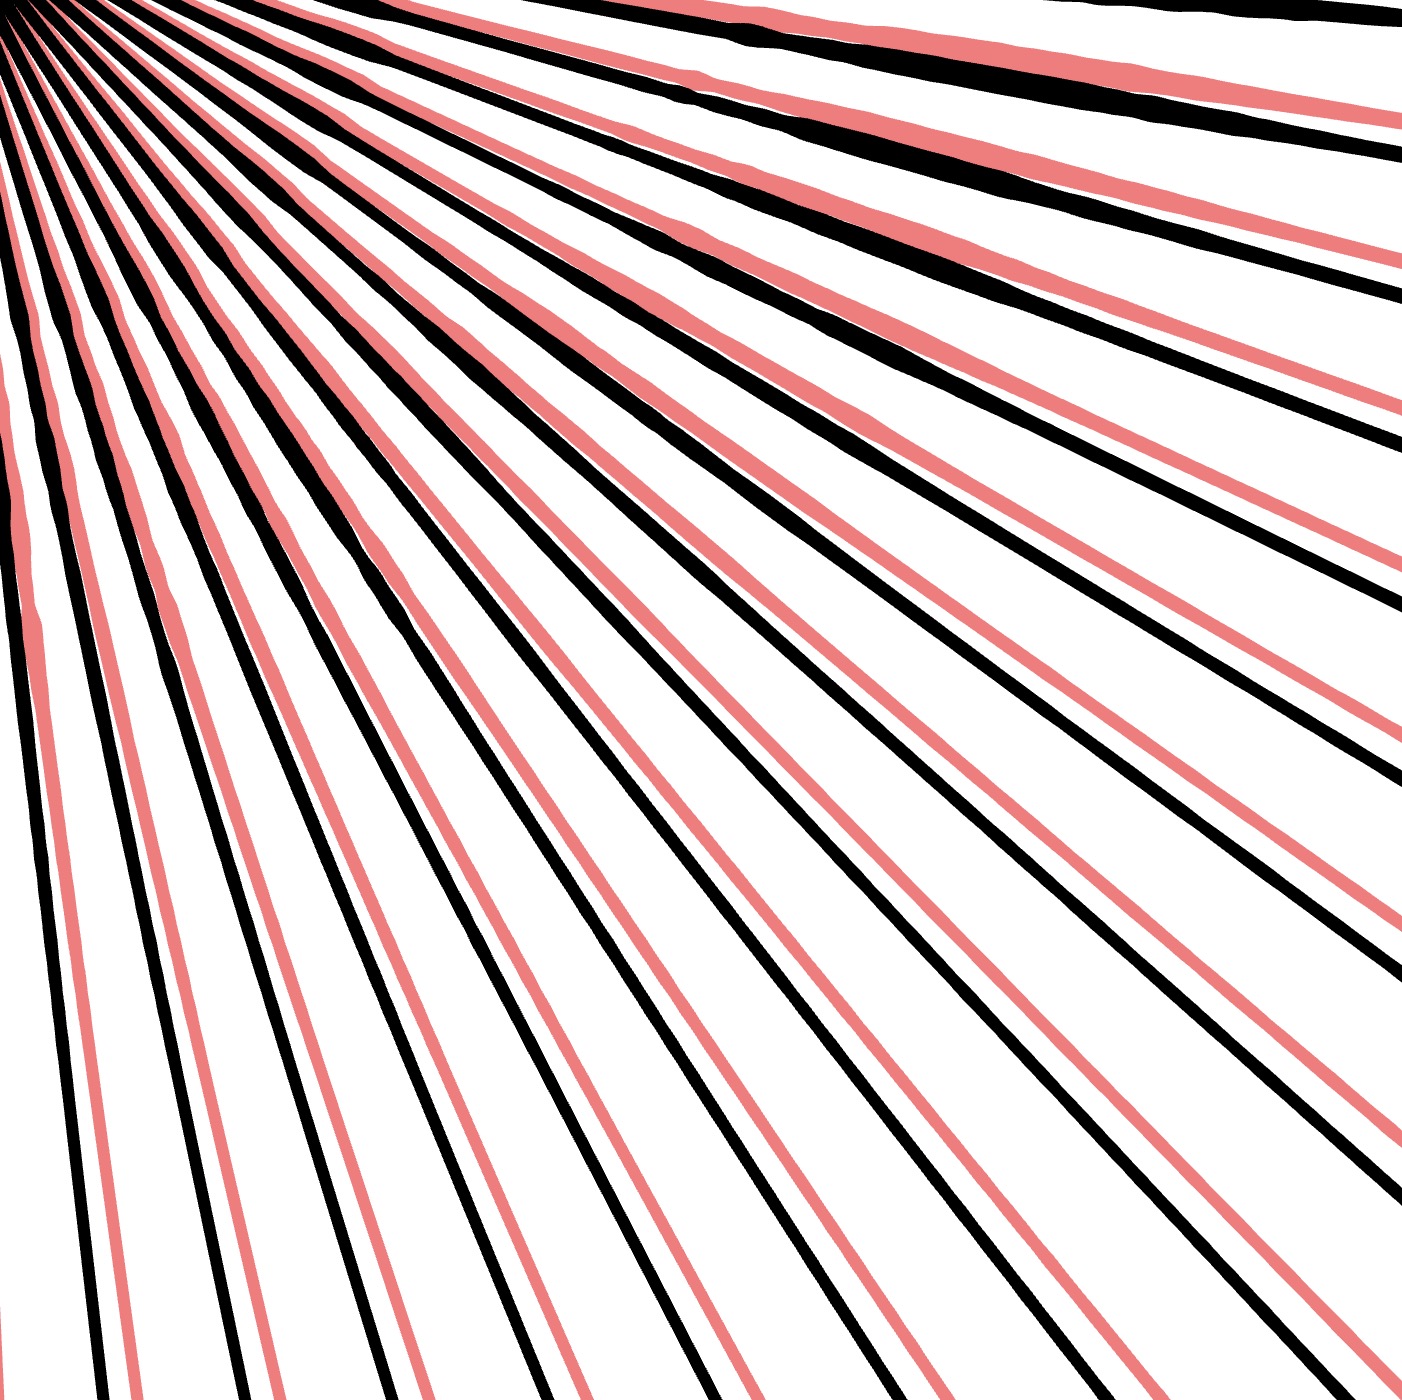
| center: 40,40 | center: 20,15 | center: 40,80 |
|---|---|---|
 |
 |
 |
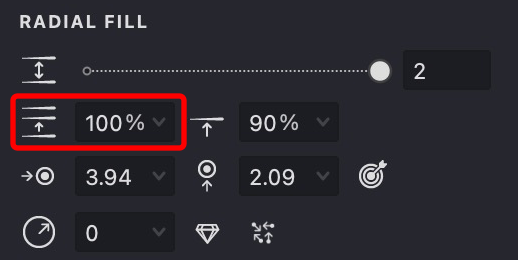
Distance
- Locate the Distance parameter under the RADIAL FILL section.
- Adjust its value using the slider or by manually entering your preferred number.
- This creates a circular gap around the center by defining the starting point of the strokes.
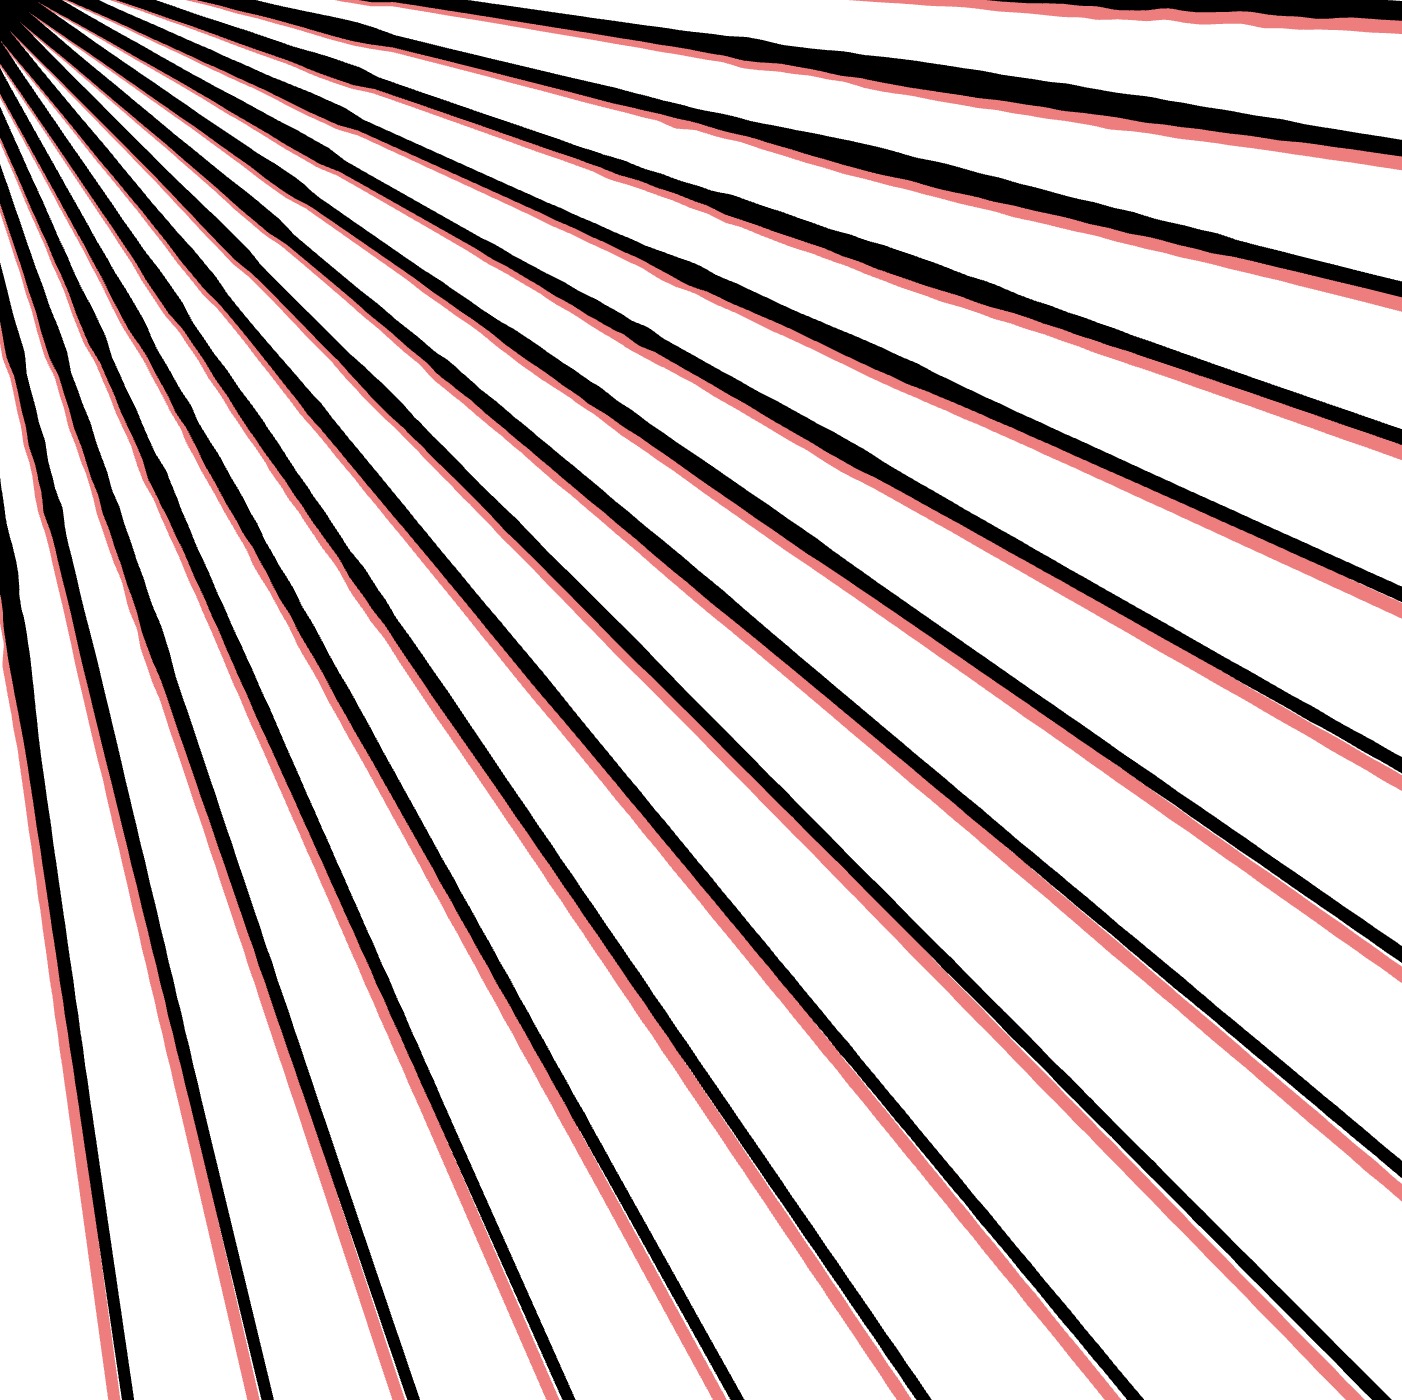
| distance:2 | distance:10 | distance:30 |
|---|---|---|
 |
 |
 |
Auto Distance
- Locate the Auto Distance option.
- Enable it by clicking the button.
- When active, the stroke distance from the center is recalculated automatically to prevent overlaps.
| auto:off | auto:on |
|---|---|
 |
 |
Random Distance
- Locate the Random Distance option.
- Enable it by clicking the button.
- This randomly adjusts the distance of each stroke from the center, helping to avoid overlaps.
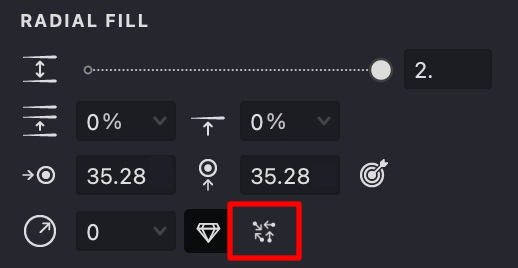
| random:off | random:on |
|---|---|
|
 |
Stroke Properties
Other properties apply to this fill, which you can read about in the relevant articles:
- COLOR
- IMAGE THRESHOLD
- STROKE THICKNESS
- DASHED LINE
- STROKE CAPS
- EMBOSS
- OVERLAP CONTROL7. OVERLAP CONTROL
Link to Example
You can use the example file for this article UM3-Fills-Radial.lines to practice adjusting "Radial" fill parameters.