The Circular fill creates a series of nested circles that start from a central point.
Fill Parameters
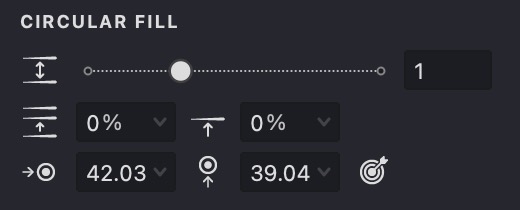


By adjusting these settings, you can create unique and detailed designs to enhance your digital artwork.
Add and Customize a Circular Fill
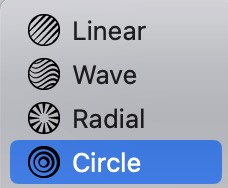
To create a new Circular fill, follow the steps in our Add a Fill guide. When the pop-up menu appears, select the "Circular" fill type.
Similar to the Linear fill type, the Circular fill shares the first three parameters — Interval, Randomization, and Shift. It also includes an additional control: the Center parameter, which works like the one in the Radial fill type.
Interval
- Find the Interval
parameter.
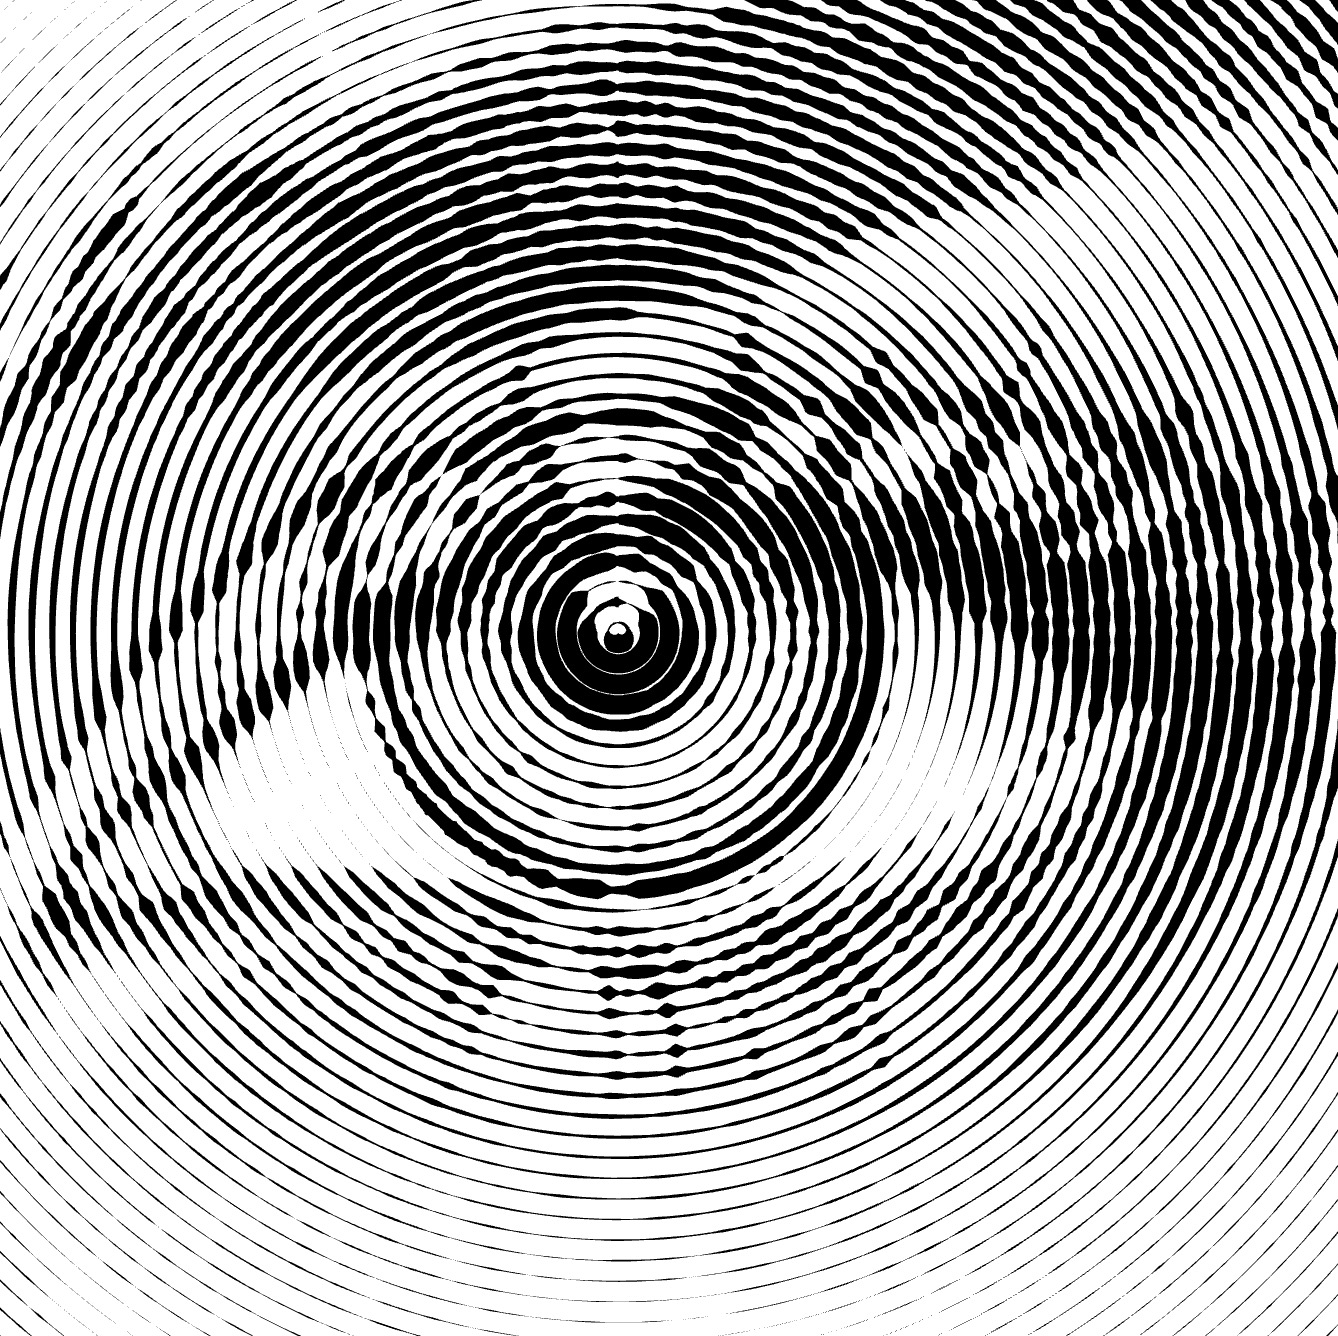
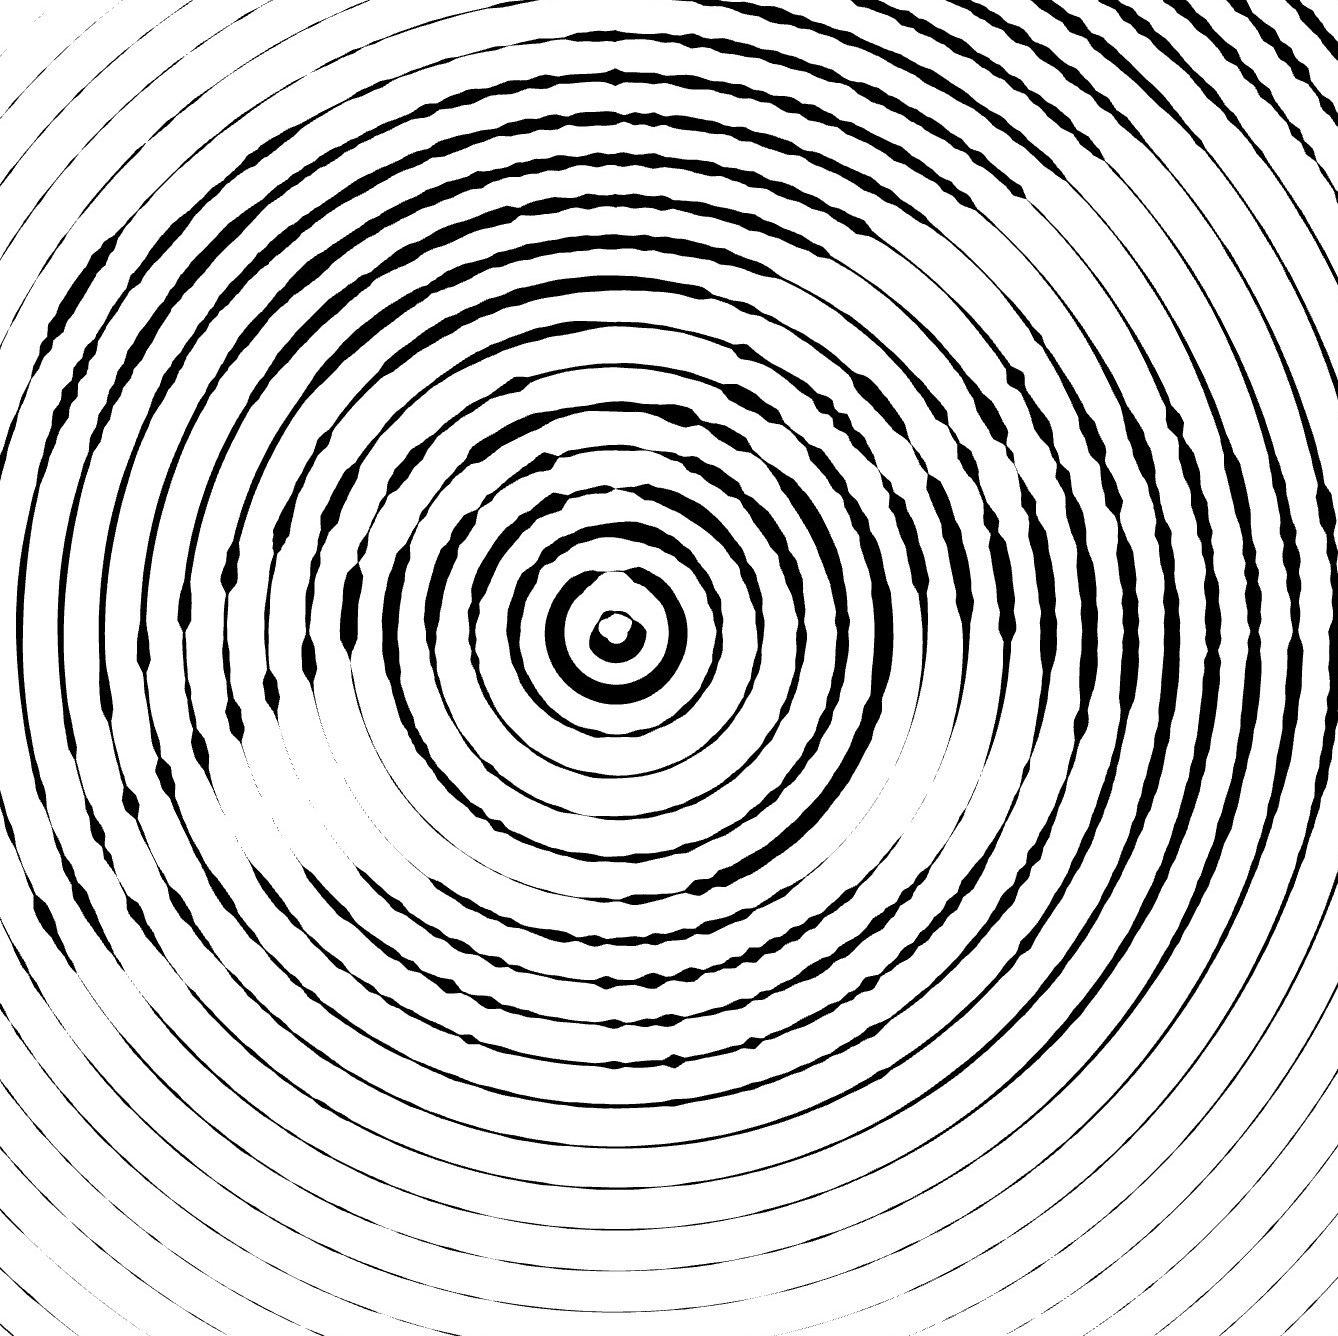
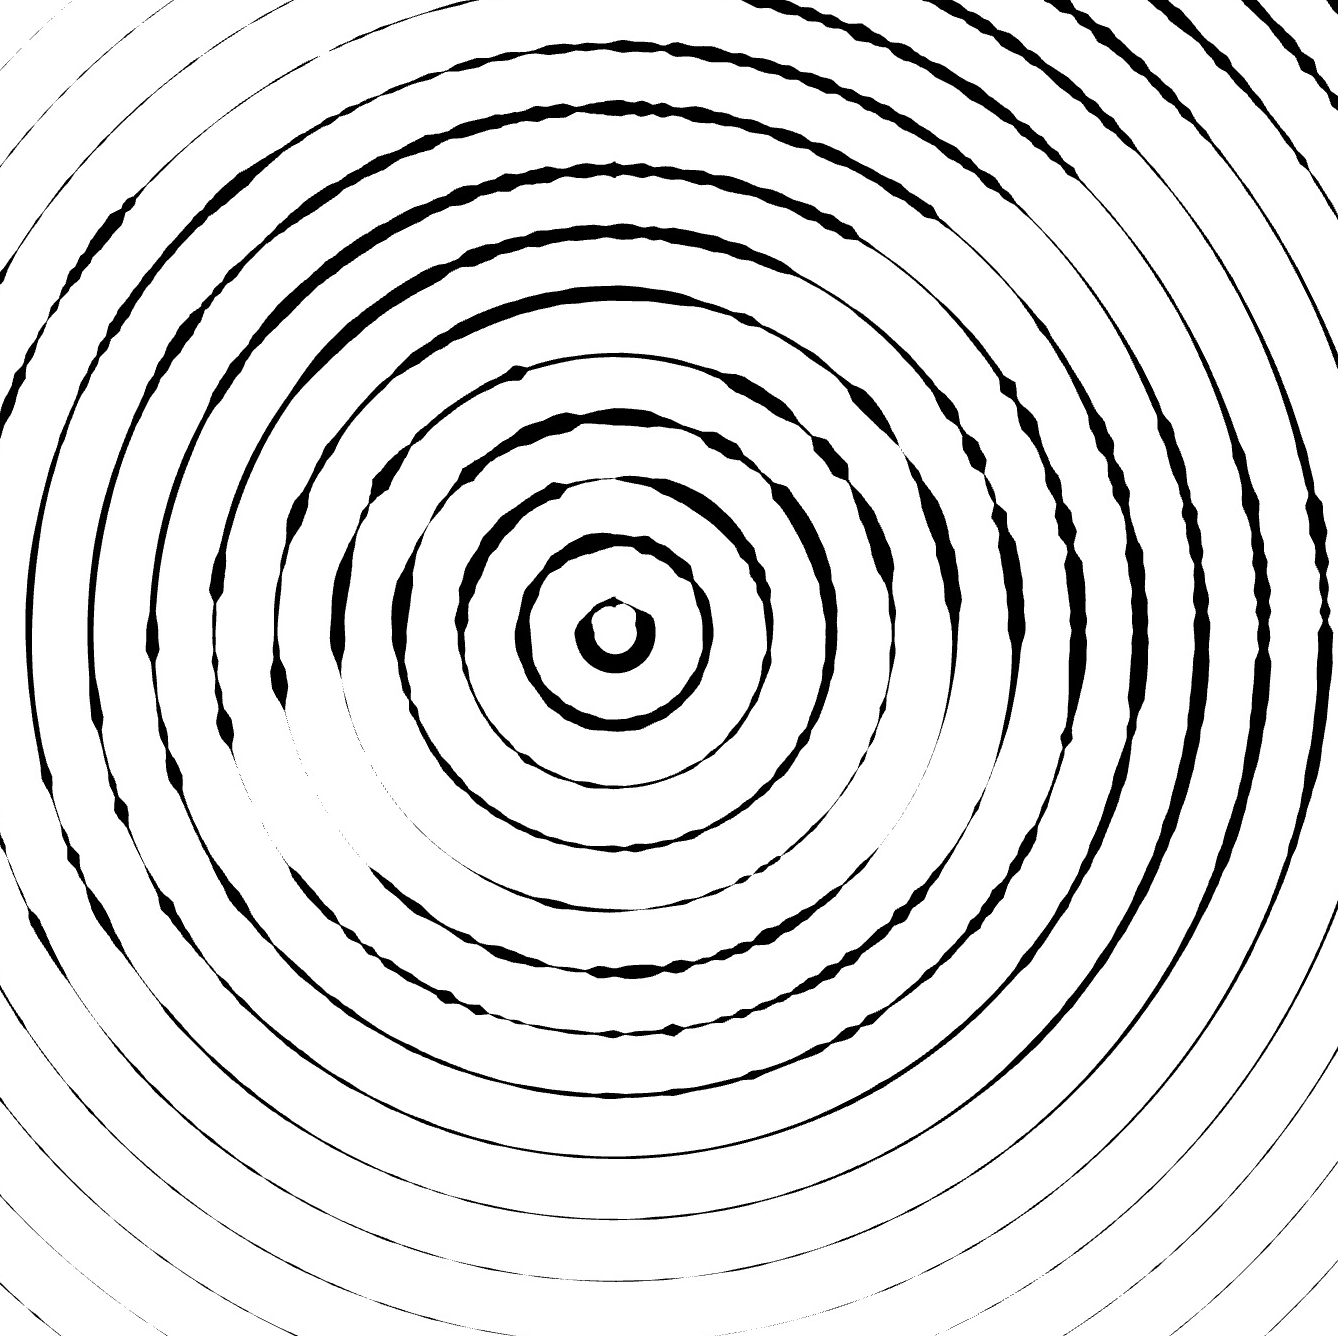
- Adjust the distance between circles by using the slider or entering a value directly.
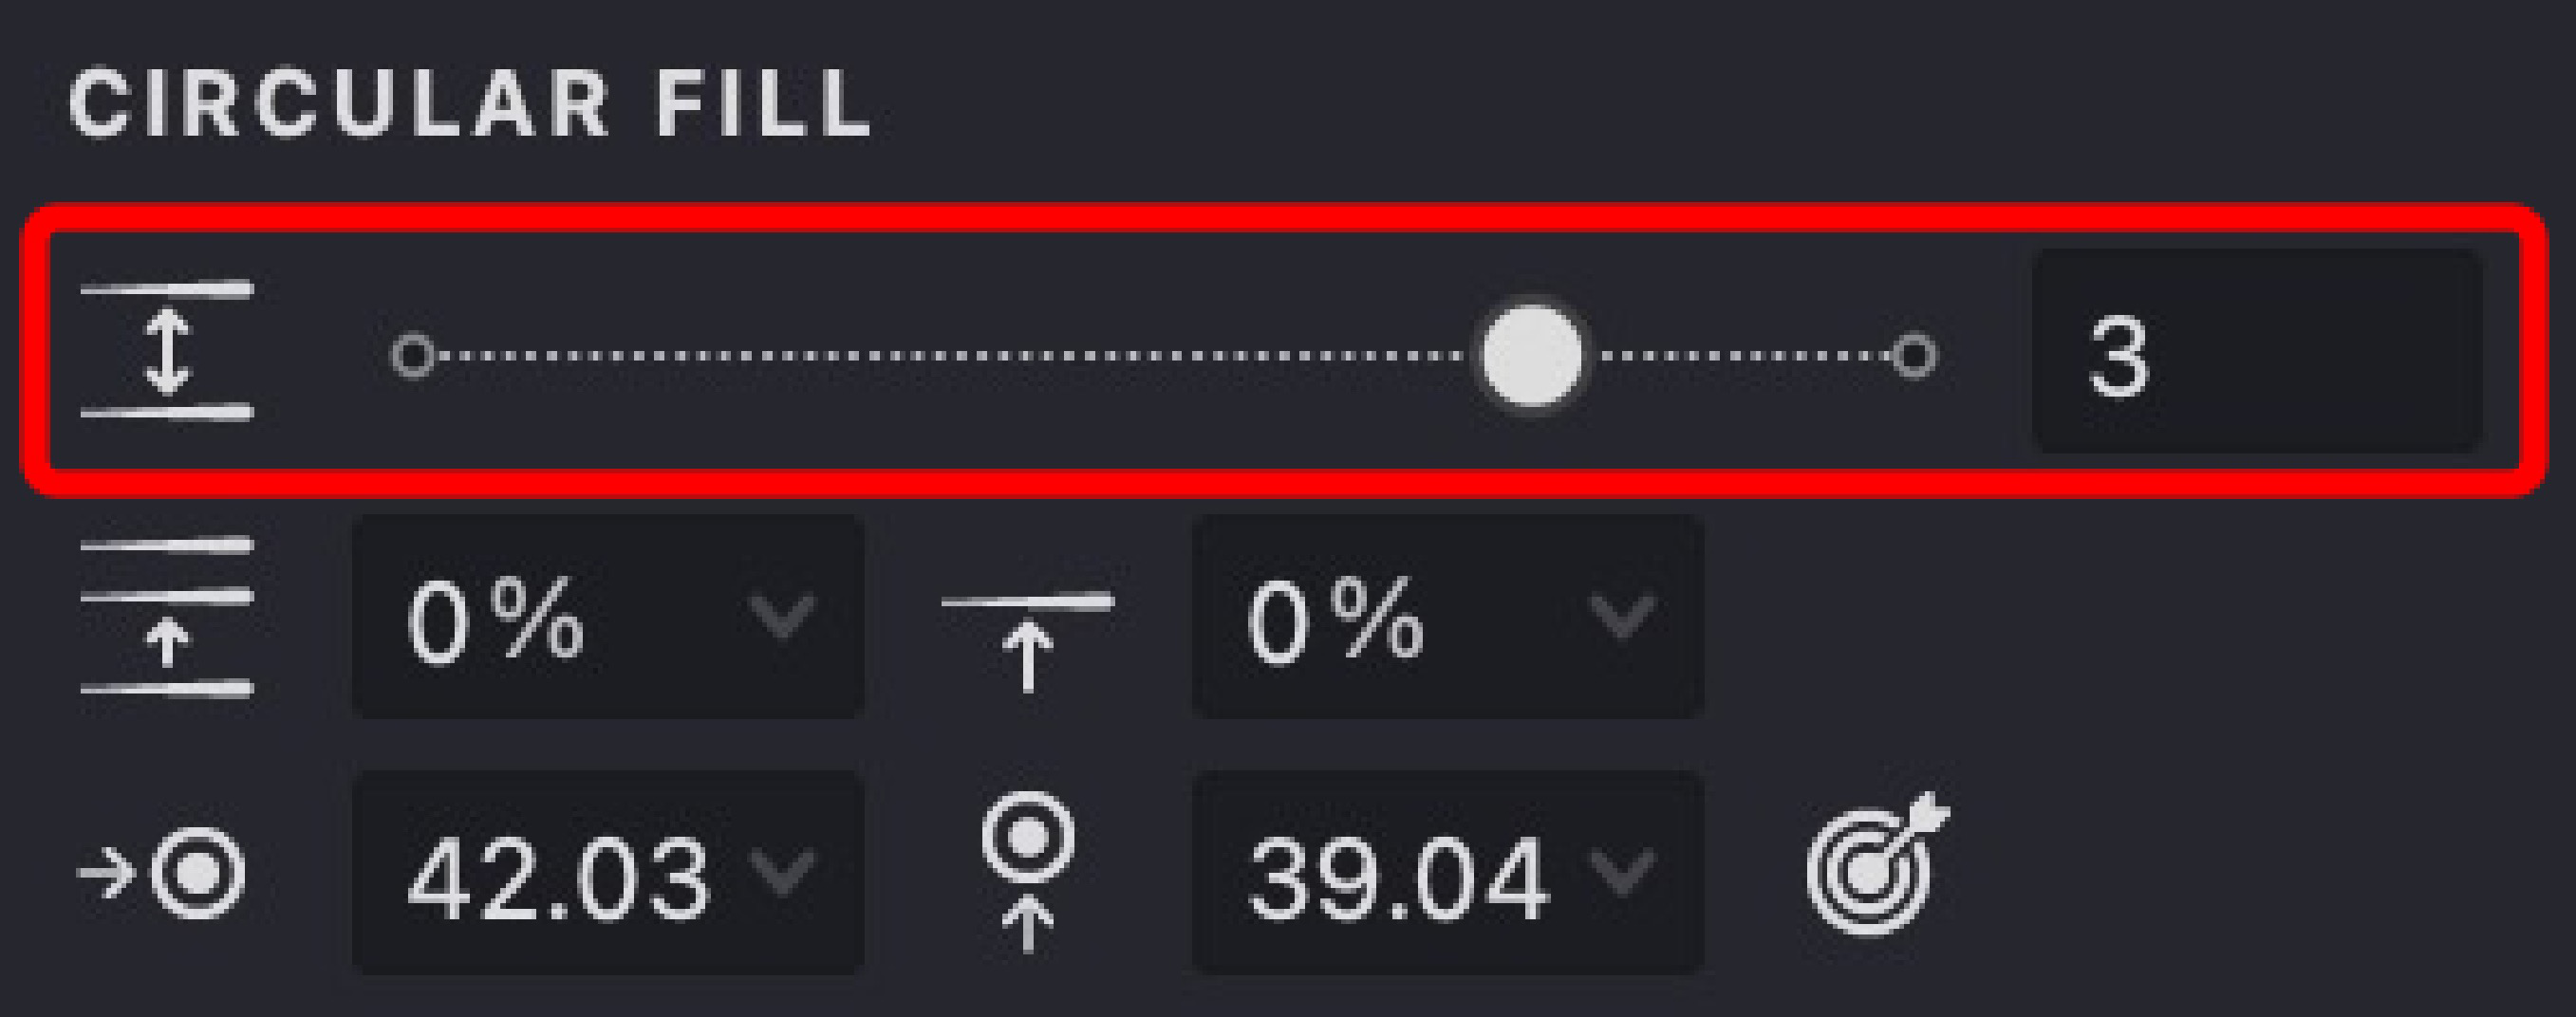
| interval: 1 | interval: 2 | interval: 3 |
|---|---|---|
 |
 |
 |
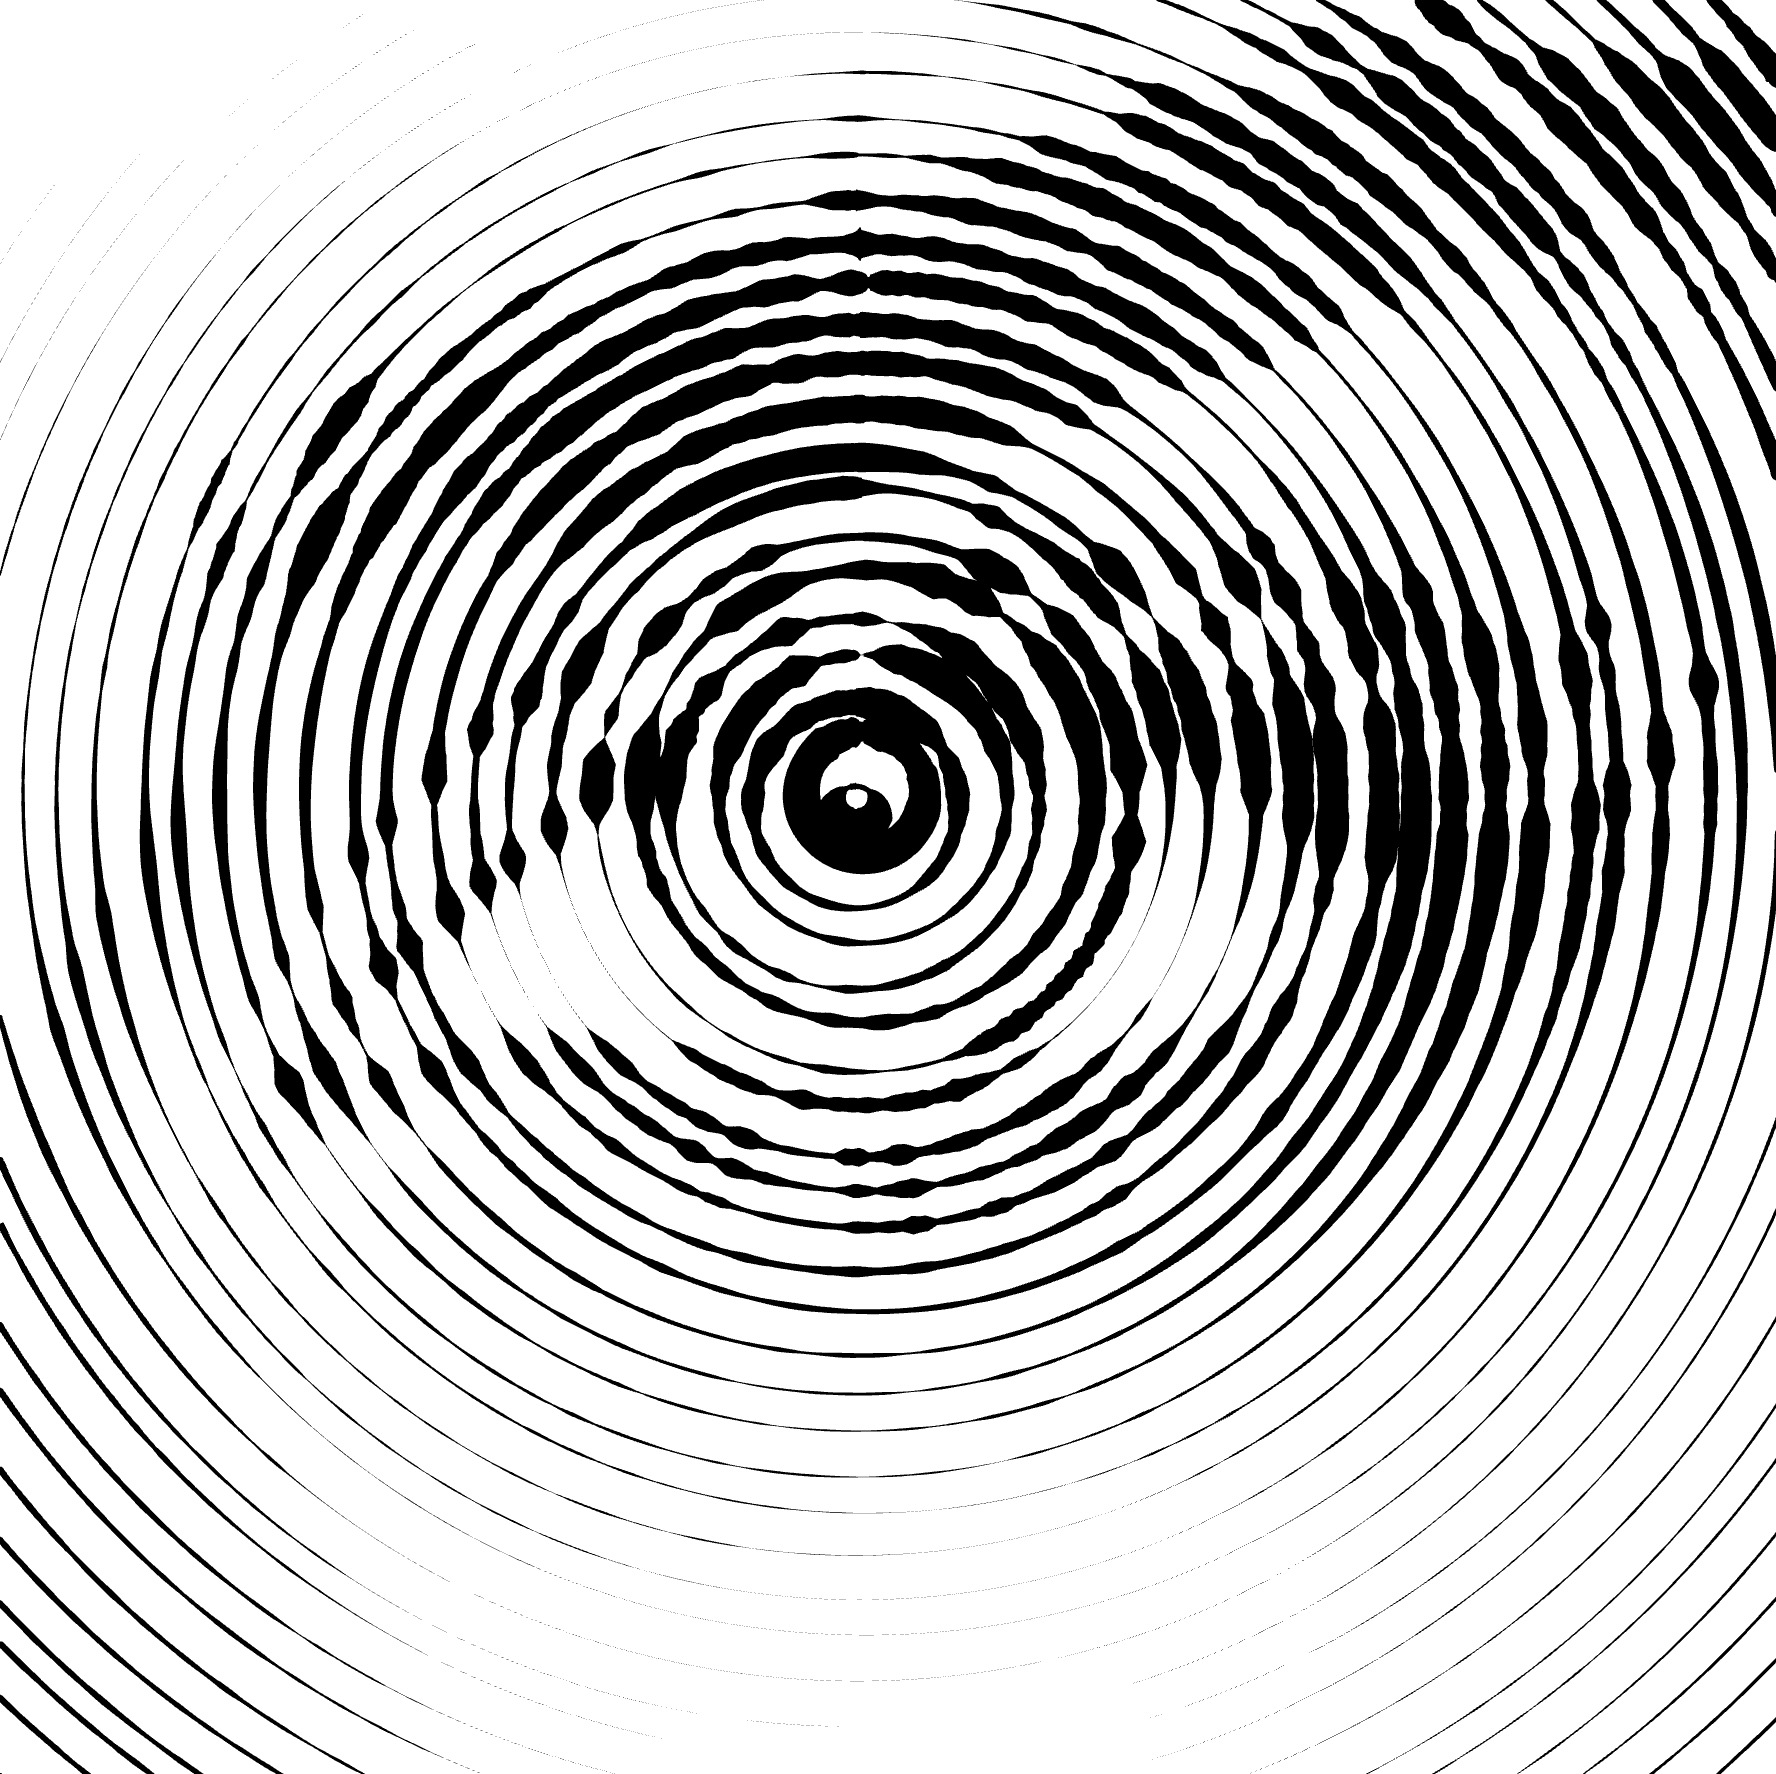
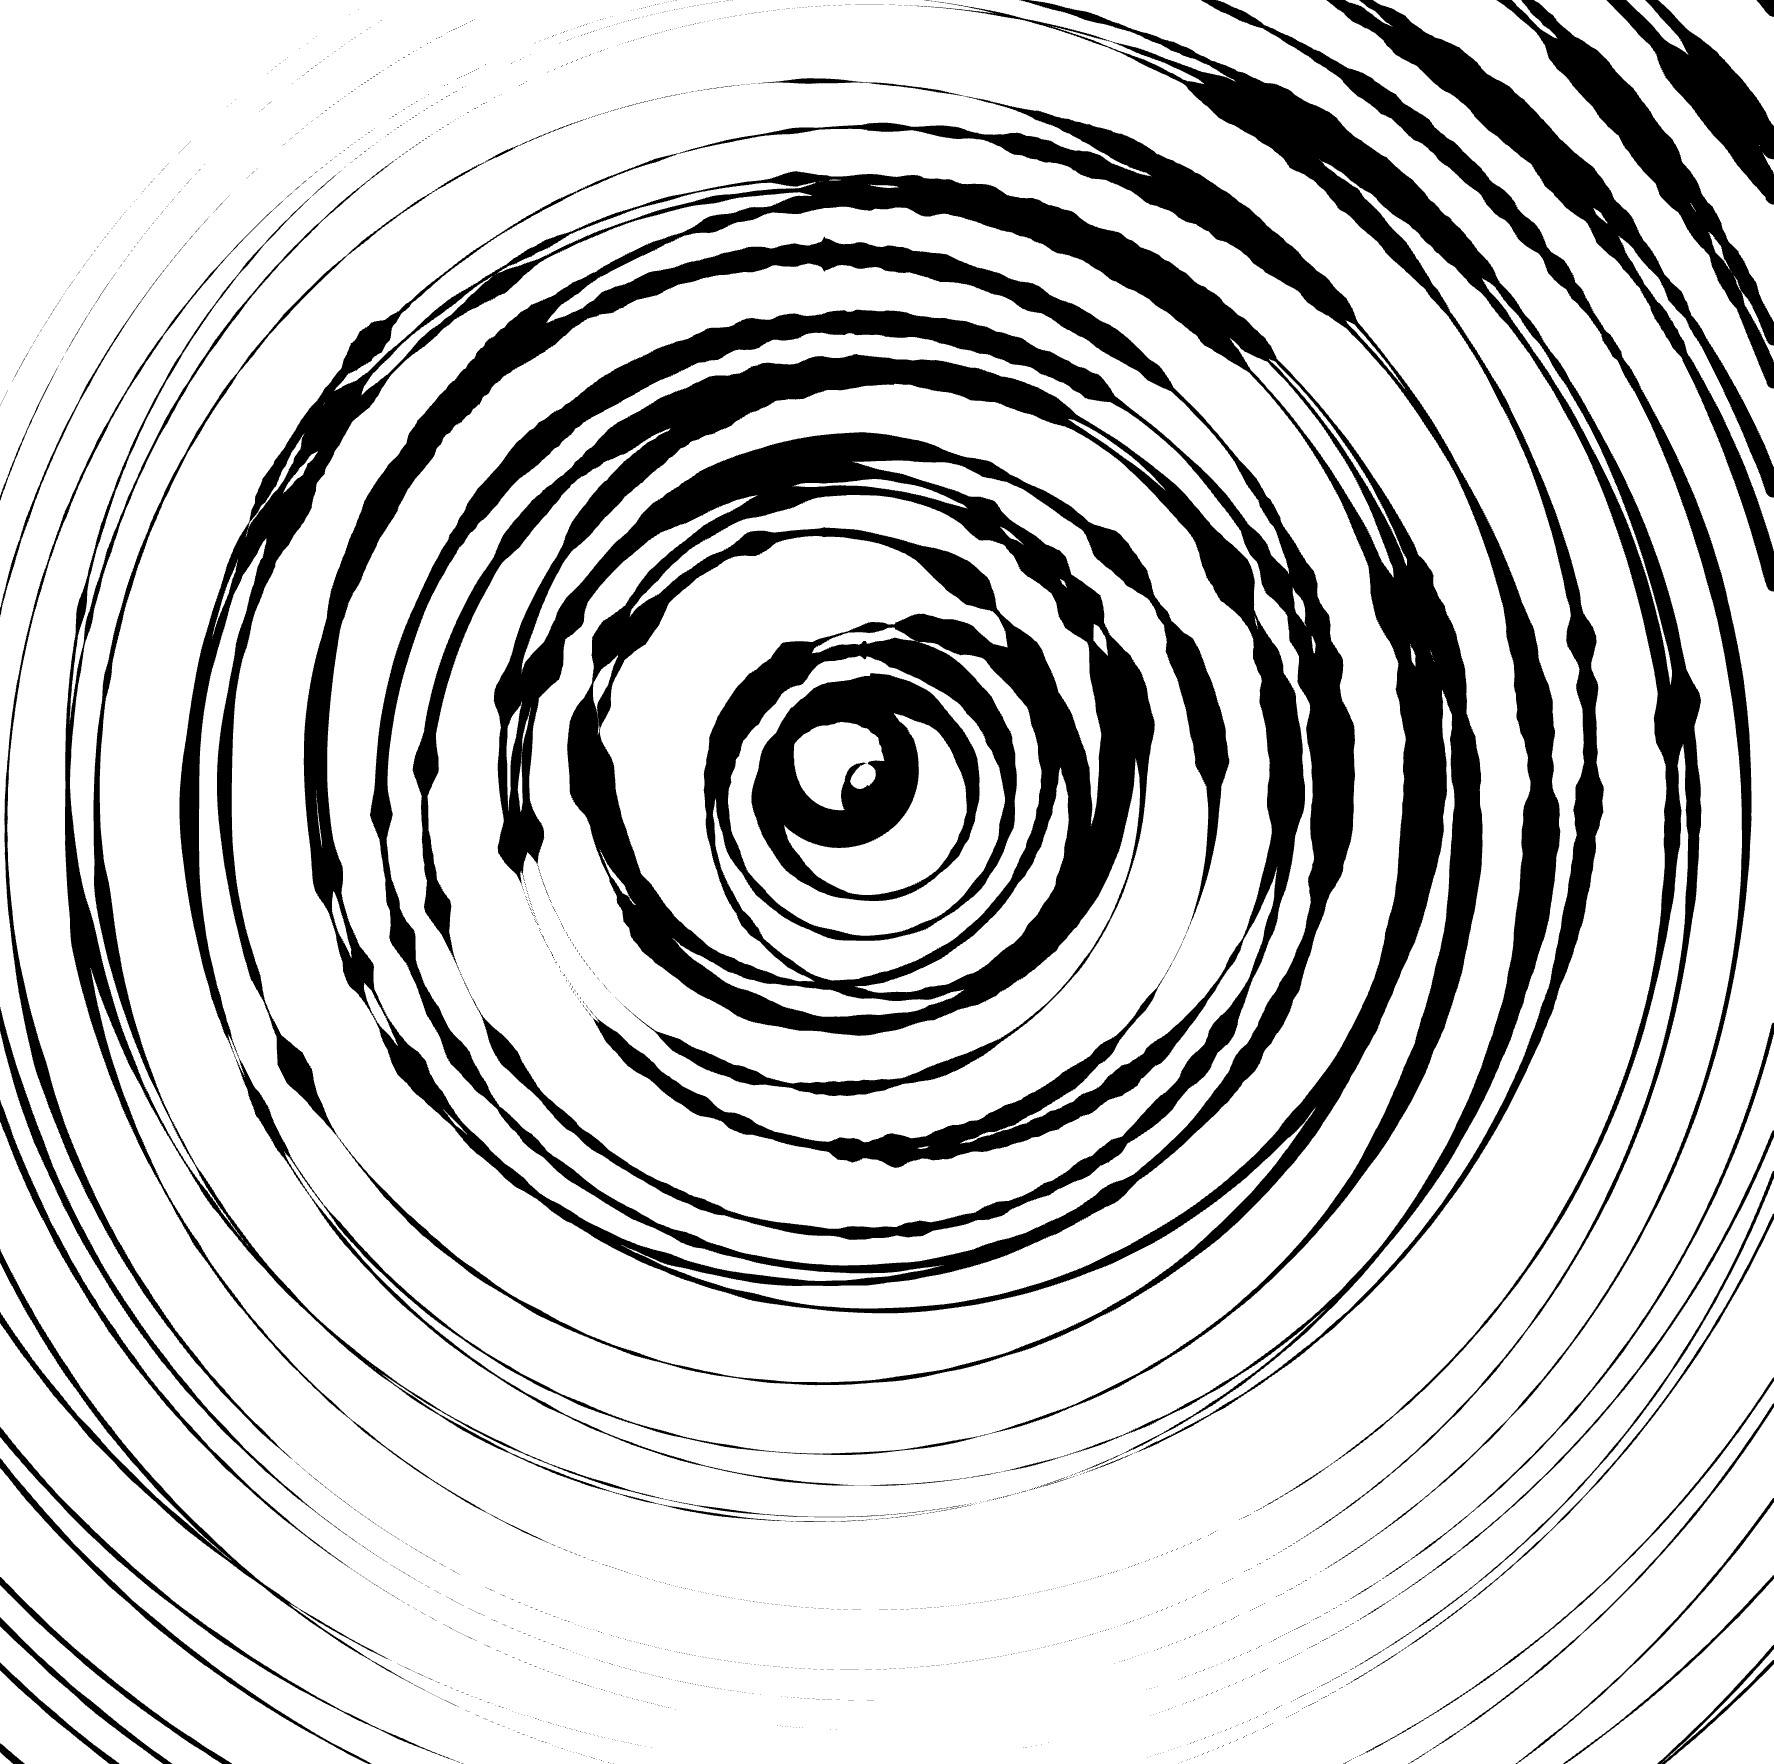
Randomization
- Locate the Randomization
parameter.
- Adjust the slider or input a value manually.
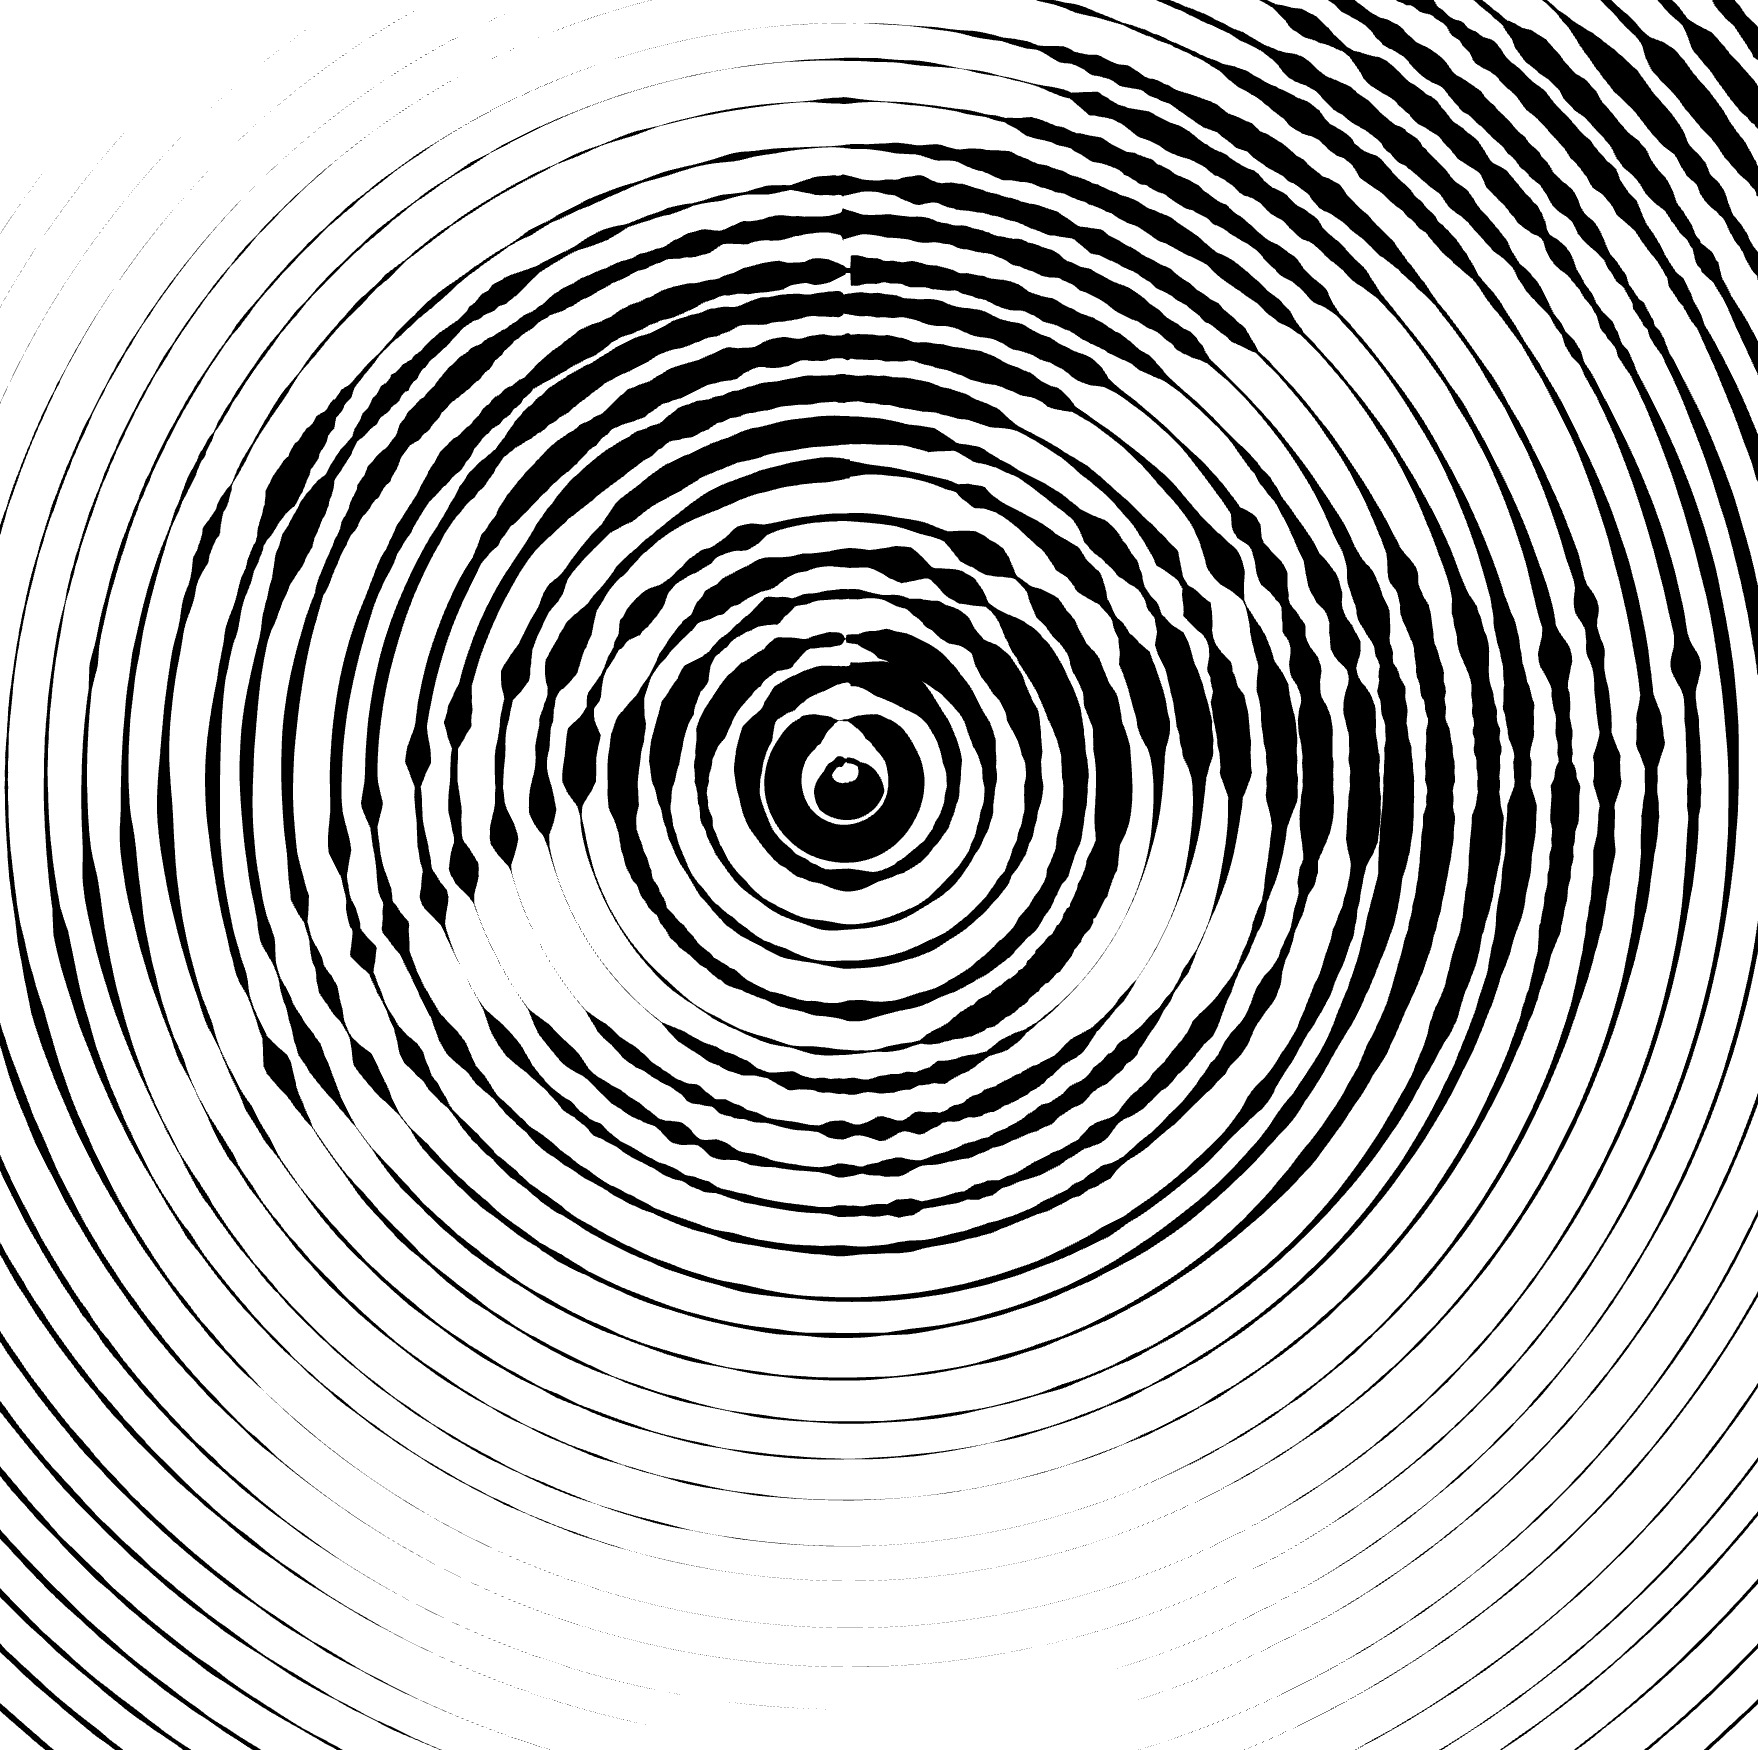
- Increasing this value makes the spacing between circles less uniform.
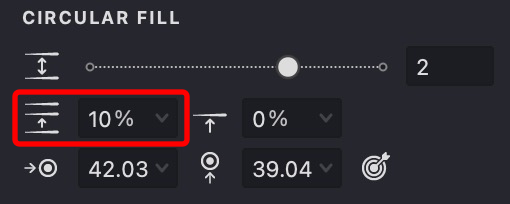
| randomization: 10% | randomization: 50% | randomization: 100% |
|---|---|---|
 |
 |
 |
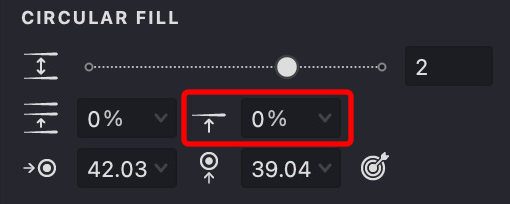
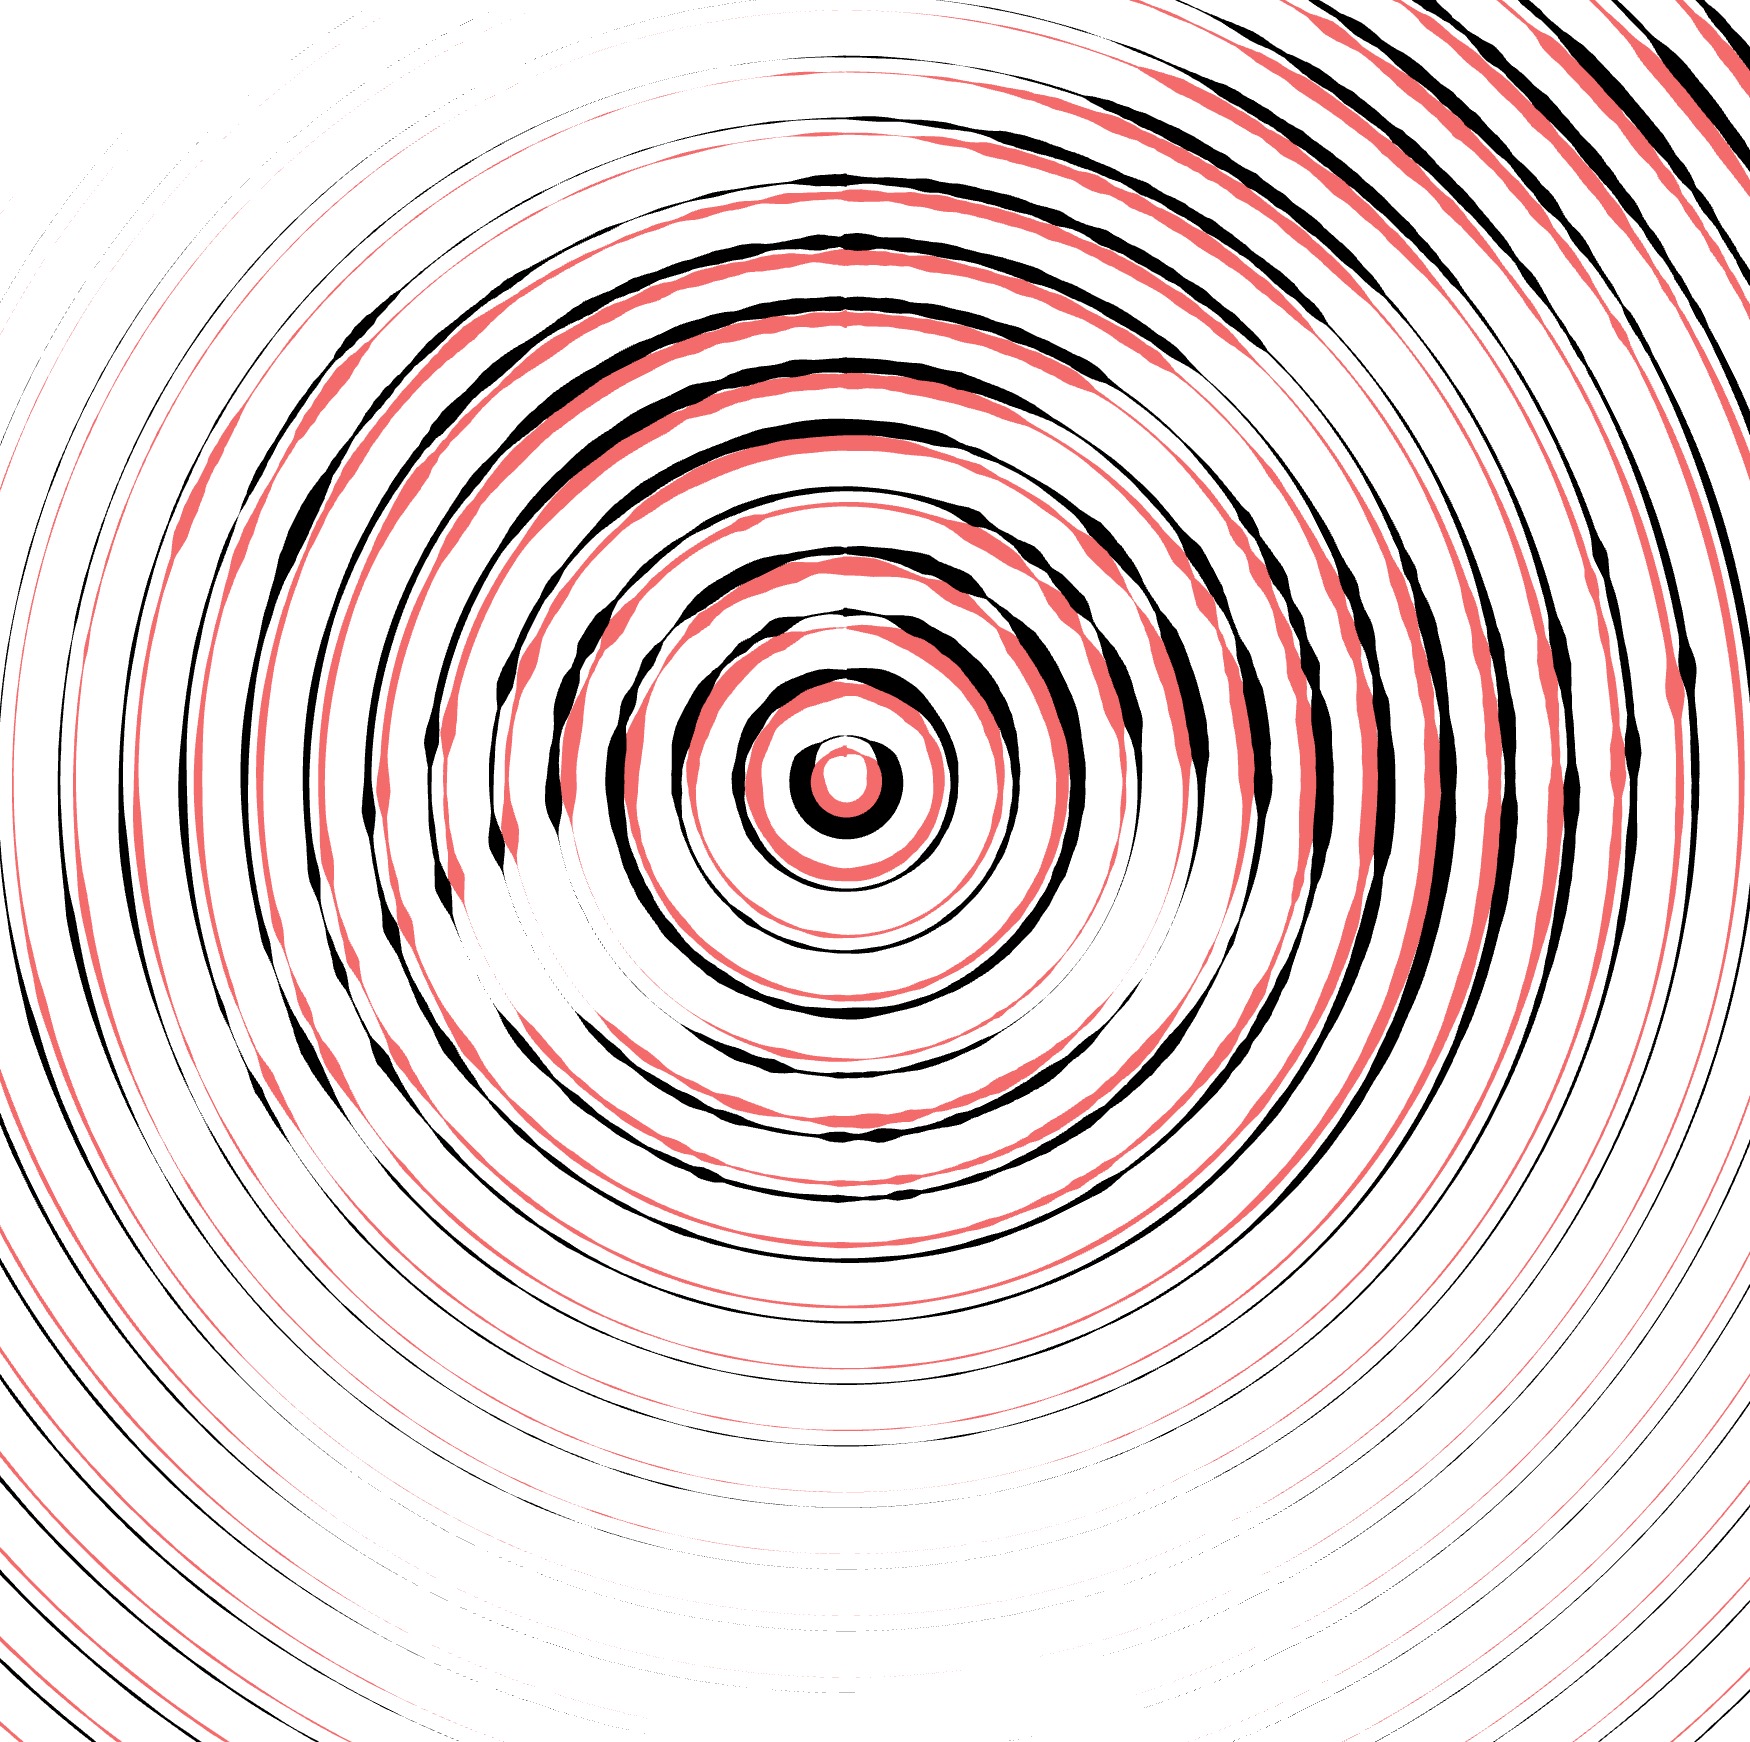
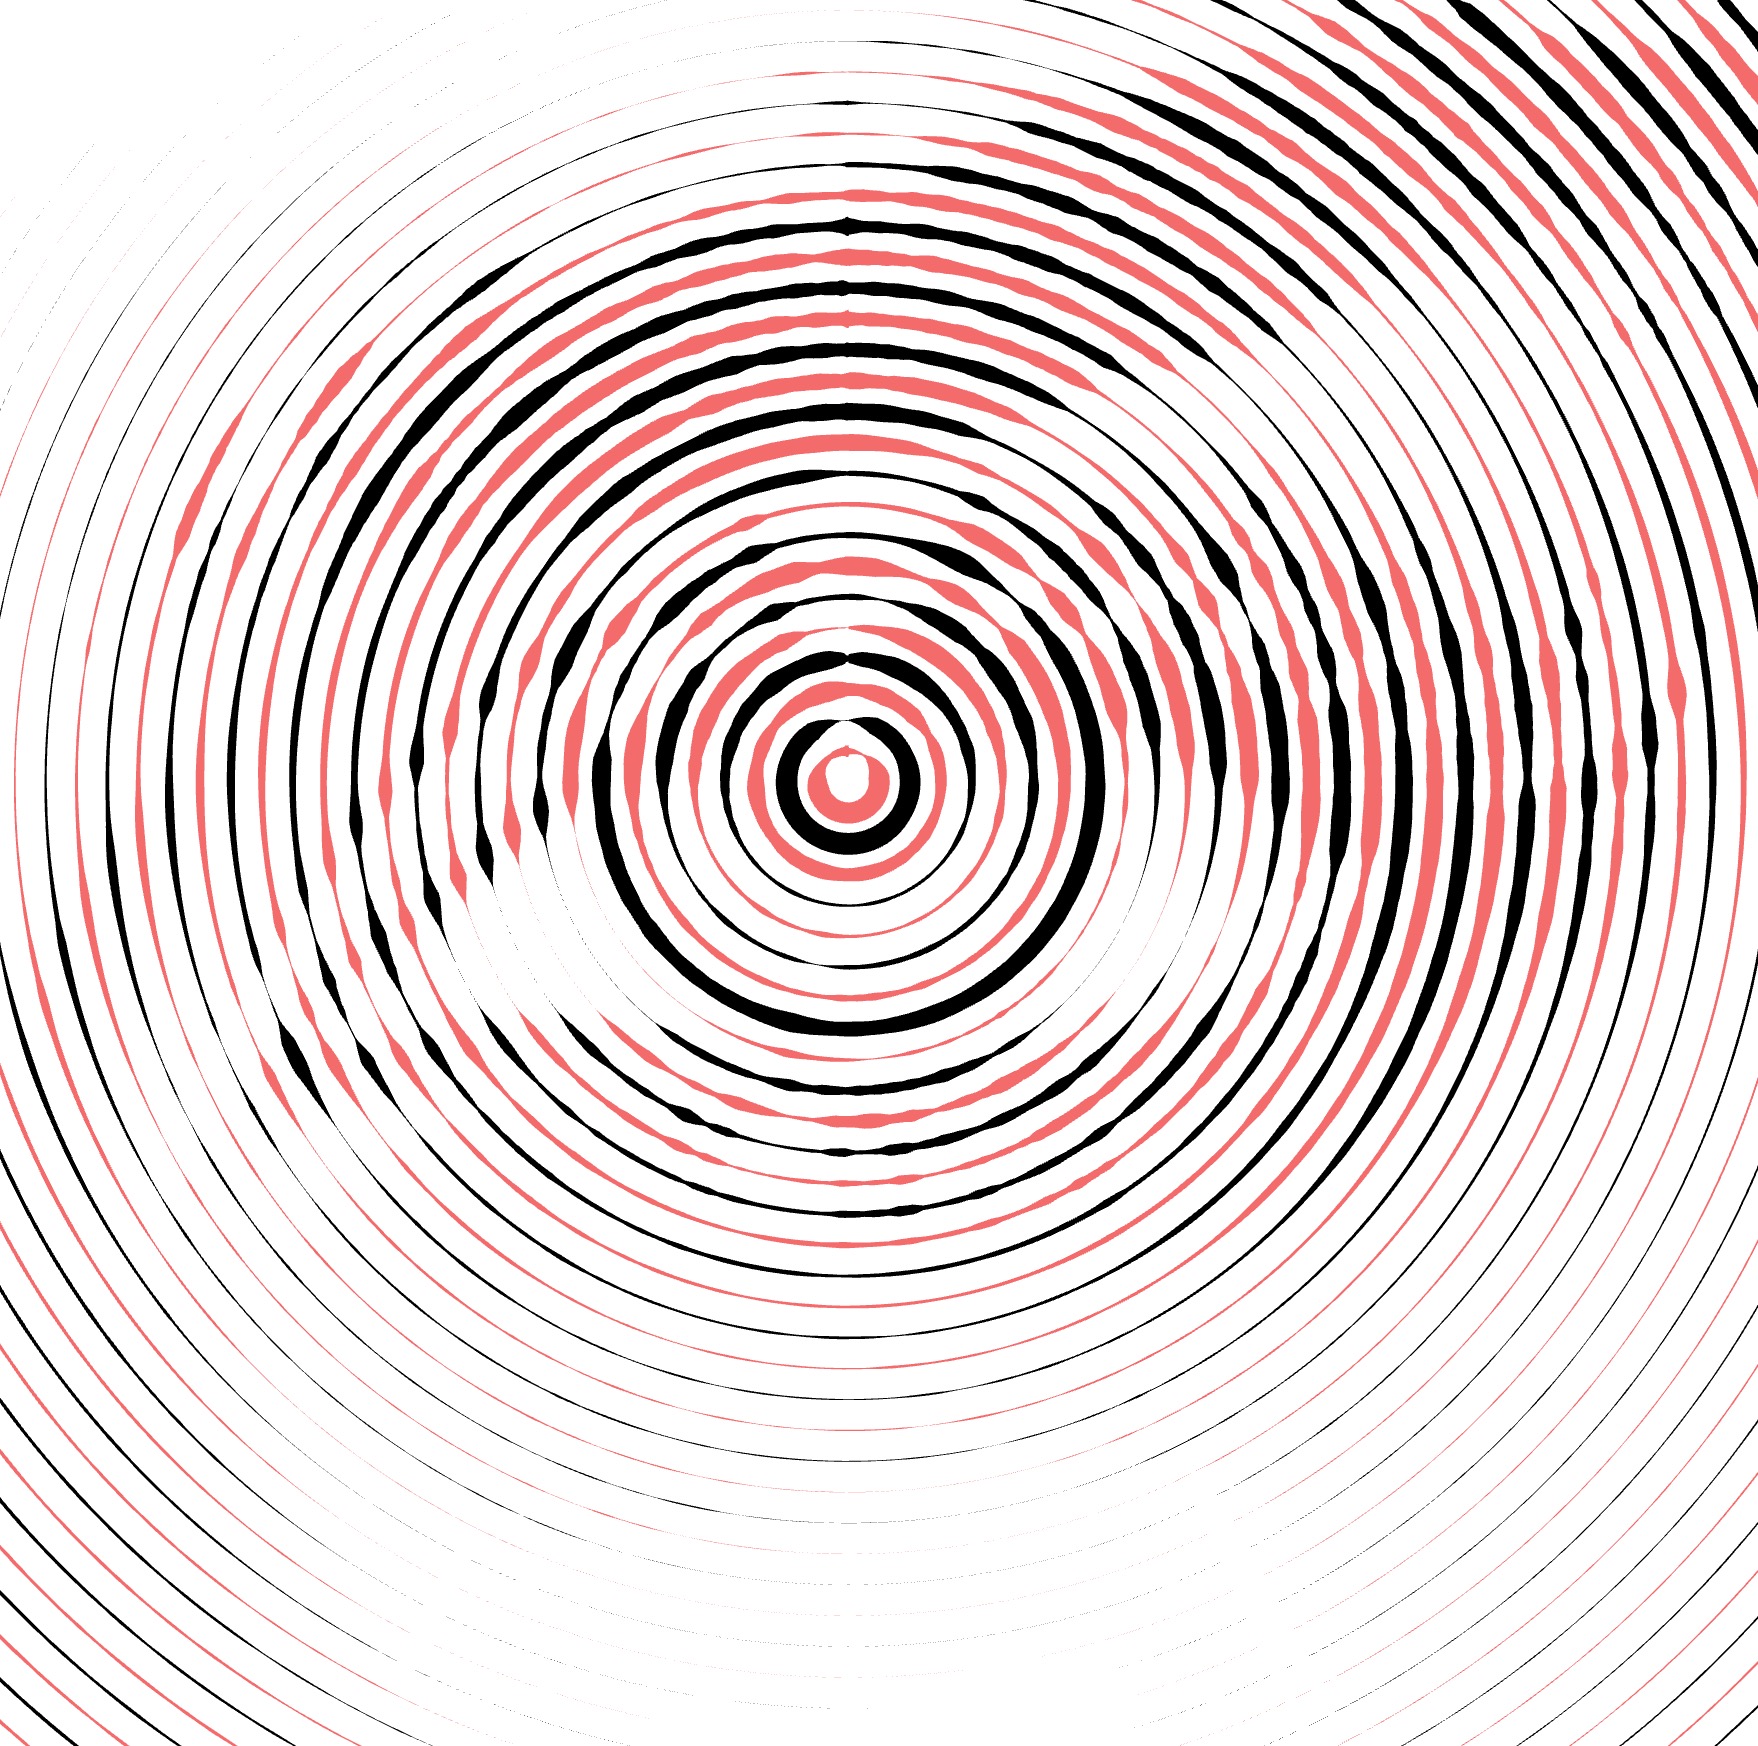
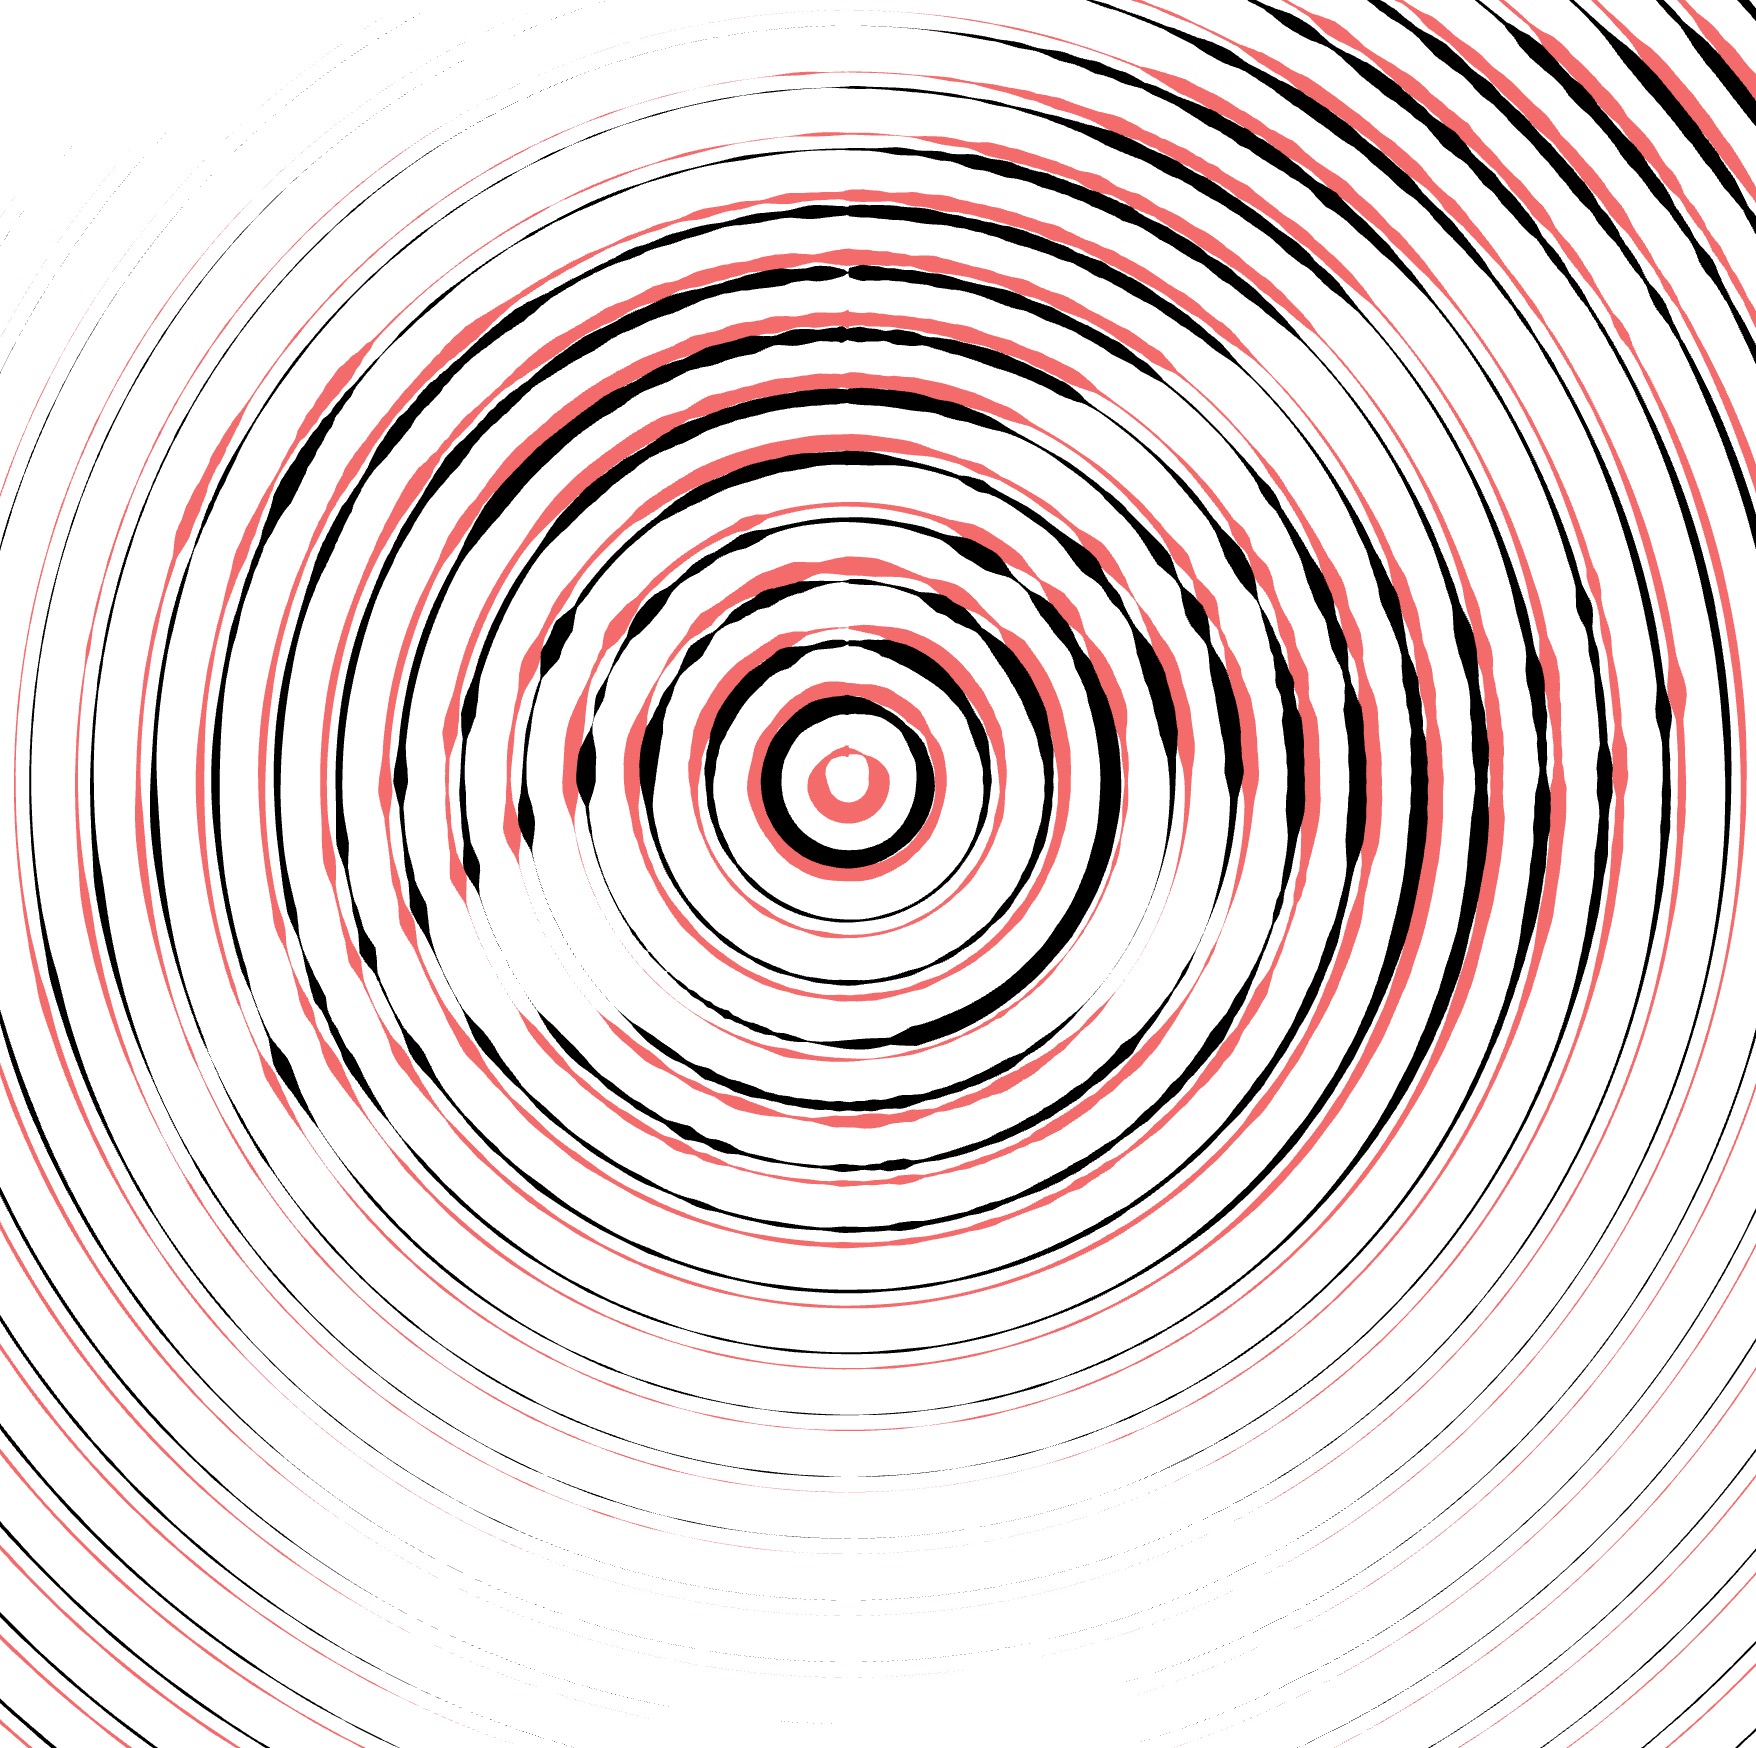
Shift
- Find the Shift wave parameter.
- Adjust the slider or enter a value manually.
- The Shift parameter modifies the phase of the pattern, changing the starting position of the strokes.
| shift: 25% | shift: 50% | shift: 90% |
|---|---|---|
 |
 |
 |
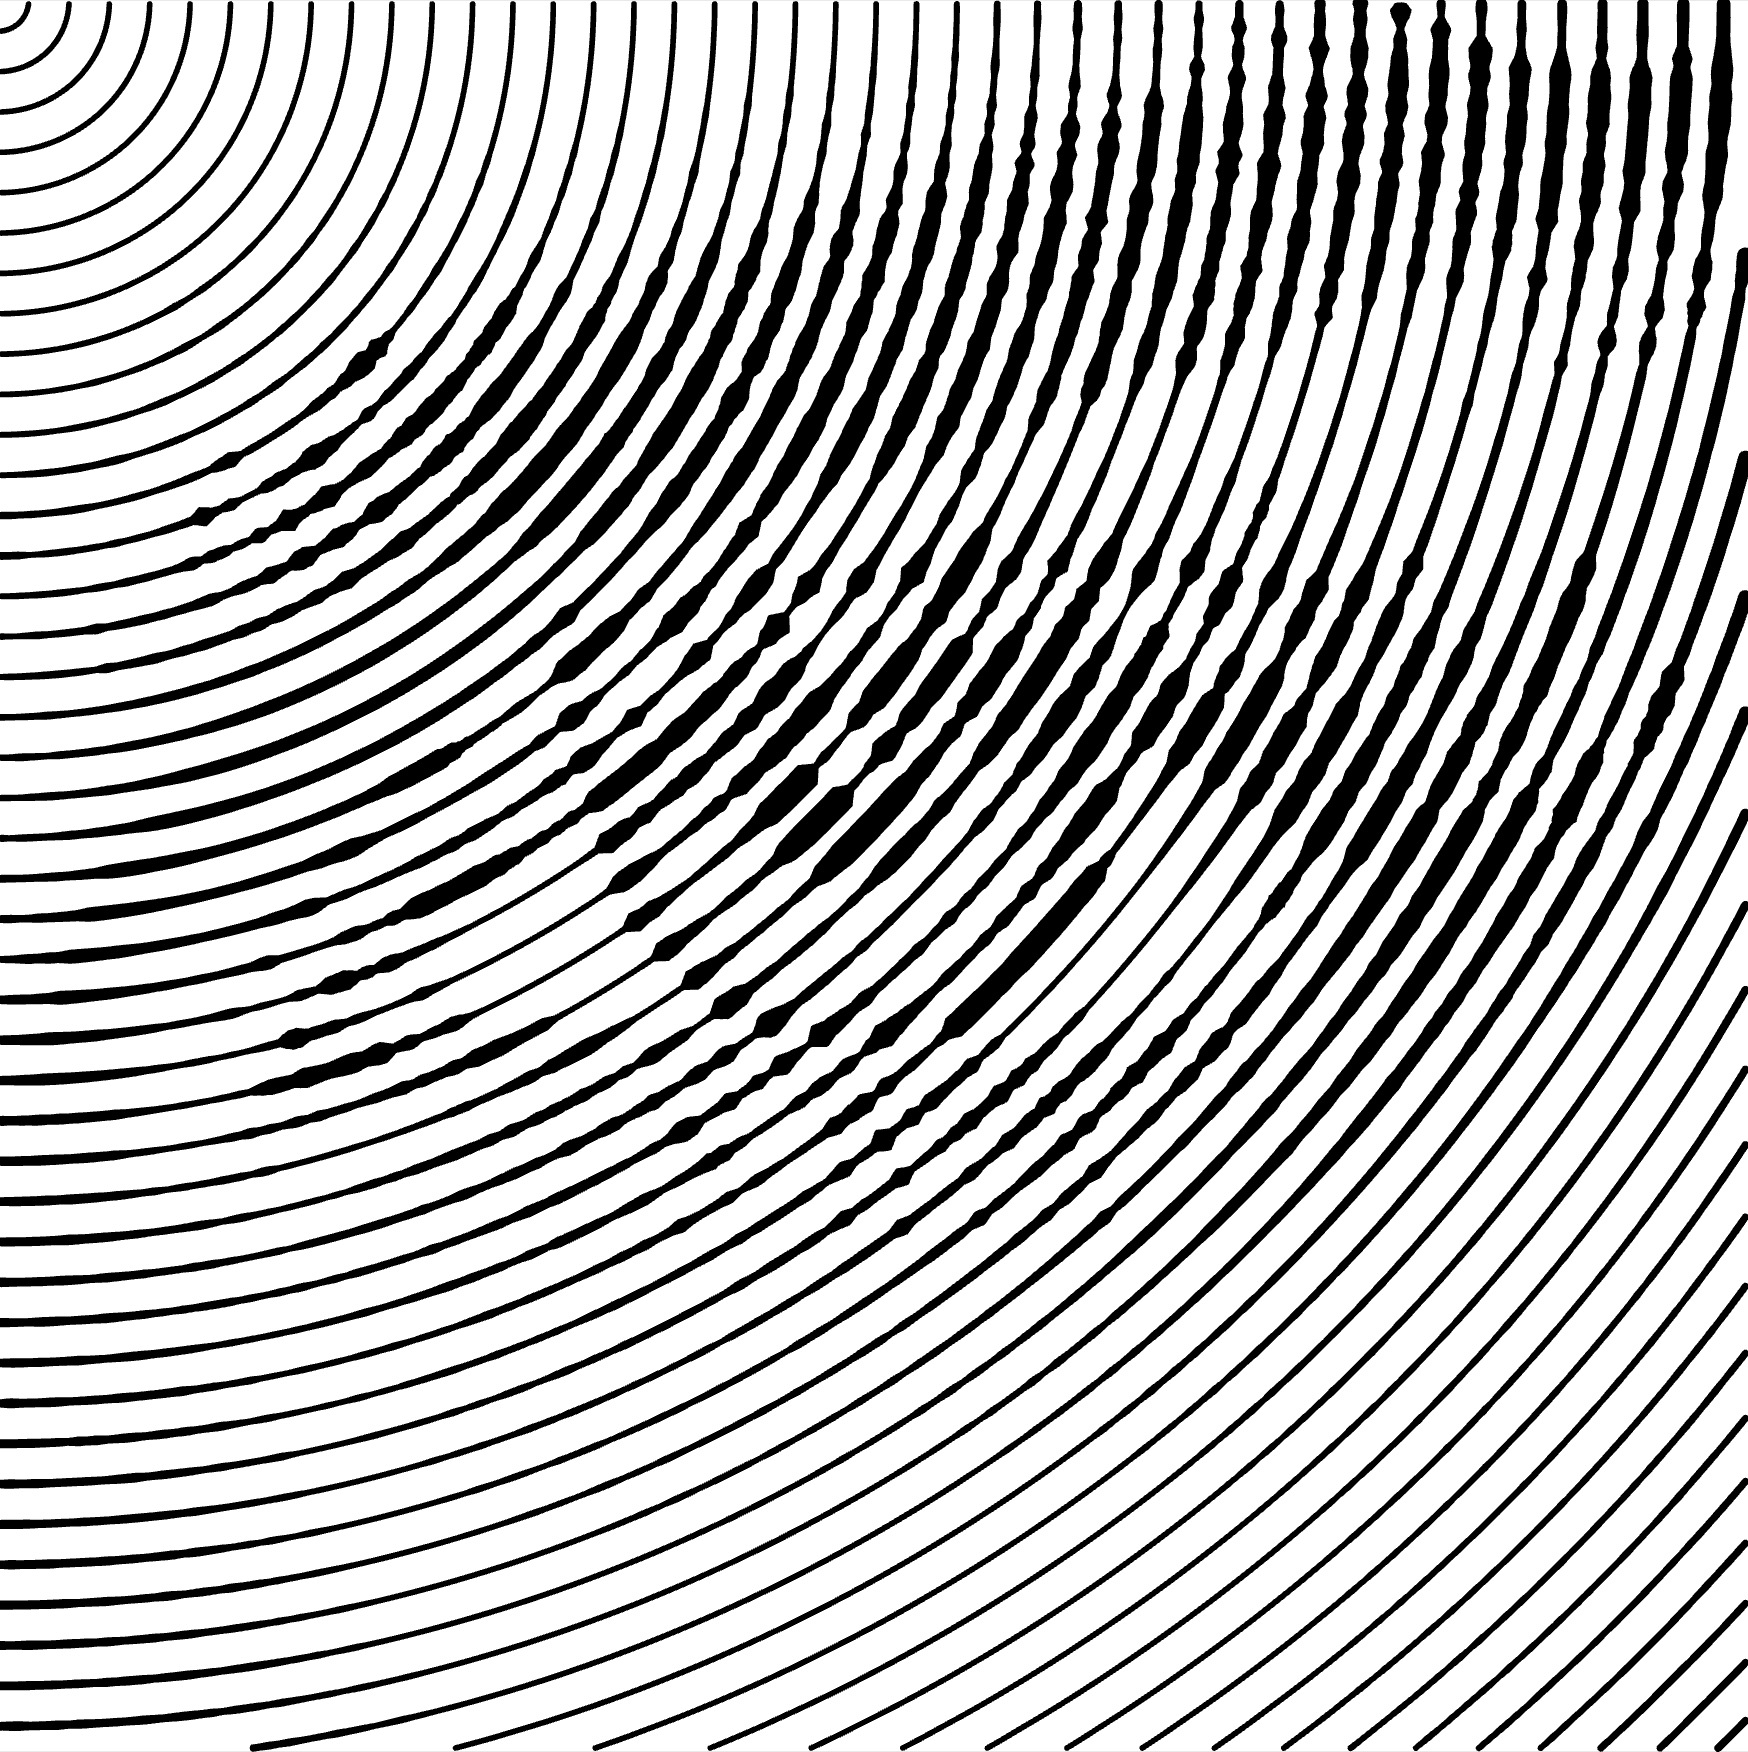
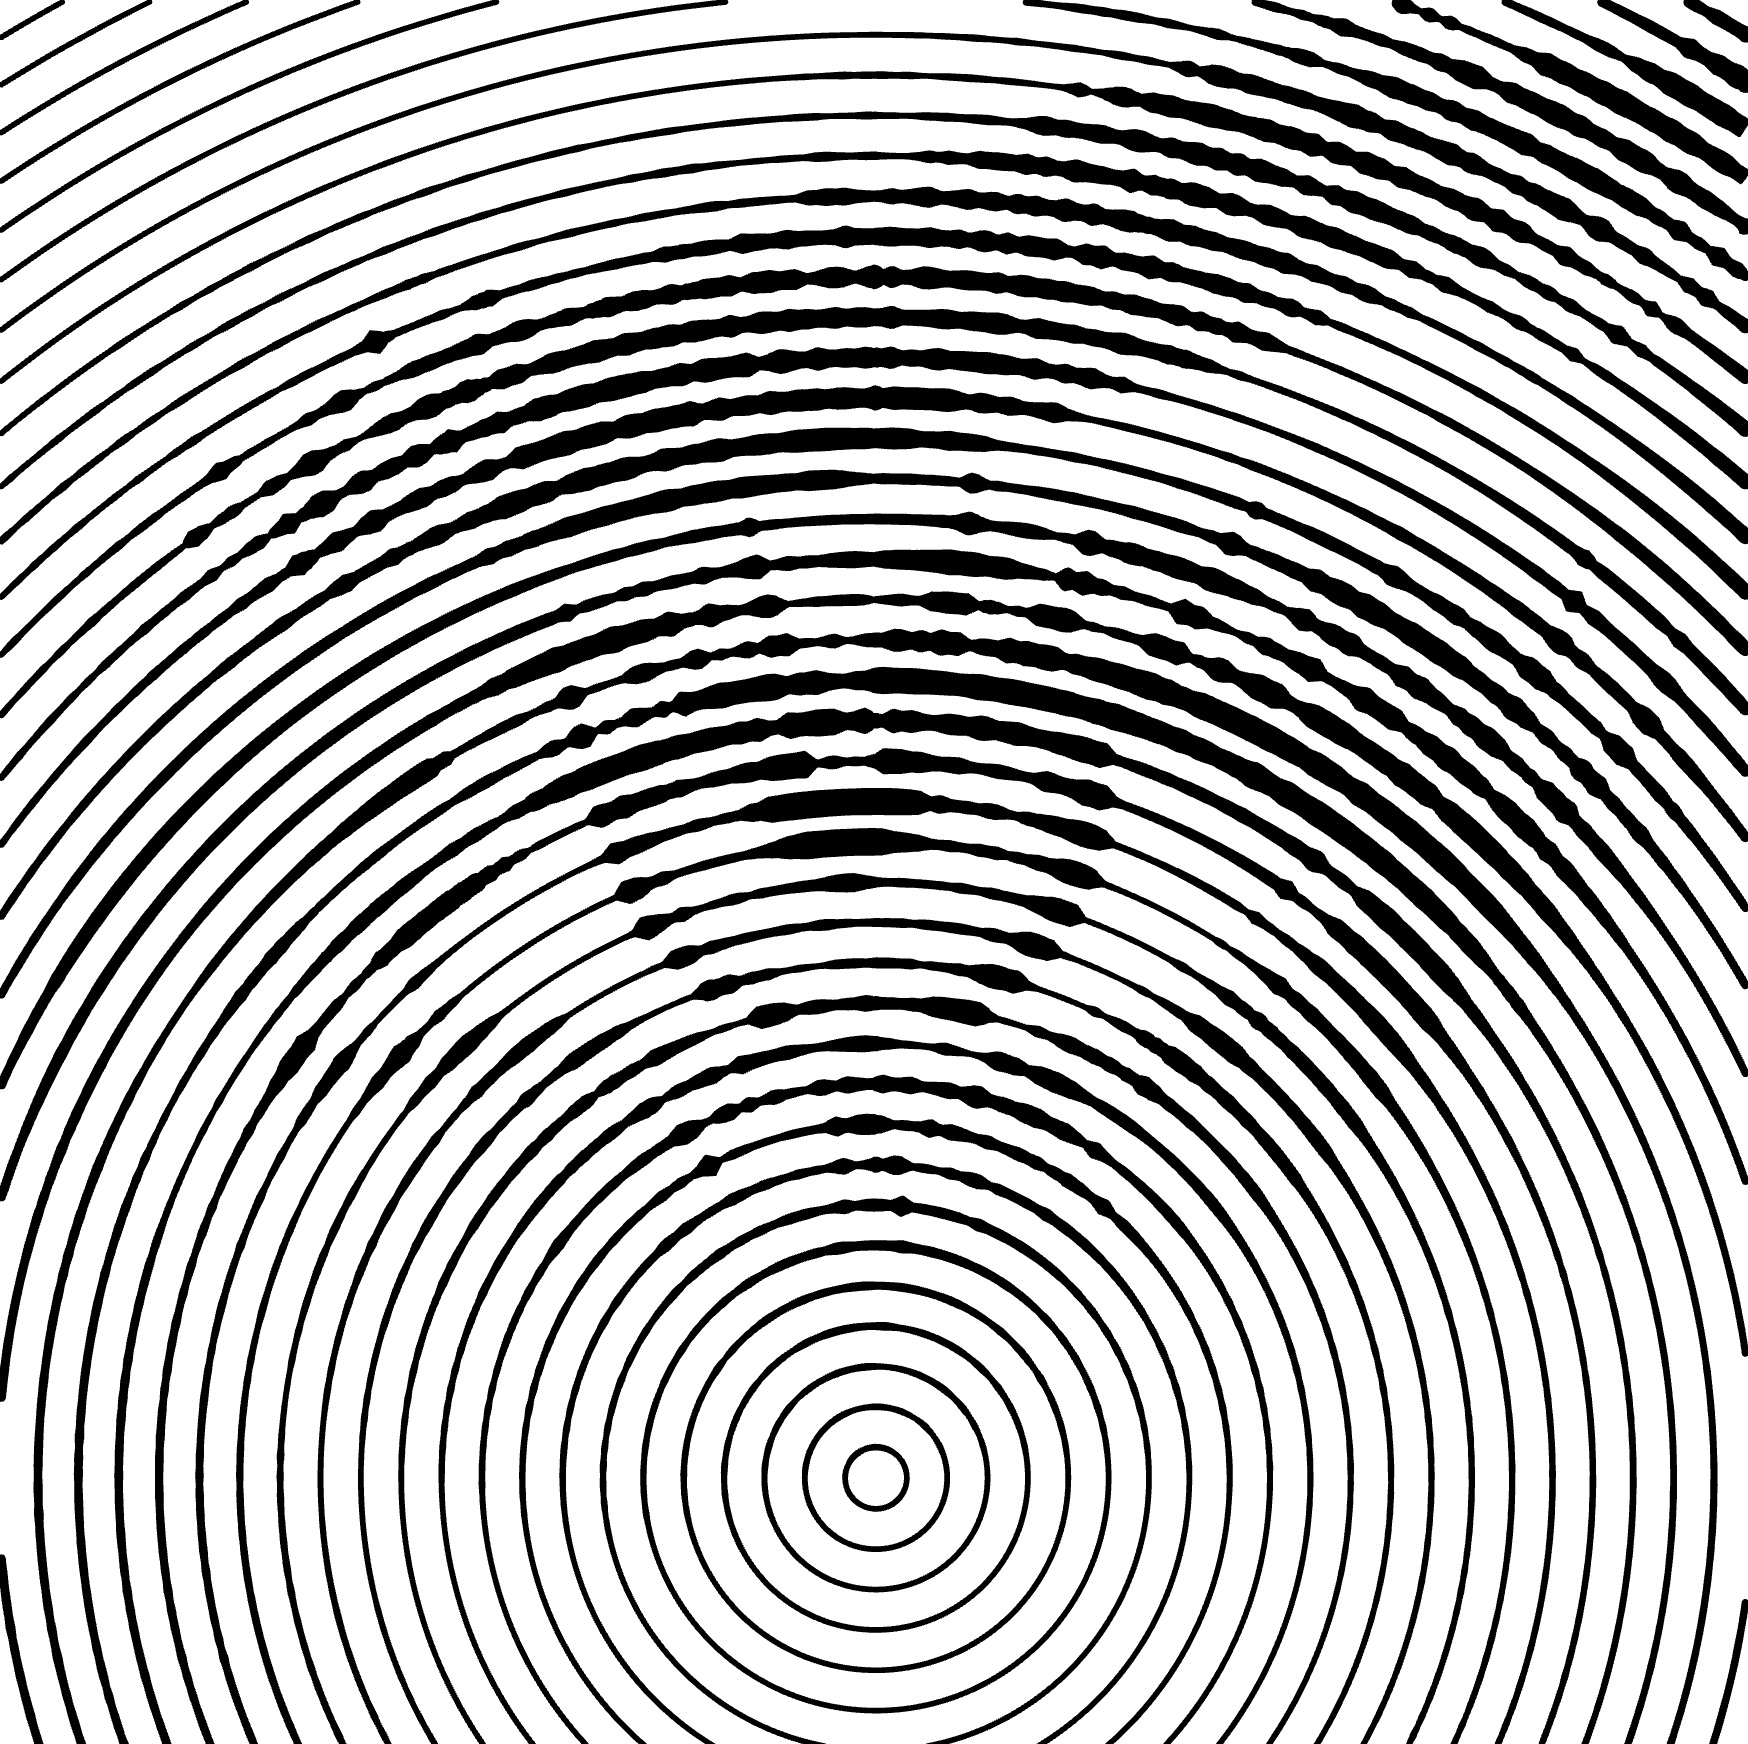
Center
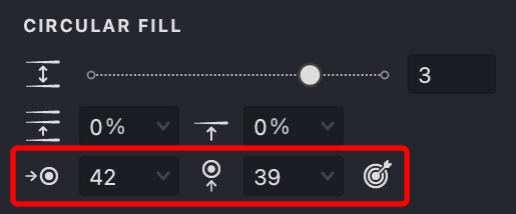
- Find the Center options.
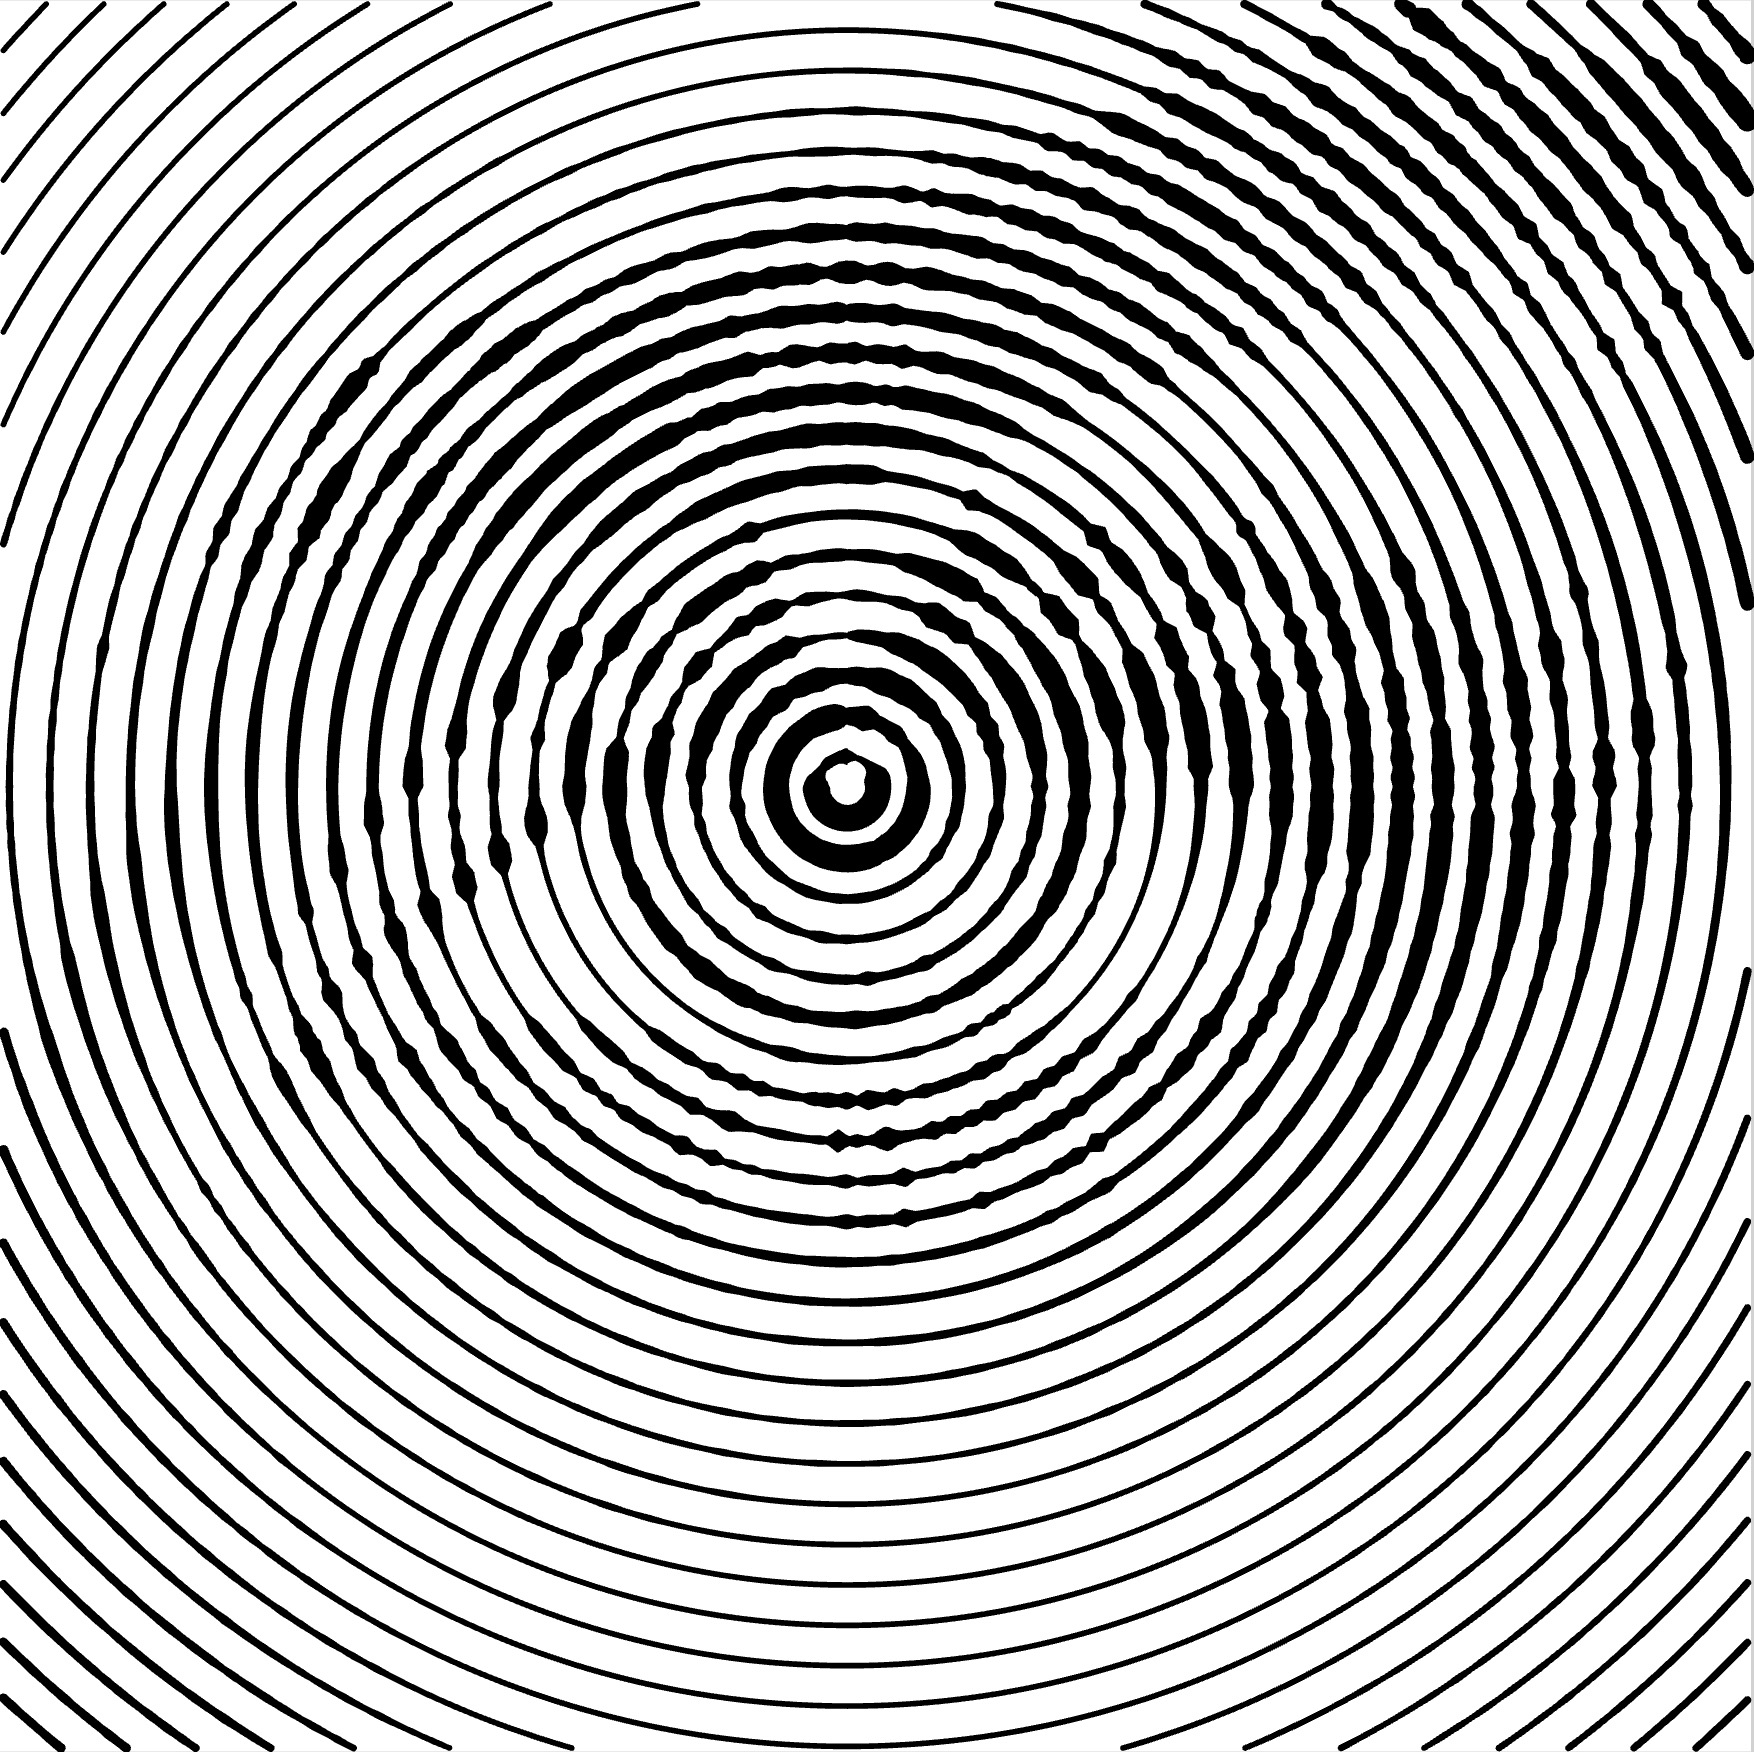
- Two input fields allow you to set the horizontal and vertical coordinates of the fill's center.
- Adjust these coordinates using the drop-down slider or by entering the values directly.
- Alternatively, use the "Interactive Center Locator" feature by clicking its button and then clicking on the desired point in your image.
| center: 0,0 | center: 40,40 | center: 40,70 |
|---|---|---|
 |
 |
 |
Stroke Properties
Other properties apply to this fill, which you can read about in the relevant articles:
Link to Example
You can use the example file for this article UM3-Fills-Circular.lines to practice adjusting "Circular" fill parameters.
