Source Image
Most Vexy Lines documents start from a source image: an imported raster image — a photo, drawing, scan, or illustration — that serves as the foundation for your artwork. Vexy Lines reads it to work out stroke thickness, dashes, embossing, and the other properties of every fill.
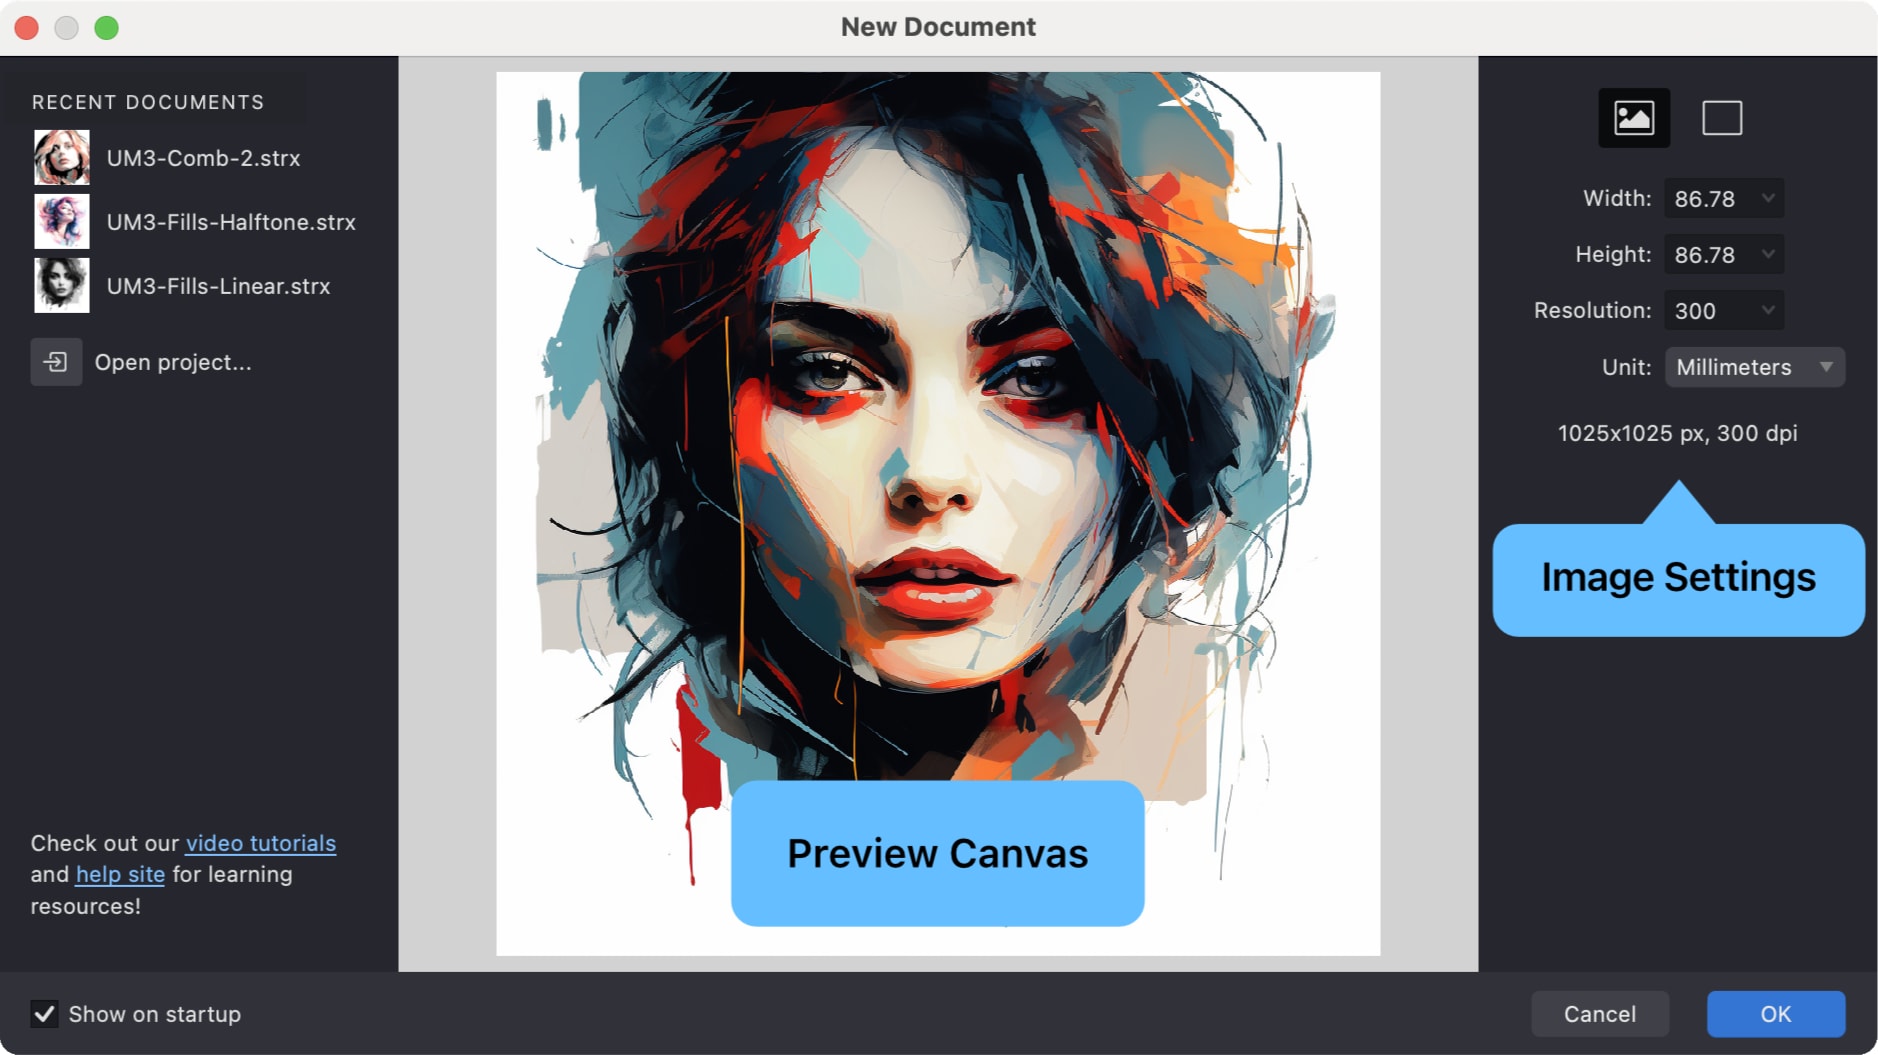
The source image isn't the finished vector. It's the reference that sits underneath while you work. You build fills on top of it and adjust it with filters as you go.
How it fits in
Fills do the actual work of turning a picture into vectors, and they read straight from the source image. Stroke thickness, dashes, embossing — Vexy Lines calculates all of it from the tones in the image, so the clearer the image, the cleaner the fills you get out of it.
That's also why filters are right there next to it. If a photo comes in too dark, too flat, or cluttered, fix it before you start: brighten it, add contrast, sharpen the edges you care about, or drop the background.
Don't agonize over getting the image perfect, though. It's raw material, not the final piece.
How Vexy Lines reads it
Under the hood, Vexy Lines looks at your image as shades of gray, from pure black to pure white. The dark areas become the heavier, denser parts of a trace and the light areas the lighter parts, which is what lets a single image drive everything from thin hairlines to solid fills.
You don't have to take the whole tonal range, either. The Image & Signal setting lets you pick exactly which band of grays gets traced, so you can ignore the brightest highlights, the deepest shadows, or both. See the Image & Signal article for the details.
What makes a good image
Starting out, go for clear outlines and shapes that read at a glance: portraits, single objects, animals, plants, buildings, a landscape with a strong silhouette.
The subject should stand apart from the background. When it blends in, or the photo is grainy, washed out, or blurry, run it through a filter first to give Vexy Lines something definite to follow. A bit of resolution helps too, since you can only trace detail that's actually visible.
If you don't have an image ready, there are royalty-free samples at gallery.vexy.art.
Add a source image
The very first source image arrives when you create a document, where it's linked to the document's root group. A few ways to bring one in:
- Click the Image icon and pick a file from your computer.
- Drag an image file onto the preview area, or onto the Vexy Lines application icon.
- If you've copied an image from another editor, click Paste from Clipboard below the preview area.
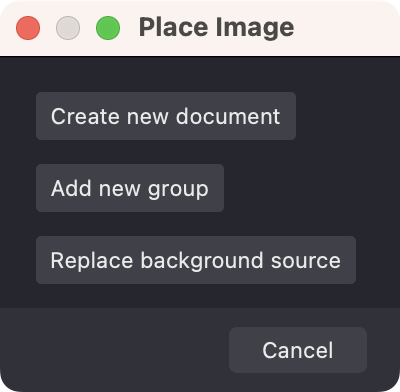
Drag an image into a document that already has content and Vexy Lines asks what you'd like to do:
- Start a new document from the image.
- Add it as a new group.
- With a group selected, replace that group's image or simply add the image to it.
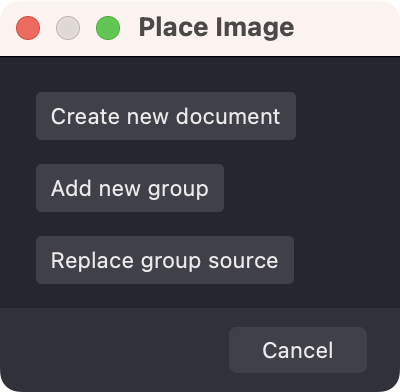
If nothing is selected, you'll be asked whether to replace the document's original image.
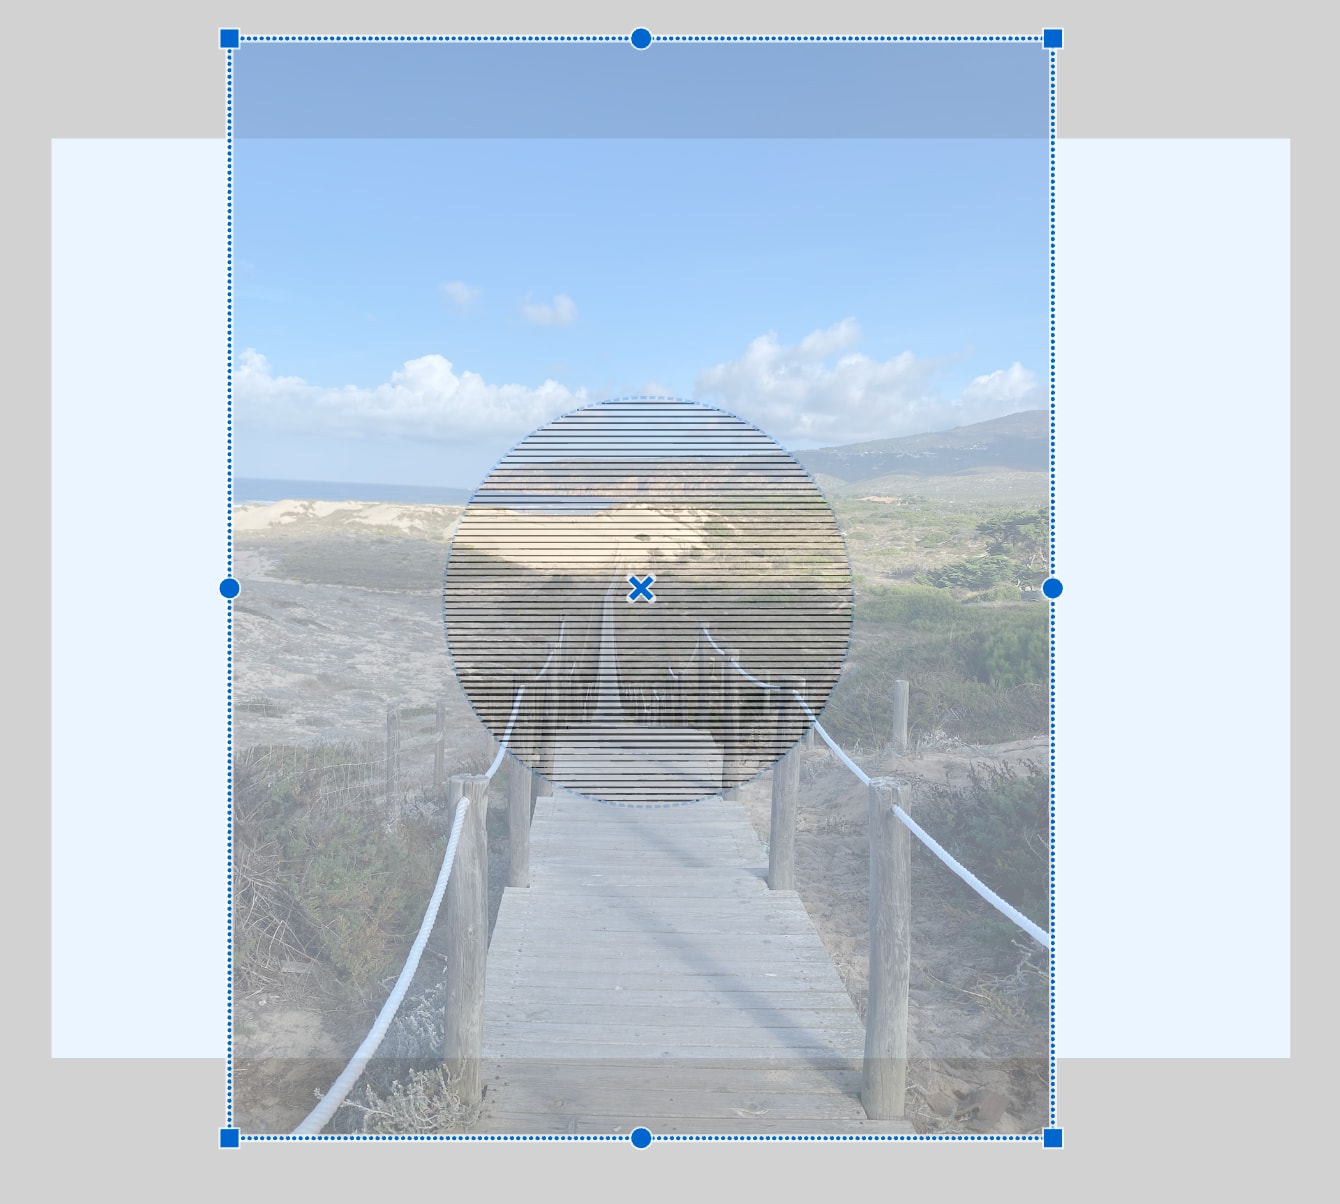
Once the image is in, you can size and position it against the document's dimensions. Press ⏎ to apply or ⎋ to cancel.
One image, or several
A document can hold more than one source image. Each is linked to a group, and every fill in that group — and its subgroups — uses the image from the nearest group above it in the hierarchy. So different parts of the same document can trace from different images.
Select an object and, if source-image visibility is on, the document background shows the image that object is tied to, so you always know which one is driving the fill.
In the Layers panel
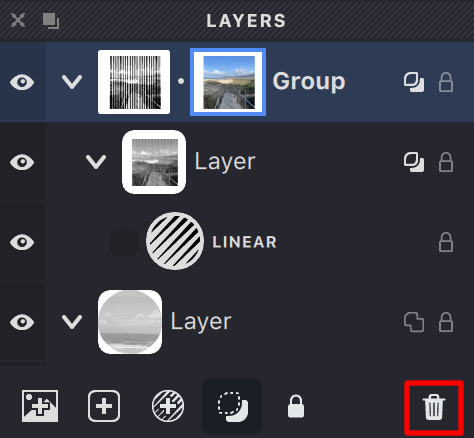
In the Layers panel, the group's linked image appears as an icon just to the right of the preview icon — a reminder that every fill in the group is calculated from it.
Click that icon to select the image itself, ready to transform or remove. To delete a selected image, hit the button or press ⌦ or ⌫.
Show, hide, or fade the image
You don't always need the source image in view. Toggle its visibility from the Toolbar:
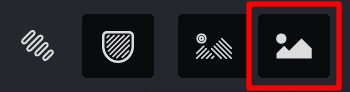
More about the Toolbar in the Toolbar article.
To fade the image rather than hide it outright, drag the transparency slider on the View panel:

More on that in the View article.
From here
Once the image is in, you're set to build. Clean it up with filters if it needs it, add your first fill, and refine from there. Pick something with a strong, simple shape for your first try and the rest comes easily.