Source Image Overview
A source image is an imported raster image that acts as the foundation for your work in Vexy Lines. The app reads it to work out stroke thickness, dashes, embossing, and the other properties of every fill.
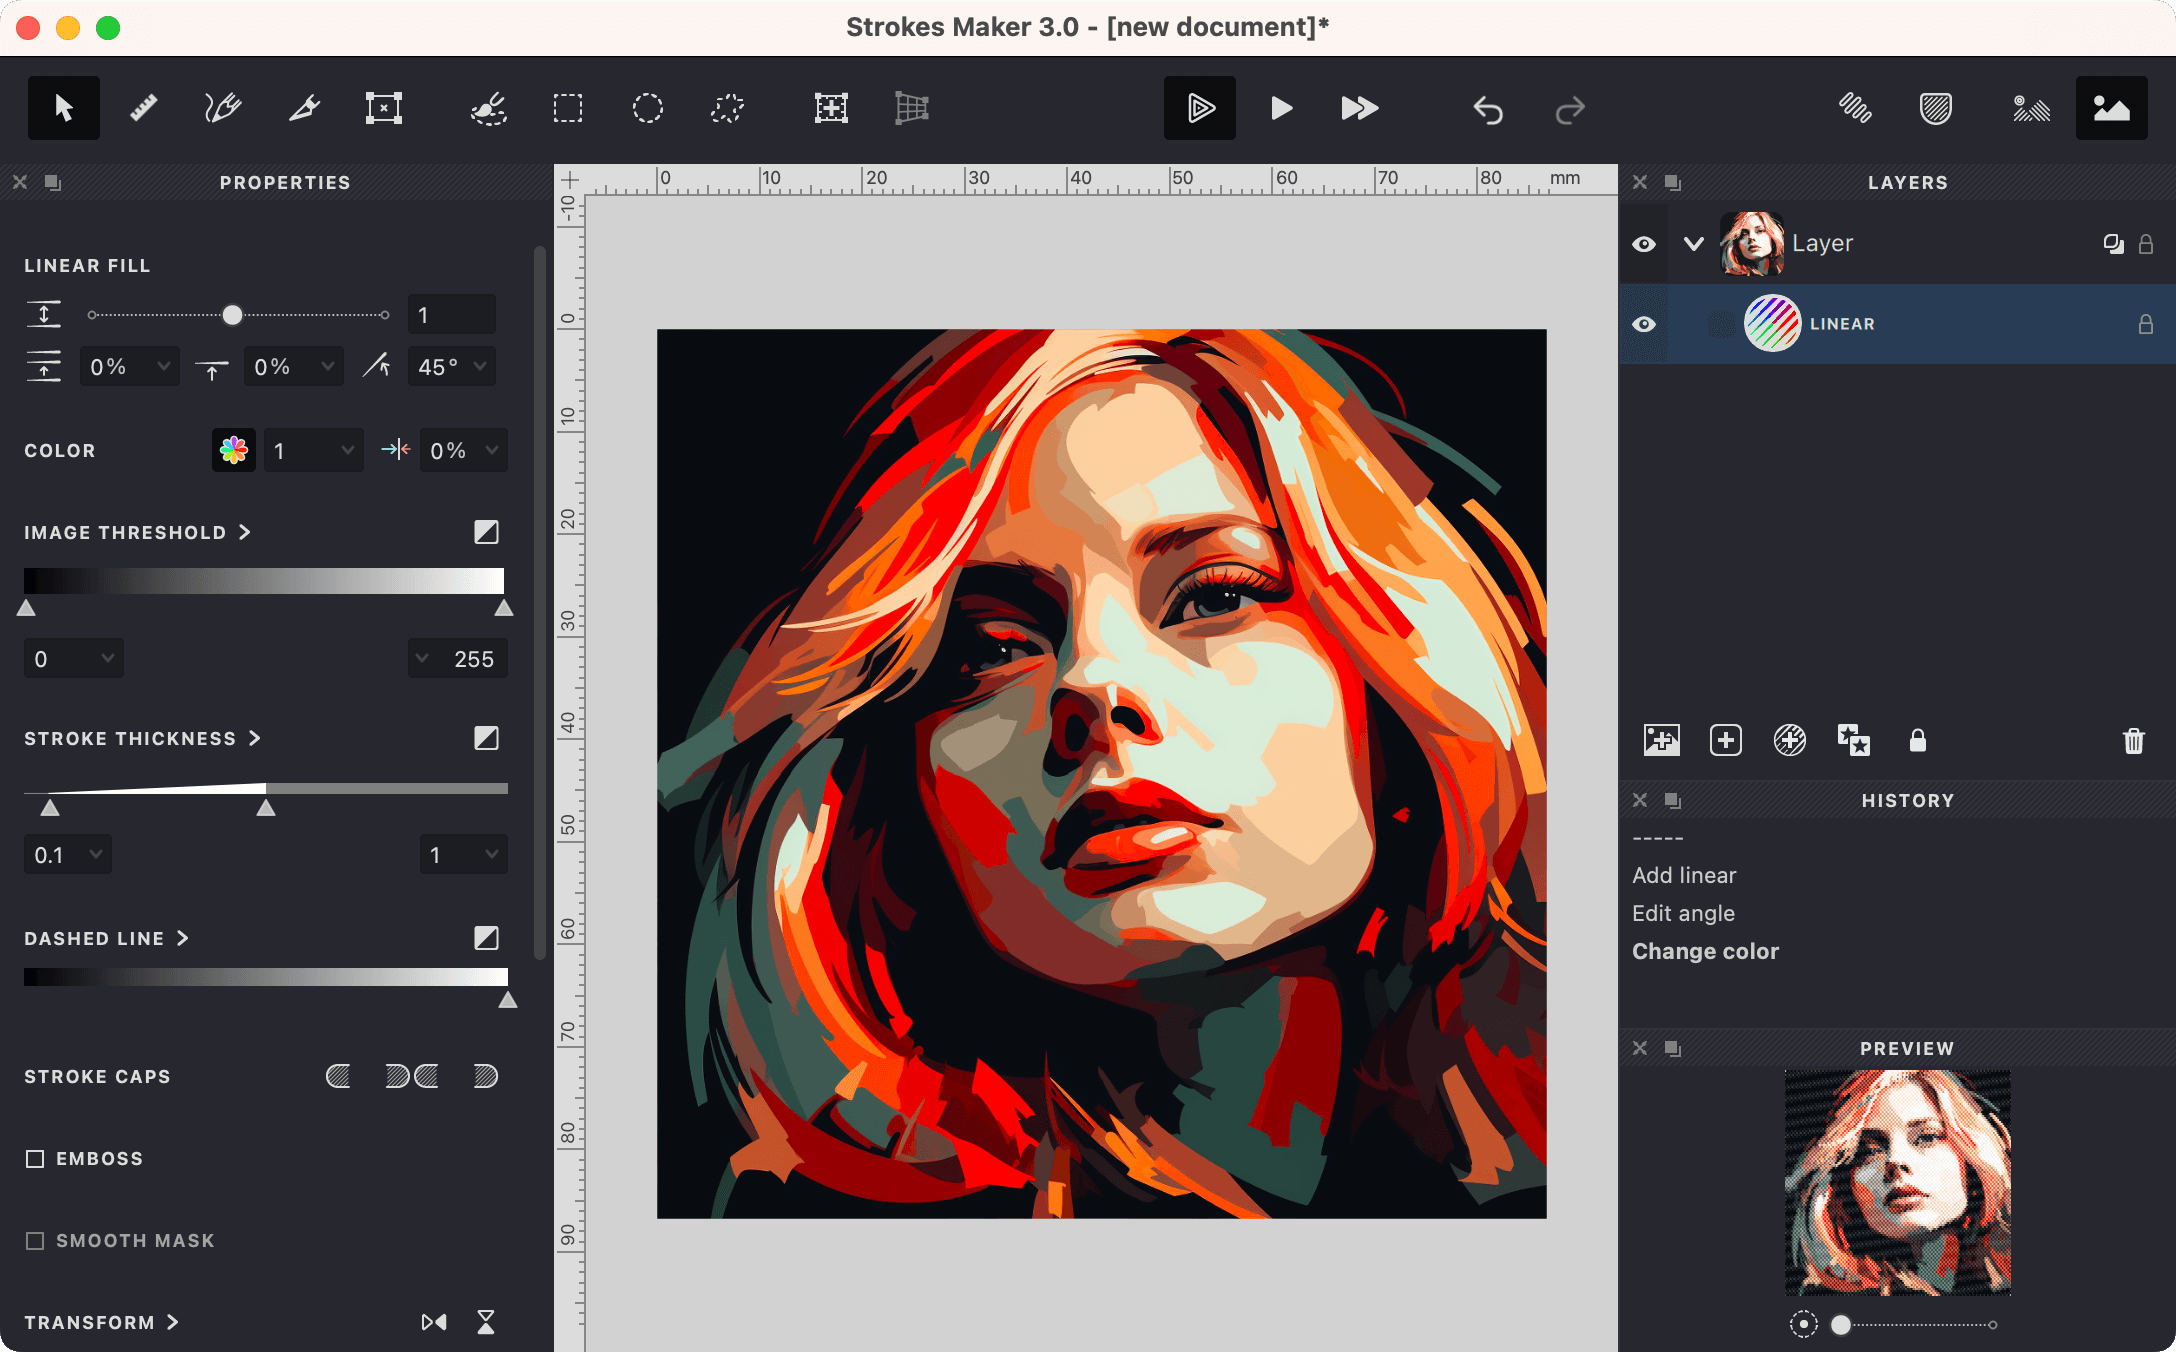
One image, or several
A document can hold more than one source image. Each is linked to a group, and every fill within that group — and its subgroups — uses the image from the nearest group above it in the hierarchy.
Select an object and, when source-image visibility is on, the document background shows the image that object is tied to.
Add a source image
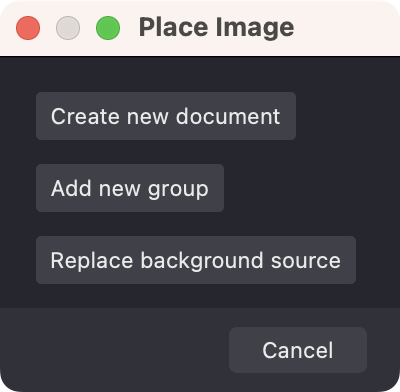
The first image comes in when you create the document, where it's linked to the root group. To add another, drag and drop it into the workspace. A dialog opens with a few options:
- Create a new document from the image.
- Add a new group with the image.
- With a group selected, replace that group's image or simply add the image to it.
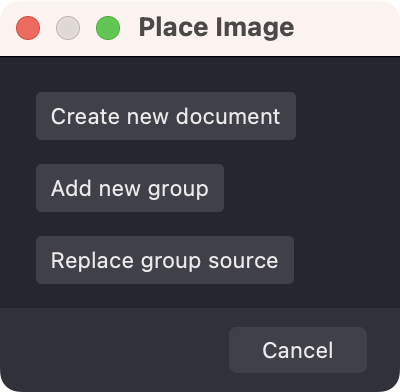
If nothing is selected, you'll be prompted to replace the document's original image.
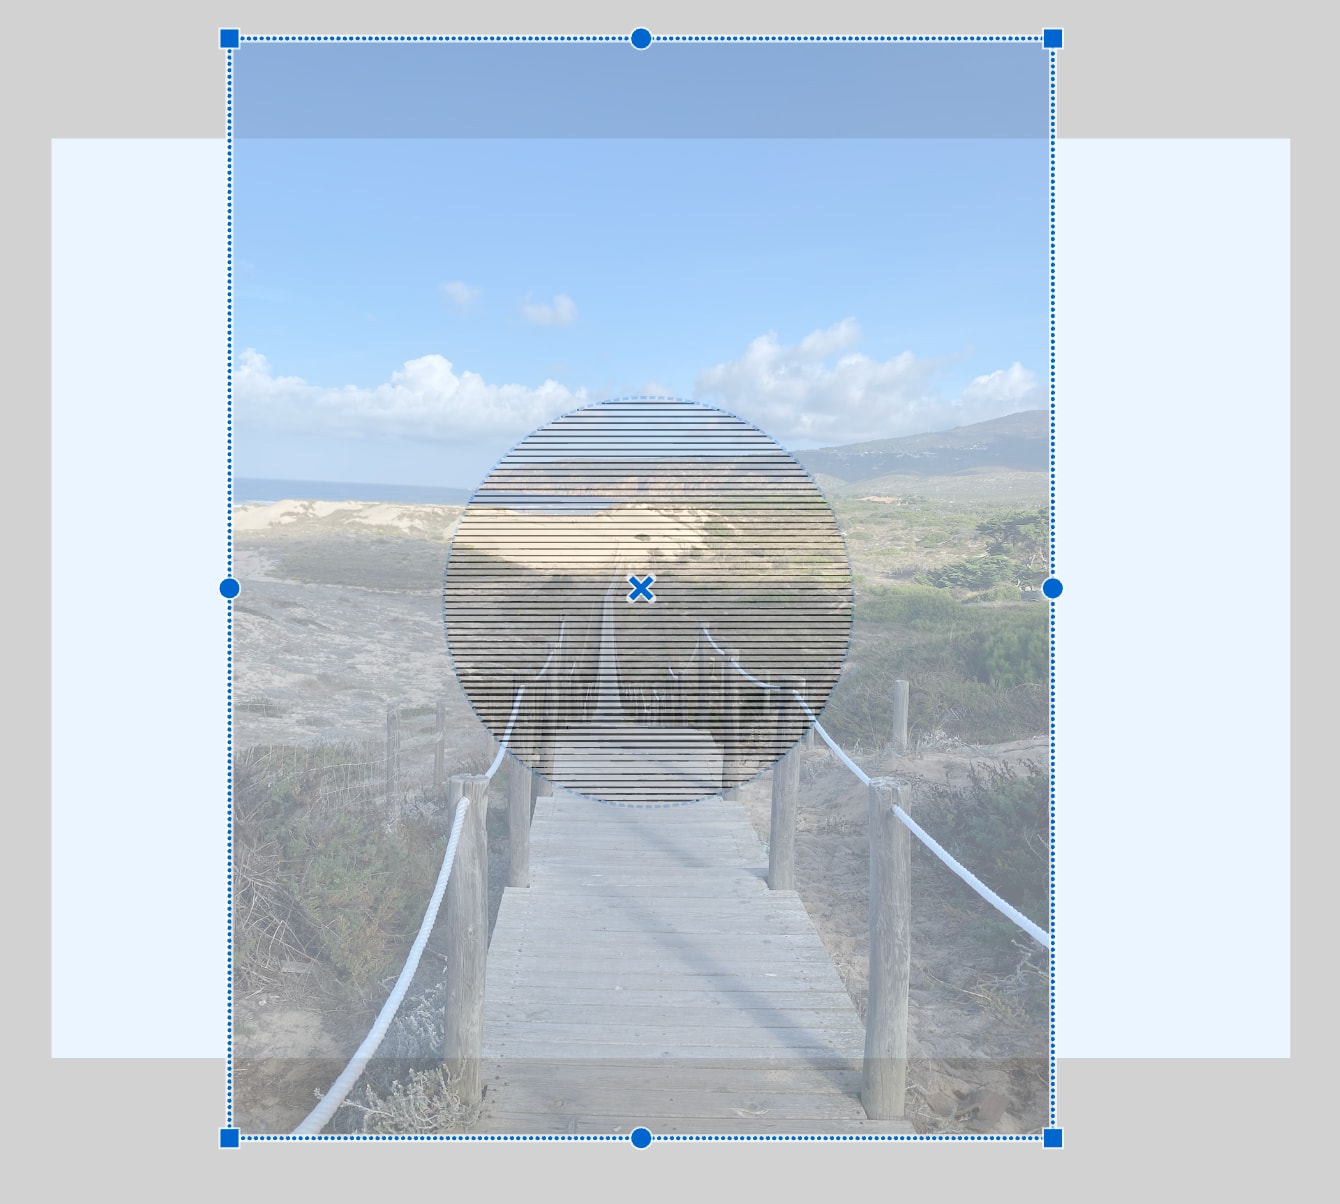
Once it's in, size and position the image against the document's dimensions. Press ⏎ to apply or ⎋ to cancel.
In the Layers panel
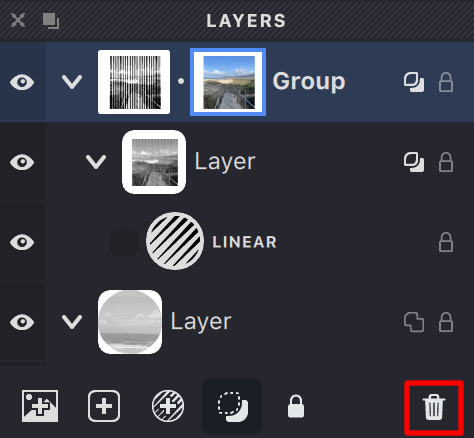
In the Layers panel, the group's image appears as an icon just to the right of the preview icon — a sign that every fill in the group is calculated from it.
Click the icon to select the image, ready to transform or delete. To delete it, press the button or ⌦/⌫.
Show, hide, or fade the image
You can toggle the source image's visibility, or fade it gradually.
To hide or show it, use the button on the Toolbar:

For more about the Toolbar, see the Toolbar article.
To fade it instead, drag the transparency slider on the View panel:

More on the View panel is in the View article.