The Mesh property of the layer provides an advanced level of flexibility by allowing you to manipulate fills using a grid-based system. This feature helps you create unique transformations and effects.
The following predefined mesh shapes are available:
 Rectangle
 Donut
Donut
 Rising wave
 Falling wave
 Rising ribbon
 Falling ribbon
Note: Meshes do not affect certain fill types such as trace, handmade, autowireframe, or scribble fills.
Activating Mesh Mode
- Select the layer you want to work with
- Click the Mesh button in the Layers Panel toolbar

- Choose one of the predefined mesh shapes
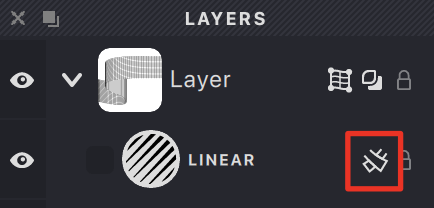
- The mesh grid appears on your layer and a toggle appears in the layer row

Front and Back Sides
When a layer has Mesh mode enabled, fills can be assigned to different sides of the mesh:
 Fill appears on both sides
 Fill appears only on front side
 Fill appears only on back side
Removing a Mesh
To remove a mesh from a layer:
- Select the layer with the active mesh
- Either:
- Navigate to Layer → Mesh → Remove
- Click the mesh icon in the layer row

For detailed information about working with meshes, see the dedicated Mesh chapter.