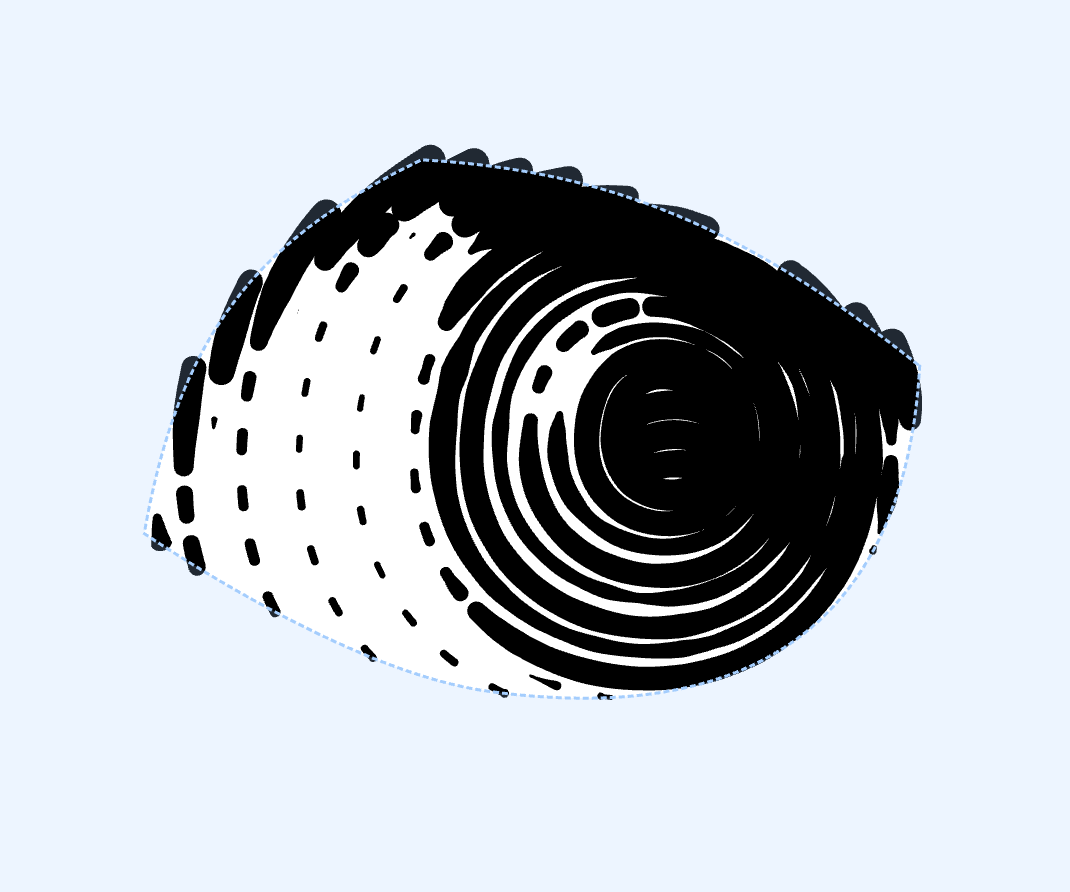
The mask is a feature within a Layer. It uses closed vector curves to determine which areas of the Fills in the Layer should be visible or hidden in the image.
Masks help you control the visibility of your artwork with precision. When you apply a mask to a layer, only the areas inside the mask will display the fills contained in that layer. This powerful feature allows you to:
- Create clean edges and defined boundaries
- Isolate specific areas of your artwork
- Combine multiple fills within controlled regions
- Achieve complex visual effects with minimal effort
Mask Tools
Vexy Lines provides several tools designed specifically for creating and editing masks:
- Brush Tool (B): Paint mask areas freehand with adjustable brush size
- Rectangle Tool (I): Create rectangular or square masks
- Ellipse Tool (O): Draw circular or oval masks
- Freeform Tool (S): Create custom shapes or auto-detect areas based on image content
Adding a Mask
- Select the layer you want to mask in the Layers panel
- Choose one of the mask tools from the toolbar
- Draw your mask shape on the canvas
- Adjust the mask properties in the Properties panel
Editing Masks
- Use the Editor Tool (V) to select and modify existing mask nodes and curves
- Combine multiple mask shapes to create complex masked areas
- Adjust mask feathering to create soft or hard edges
- Toggle mask visibility using the eye icon in the Layers panel
Mask Properties
In the Properties panel, you can customize your masks with options like:
- Feathering: Control the softness of mask edges
- Opacity: Adjust the transparency of masked content
- Invert: Reverse the masked area (show outside instead of inside)
- Operation: Choose how multiple masks interact (Add, Subtract, Intersect)
Mastering masks is essential for creating sophisticated vector artwork with Vexy Lines. With practice, you'll be able to control exactly which parts of your image receive specific fills and effects.