 The Editor tool is your primary selection and manipulation tool. Use it to select objects, move elements around, edit contours with precision, or clone objects for repeated use. It's an essential tool that gives you full control over your vector artwork.
Edit Tool Activation
Access the Editor tool by clicking its icon in the toolbar or navigating to Tools -> Edit in the main menu.

Tool shortcut : V
Selecting Objects
To select a fill, either click directly on it within your workspace or choose the desired Group or Layer from the Layers panel.
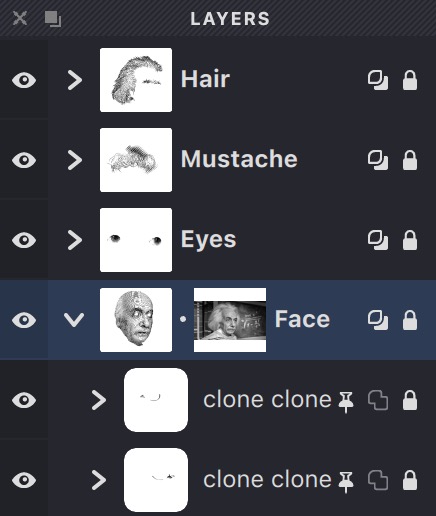
Hold ⇧ (Shift) while clicking to maintain your previous selection.
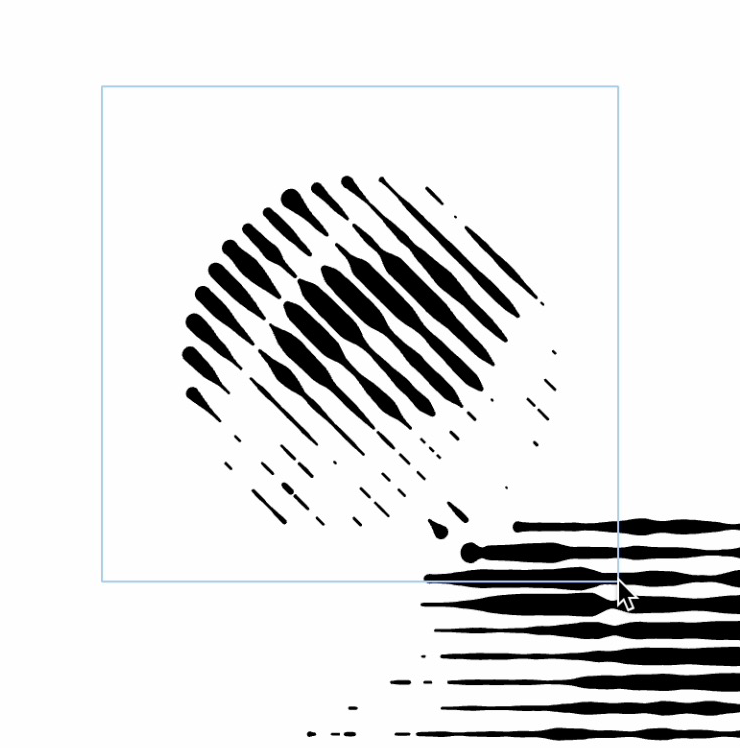
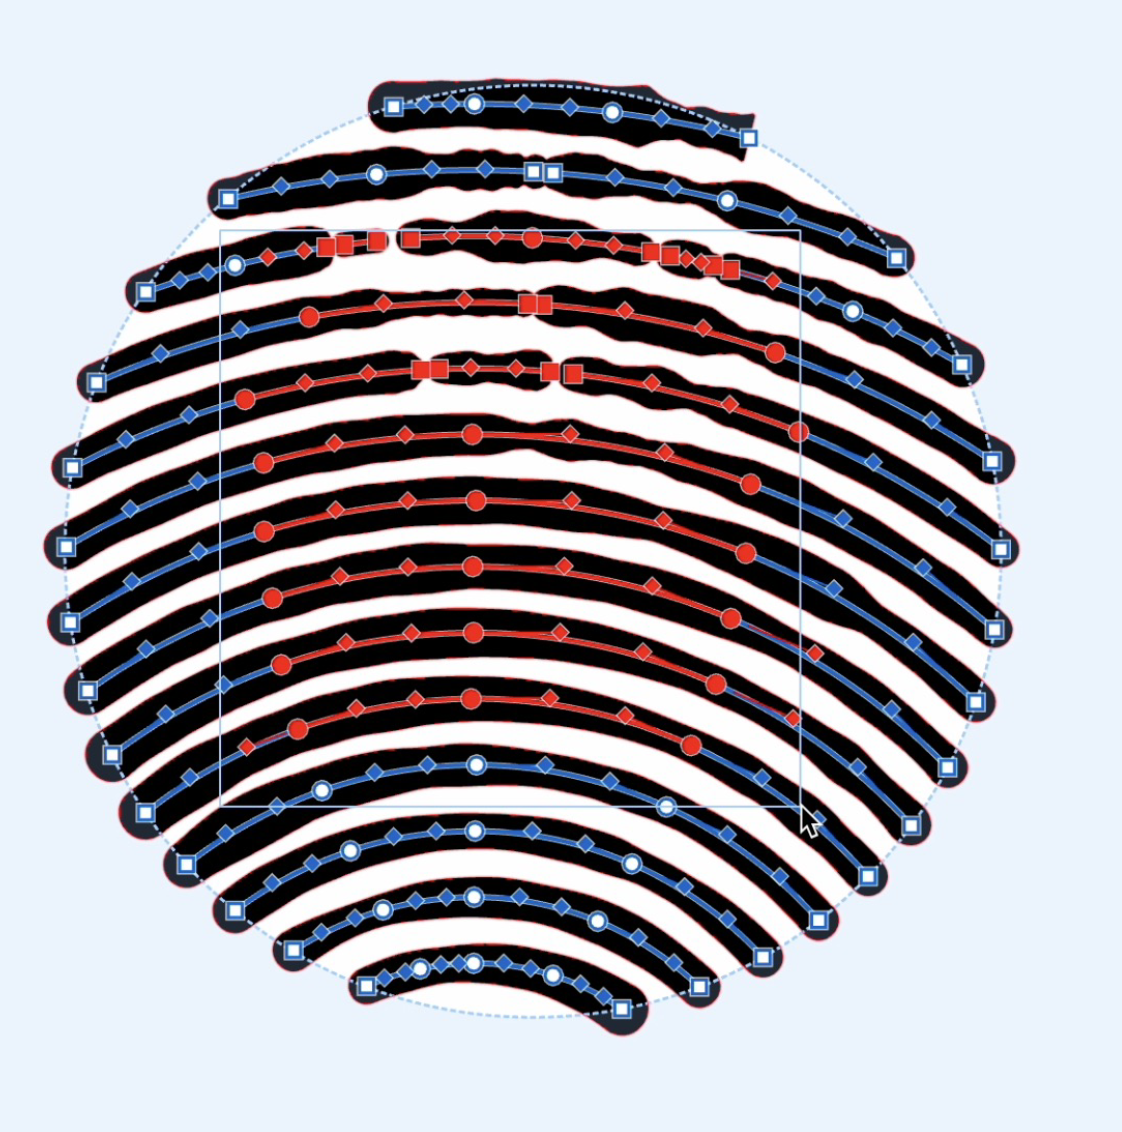
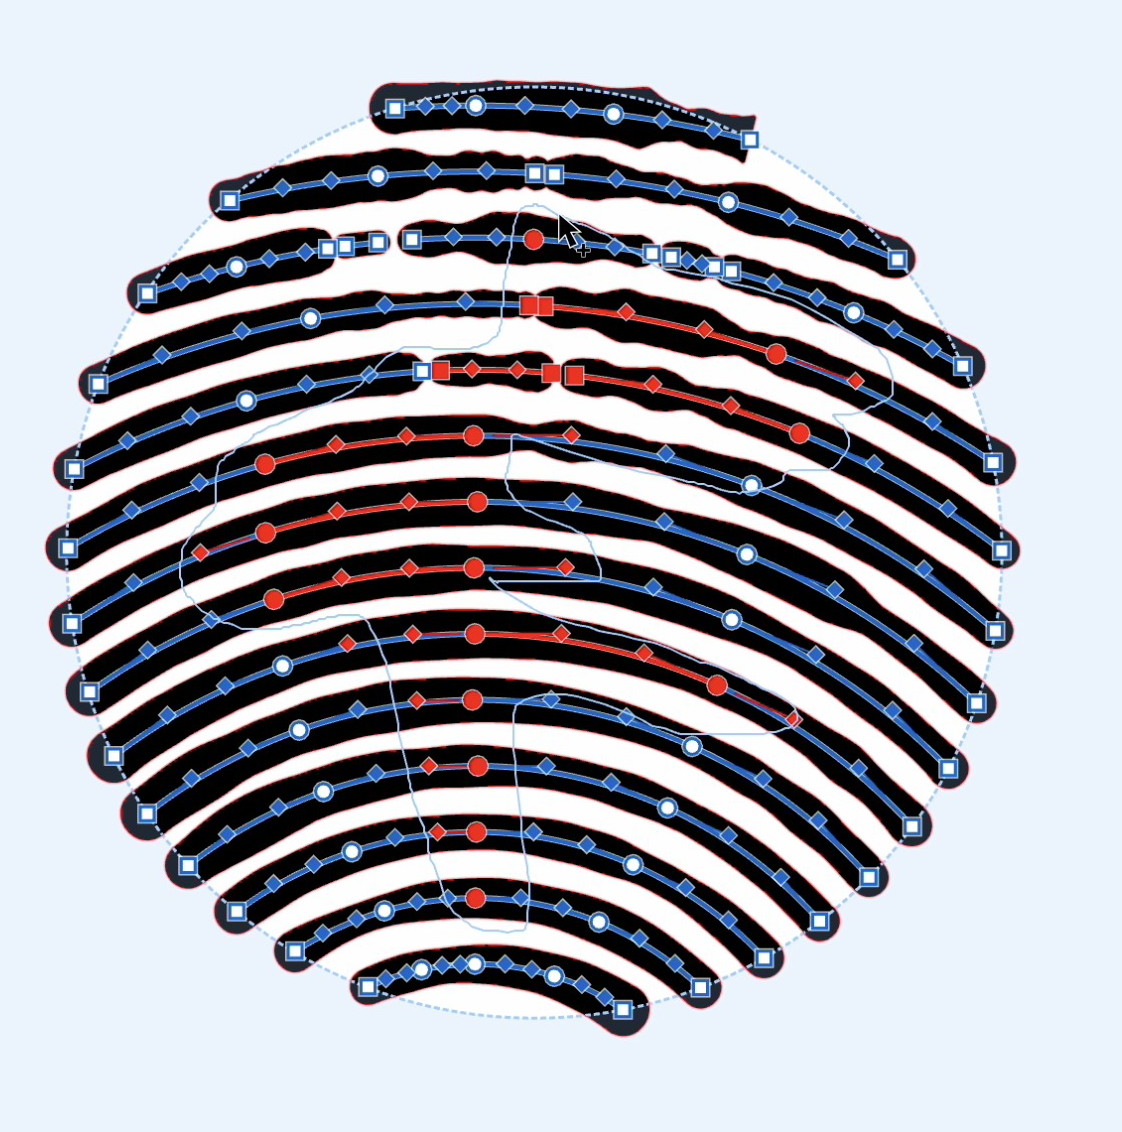
To select multiple layers, either draw a selection frame around them or hold ⌥ (Alt) and create a lasso path. Layers with strokes partially enclosed by the frame or path will be included in your selection.
| selection frame | selection lasso ⌥ (alt) |
|---|---|
 |
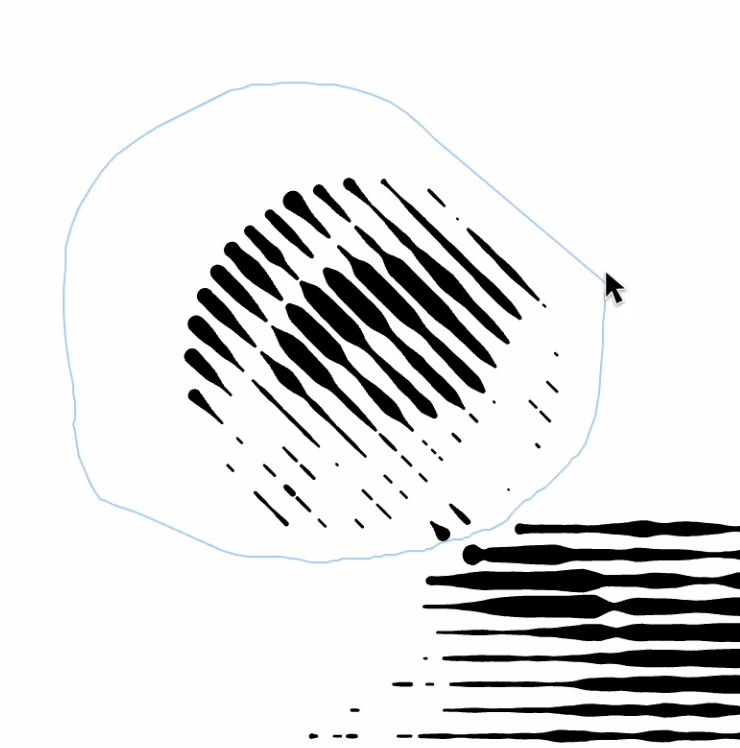 |
Selected strokes will be highlighted with a distinct color for easy identification, and vector contours within masks will be shown with a designated color for selected masks.
| simple object | complex object |
|---|---|
 |
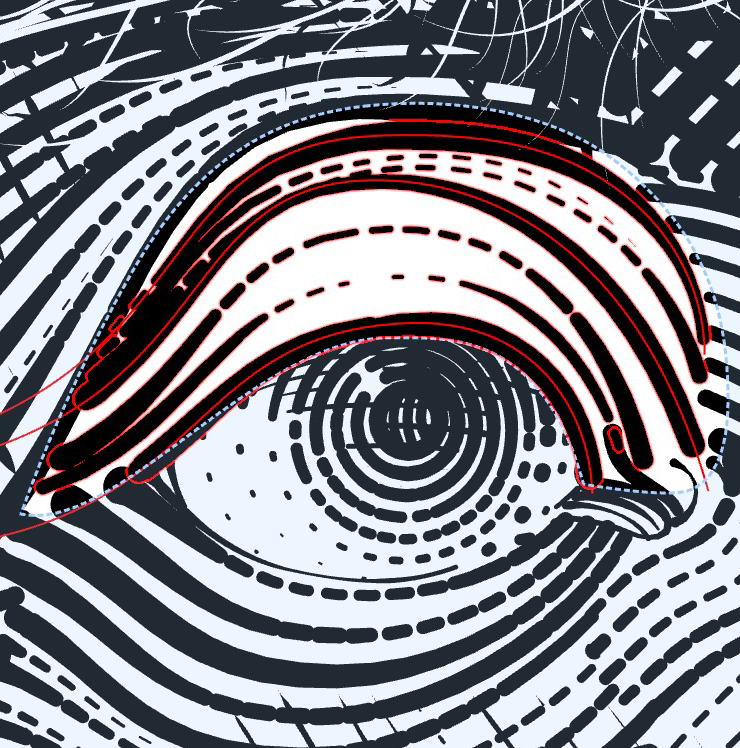 |
Highlighting
The highlight colors for selected strokes and masks can be customized in the VIEW properties panel or through Preferences settings.
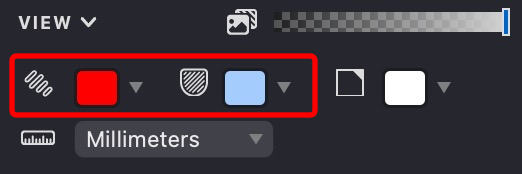
Control object highlighting in your workspace using these buttons on the right side of the toolbar.

 Toggle highlighting of selected outlines.
 Toggle highlighting of active control elements - masks, nodes, meshes, etc.
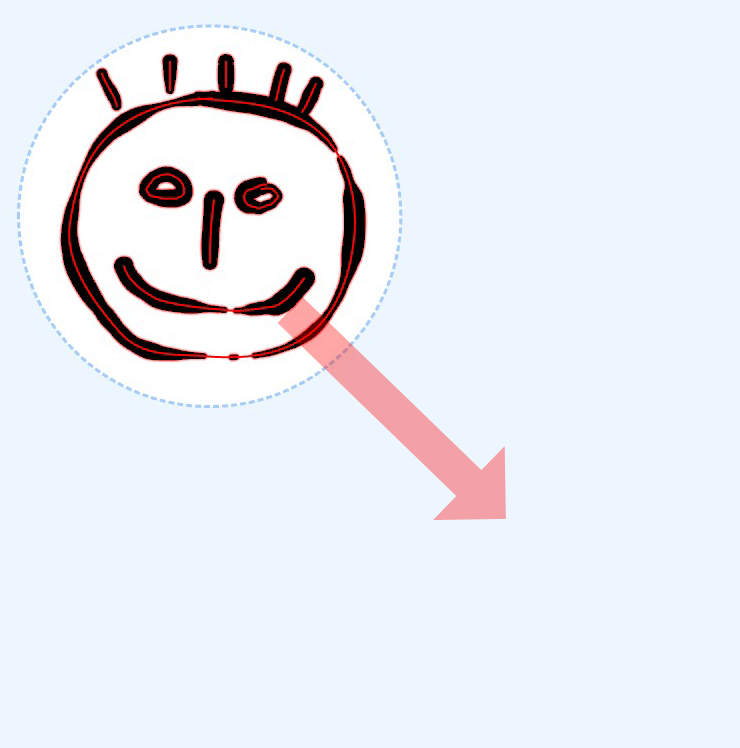
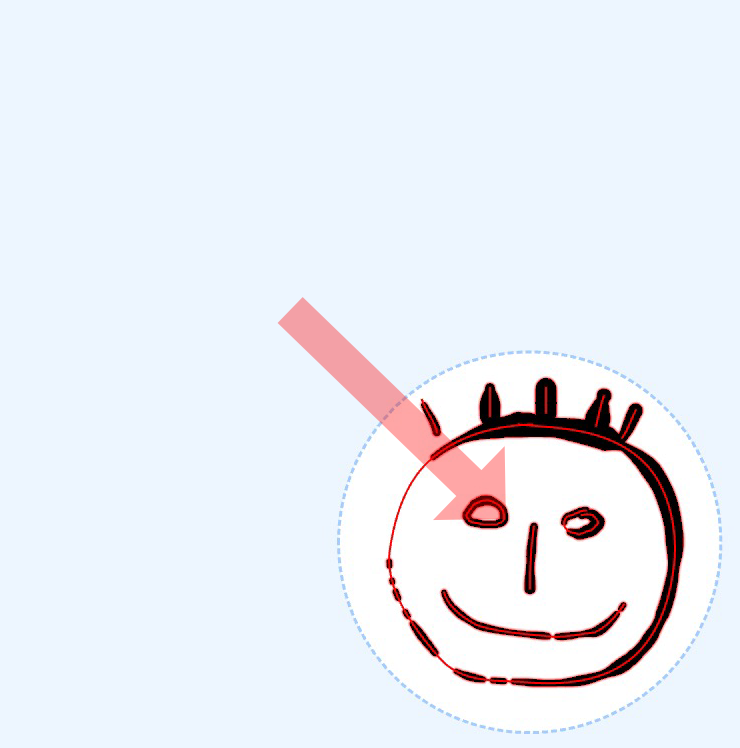
Move
To move an object, click on it (selecting it if not already selected) and drag to the desired position. The object follows your cursor movement.
When holding ⇧ (Shift), movement will be restricted to perfectly horizontal or vertical directions.
Release the mouse button when you've placed the object in its new position.
| start | moved |
|---|---|
 |
 |
When moving fills other than Handmade type, only the masks of selected objects move while fill strokes recalculate to match the new mask position. With Handmade fills, both the fills and basic outlines move together.
| start | moved |
|---|---|
 |
 |
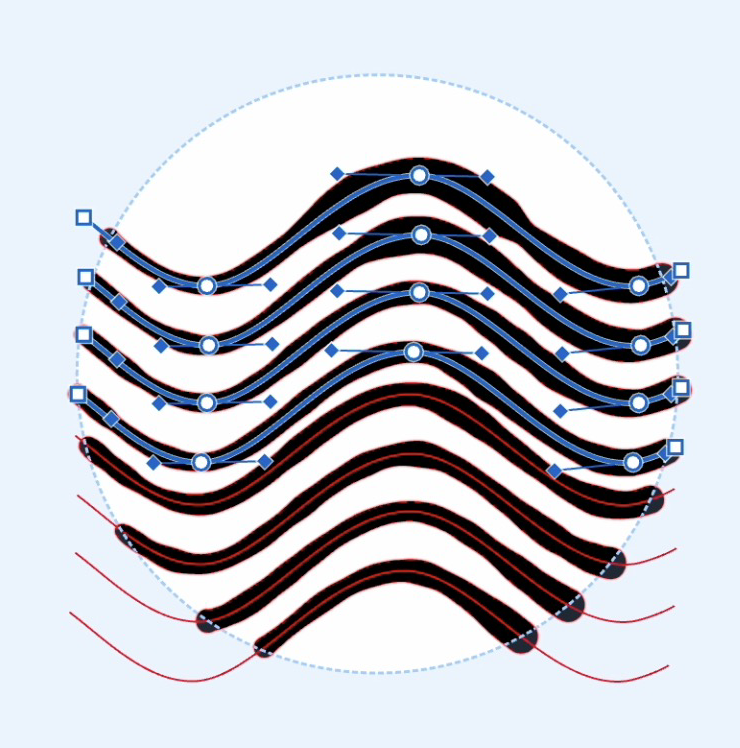
Selecting contours
The Editor tool allows precise selection and editing of contours and nodes. This is especially useful when working with vector curves in masks and Handmade fills.
For Handmade fills, select the fill first, then click on the contour you want to edit.
For mask contours, first select the layer containing the mask, then click on the specific contour you wish to edit.
To select multiple contours, hold ⇧ (Shift) while clicking each one.
To select all contours in a fill, press ⌘ (Ctrl) + A.
Once a contour is selected, its nodes become available for precise editing.
| handmade contour | mask contour |
|---|---|
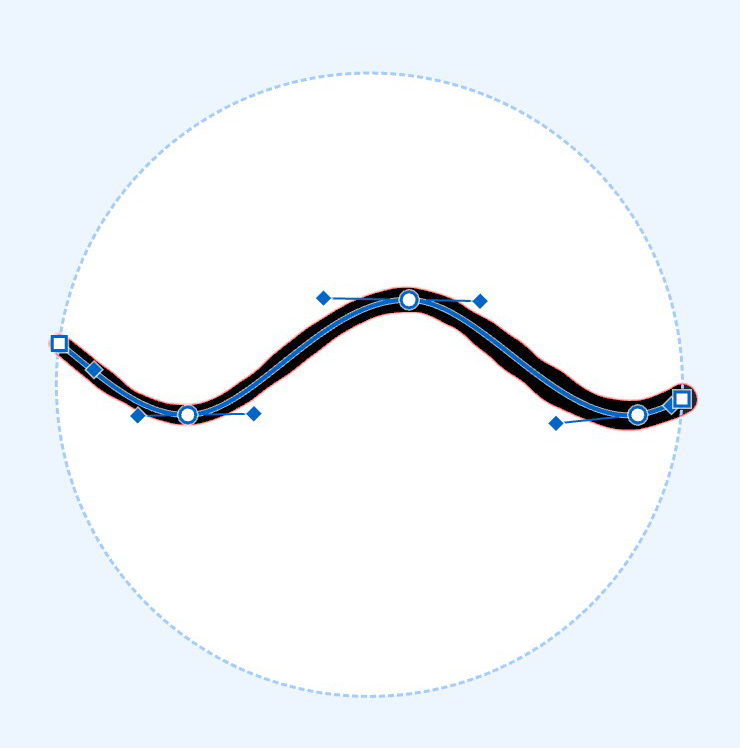 |
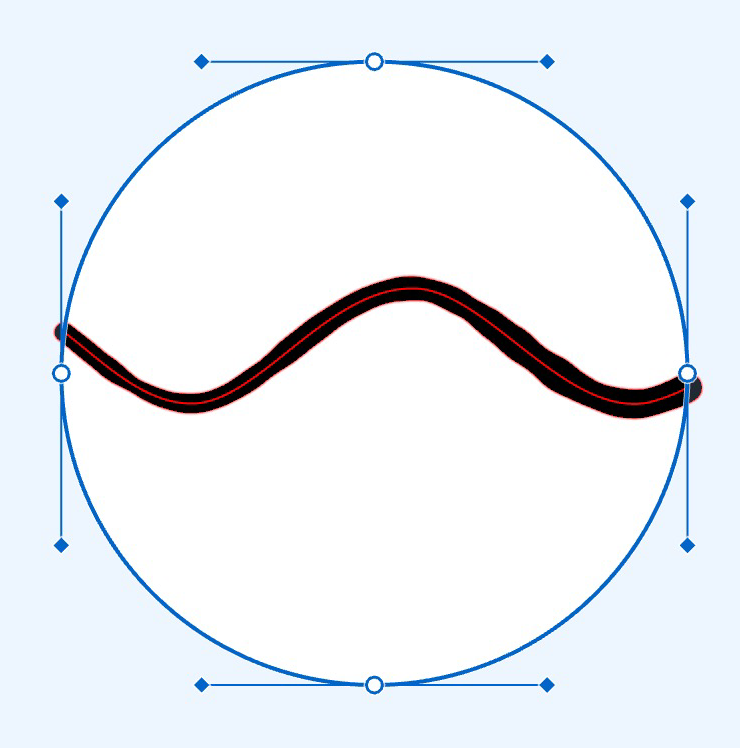 |
Selecting nodes
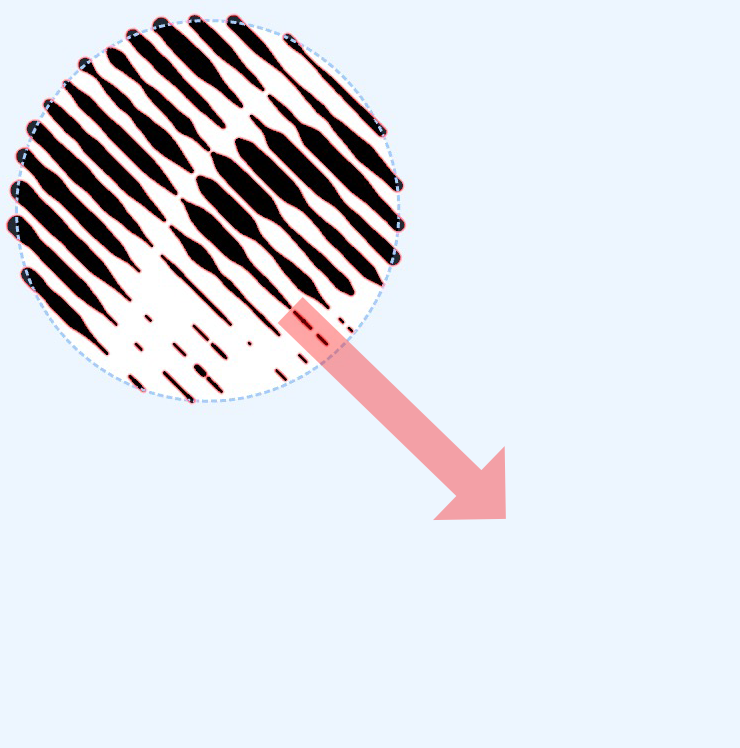
Select individual nodes with a simple click. Hold ⇧ (Shift) while clicking to maintain your existing node selection.
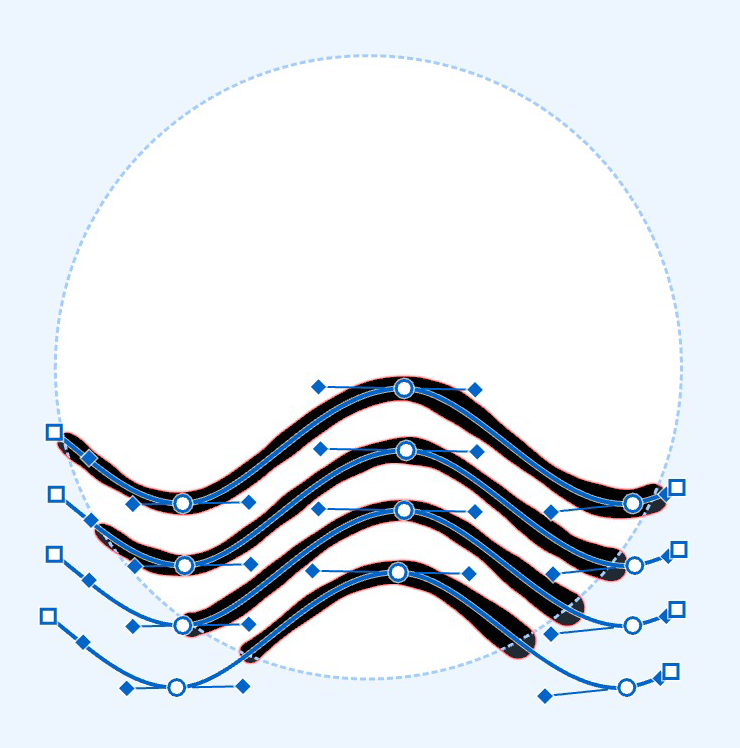
To select multiple nodes using a selection box, click in an empty area (where no contours exist) and drag to create a selection frame. Release the mouse button when finished - all nodes within the frame will be selected.
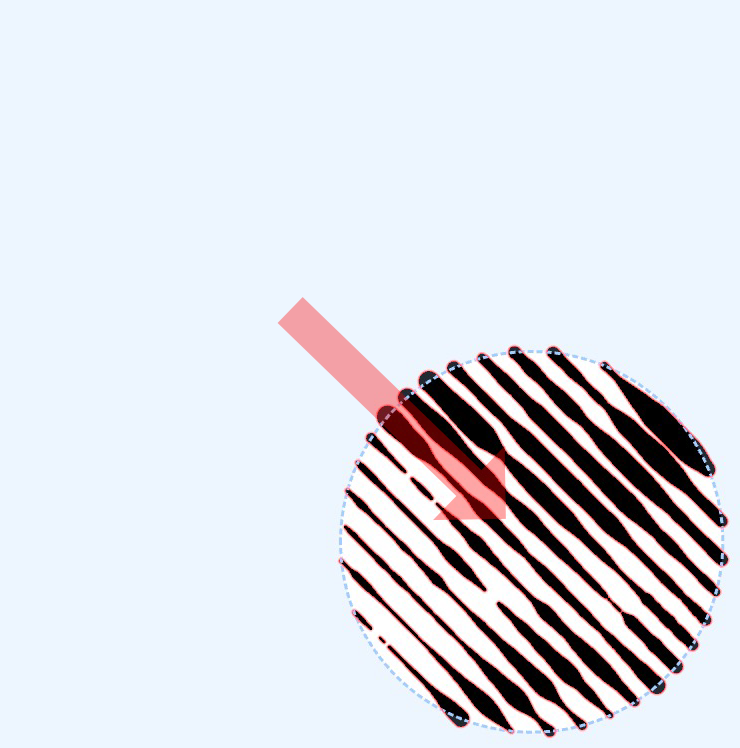
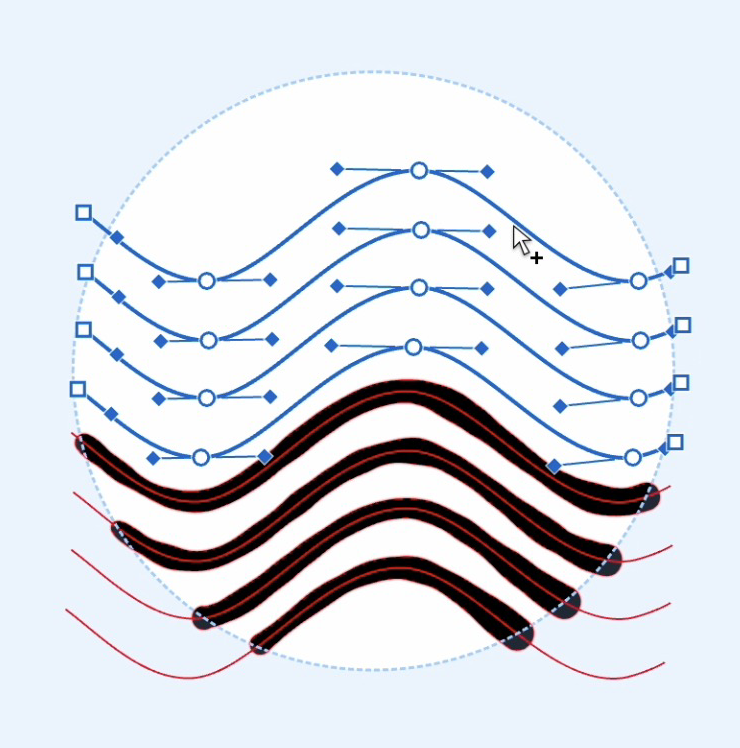
For more precise selection, hold ⌥ (Alt) to create a freeform lasso selection that follows your mouse movement. Hold ⇧ (Shift) during this process to keep your existing node selection.
| selection frame | selection lasso ⌥ (alt) |
|---|---|
 |
 |
Press ⌘ (Ctrl) + A to select all nodes in a selected contour. If no contour is selected in a Handmade fill, this will select all contours.
Clone Contours
For quick duplication in Handmade fills, hold ⌥ (Alt) while dragging selected contours. This works with single or multiple contours, creating exact copies at your chosen location.
| ⌥ (alt) + mouse press | mouse drag | mouse button release |
|---|---|---|
 |
 |
 |