 The Pencil tool creates and edits Handmade fills by drawing vector lines. Use it to build custom fill patterns with direct control over each stroke. It supports both freehand curves and point-by-point polylines.
Activating the Pencil Tool
Select the Pencil tool from the toolbar or navigate to Tools -> Pencil in the main menu.

Tool shortcut : P
Drawing with the Pencil Tool
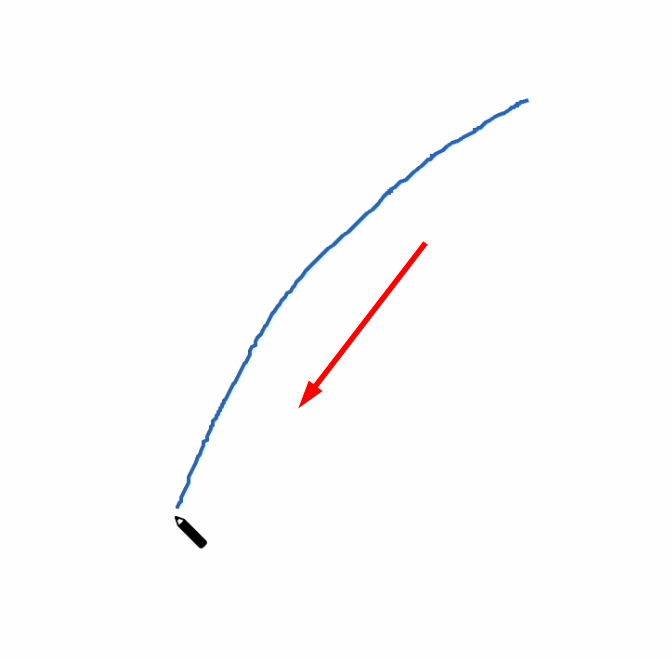
To draw a freehand curve, press and hold the mouse button, then drag along your desired path. Release the button when your drawing is complete.
| dragging | end of drag |
|---|---|
 |
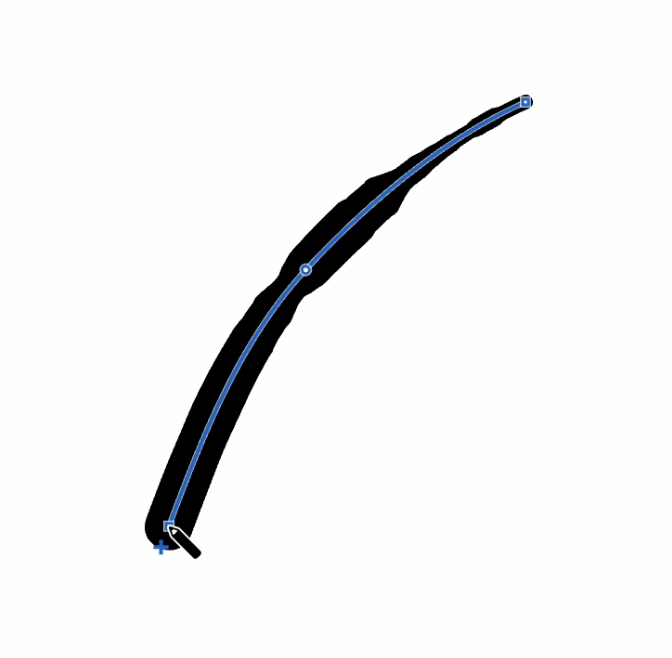 |
Your drawn curve becomes part of the current Handmade fill and is automatically set as active. The endpoint of the active curve is marked with a "+" symbol.
If no Handmade fill exists in your document, a new one is created automatically, and your curve is added to it.
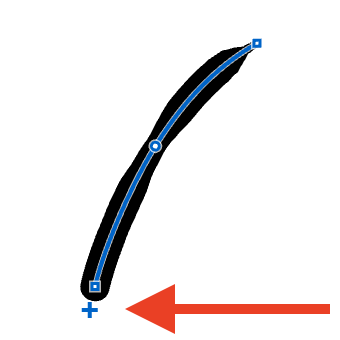
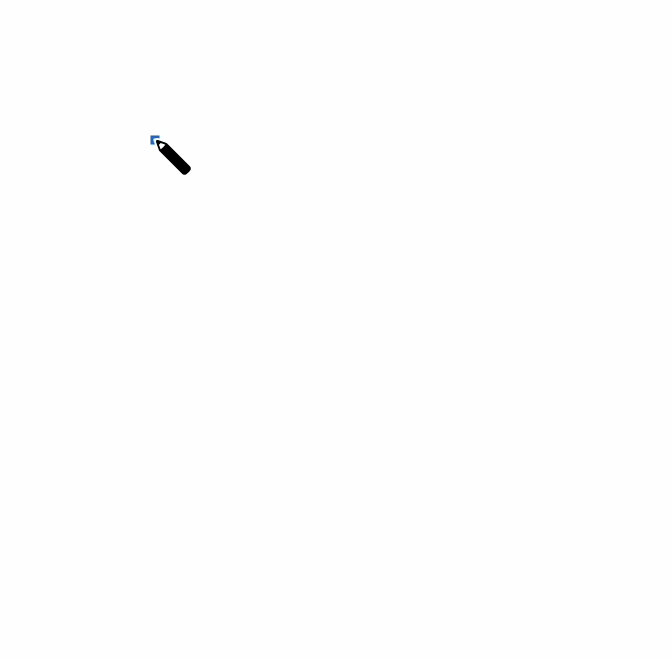
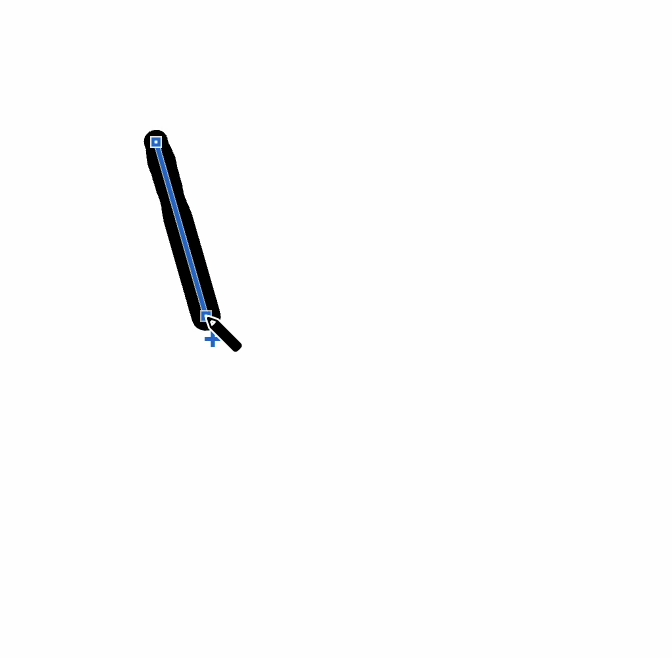
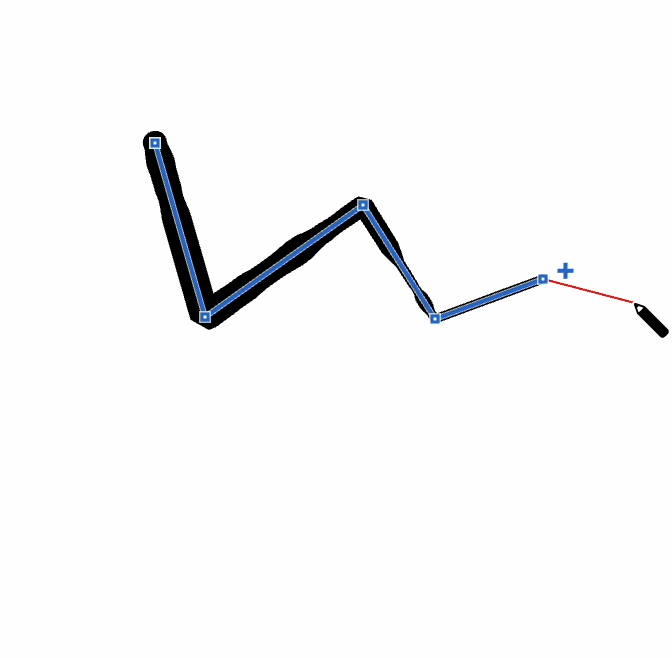
For creating polylines, simply click on your desired points. Each click adds a line segment from the last point of the active curve to where you clicked. If no curve exists yet, your first click sets the starting point, and subsequent clicks form connected line segments.
| first click | second click | third click | ... |
|---|---|---|---|
 |
 |
 |
 |
Hold the ⇧ (shift) key while clicking to create perfectly vertical or horizontal line segments.
To close a curve into a complete shape, simply finish your drawing at the same point where you started.
To finish the drawing process without closing the curve, press the Esc key.
Press Esc a second time to deactivate the curve completely.
Smooth drawing
For more refined results, enable the smooth curve drawing mode using the checkbox on the toolbar. You'll find it just to the right of the Pencil tool button.

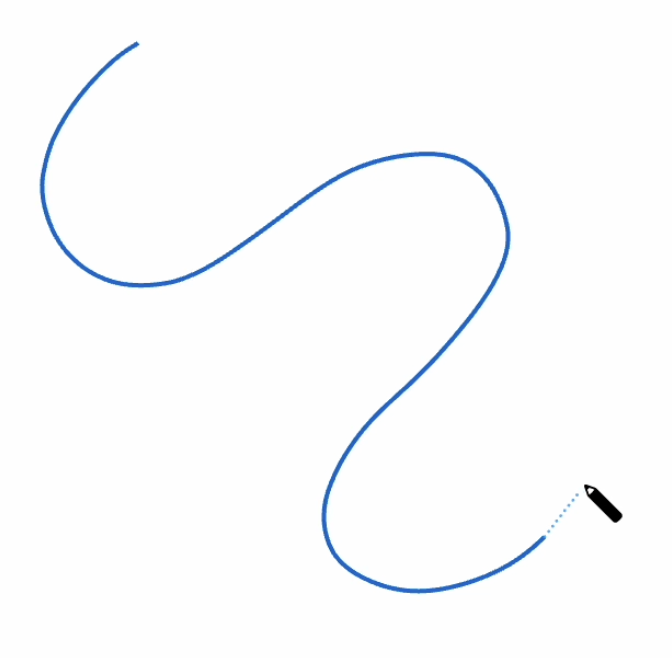
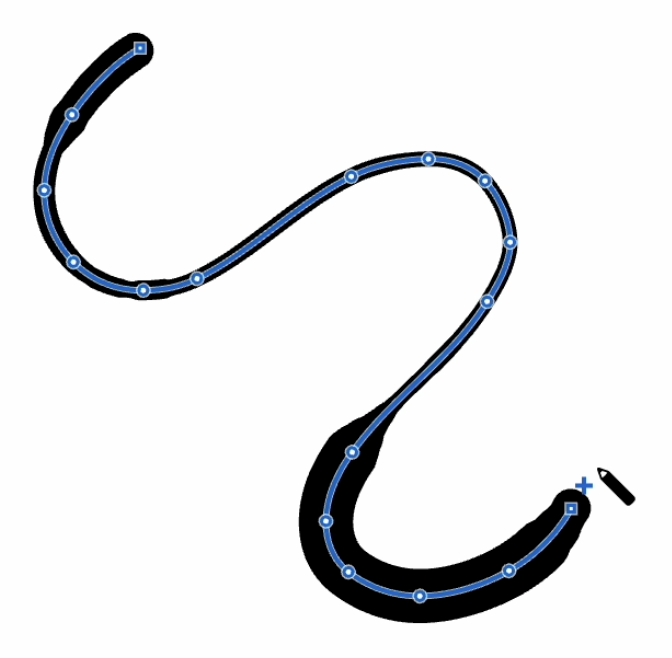
The drawing process works the same way as standard drawing, but your strokes will automatically be converted to smooth, flowing curves - useful for organic shapes and natural-looking lines.
| mouse press & drag | drag | drag | mouse release |
|---|---|---|---|
 |
 |
 |
 |
Selecting
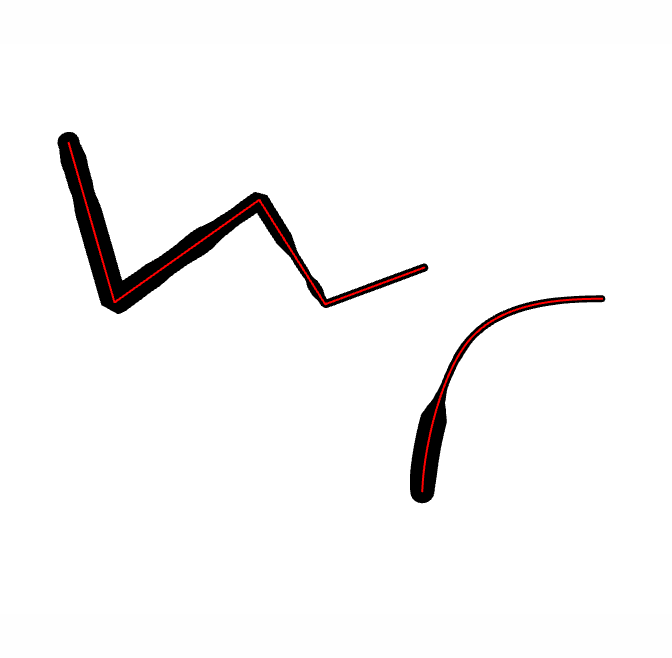
Curves can only be selected and edited when working with the Handmade fill type.
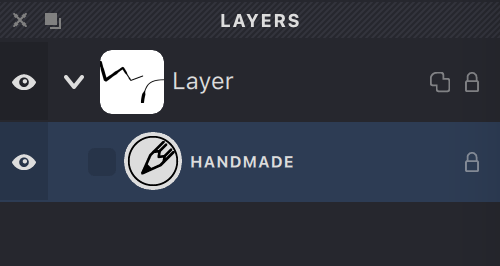
When you select a Handmade fill, all editable curves within it are highlighted in red for easy identification.
| selected handmade fill | curve activated |
|---|---|
 |
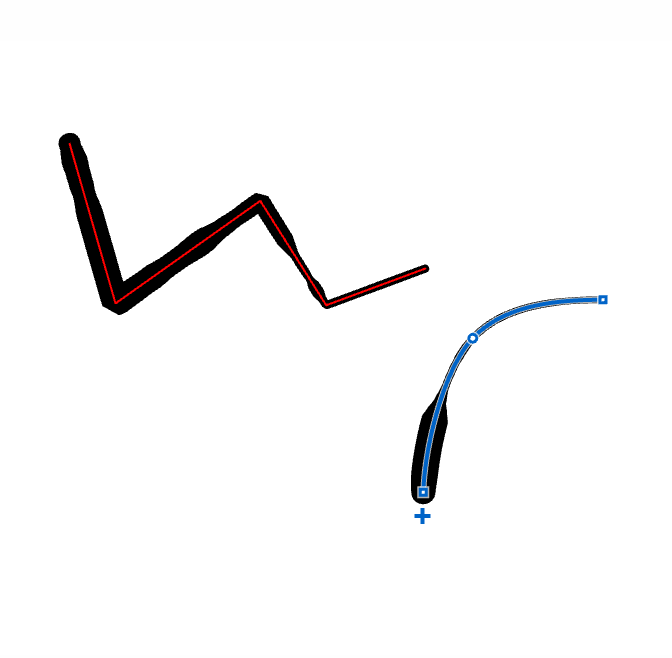 |
To select a curve with the Pencil tool, simply click on it. The selected curve becomes active and ready for editing. Remember that only one curve can be active at a time.
Editing
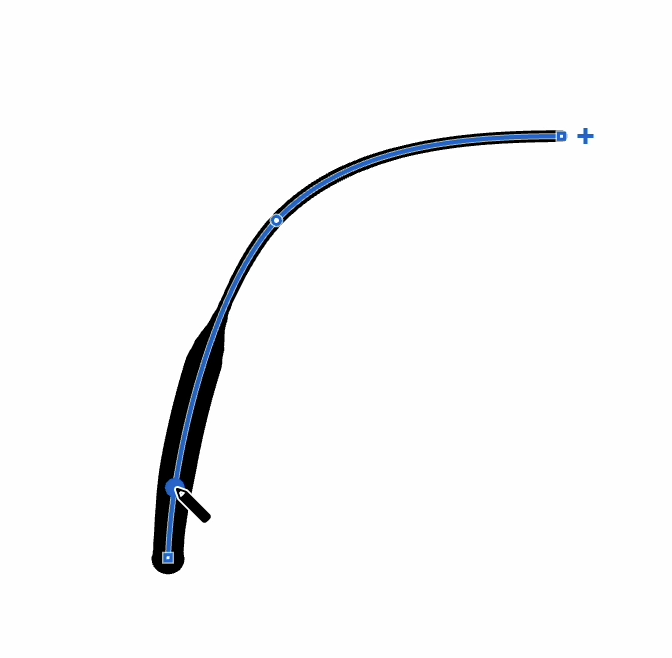
The Pencil tool makes curve editing intuitive and precise. You can easily modify any active curve by adding new segments or redrawing portions.
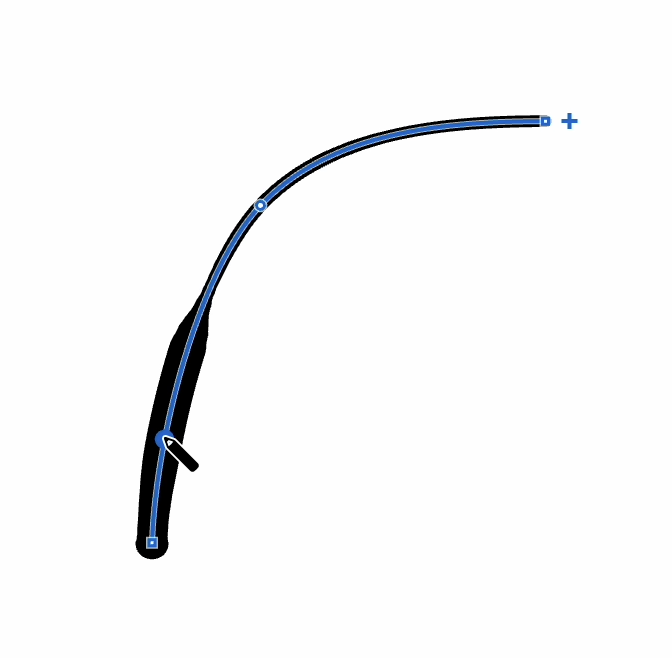
When you move the Pencil cursor near an active curve, a point appears showing where the modification will begin. Press and drag the mouse to draw your new path. The editing result depends on how you finish:
If you end your edit on the curve, the section between your starting and ending points will be replaced with your new path:
| start editing | drag | finish |
|---|---|---|
 |
 |
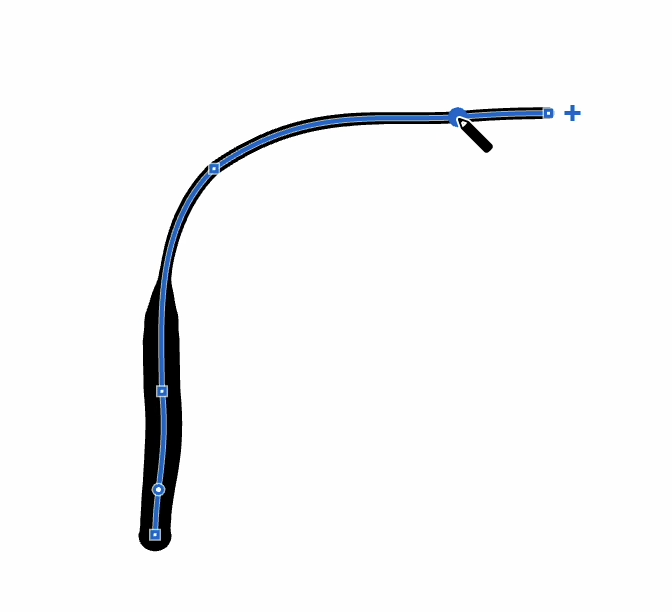 |
If you finish your edit without returning to the curve, the entire section from your starting point onward will be replaced with your new path:
| start editing | drag | finish |
|---|---|---|
 |
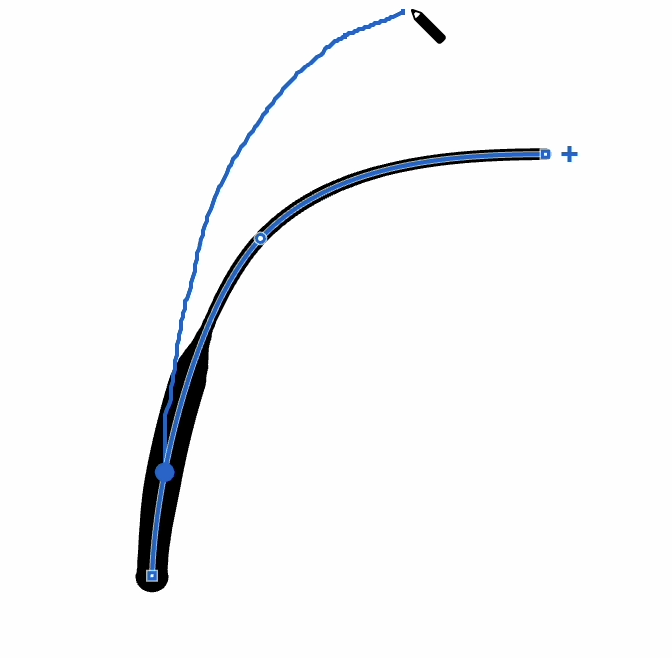 |
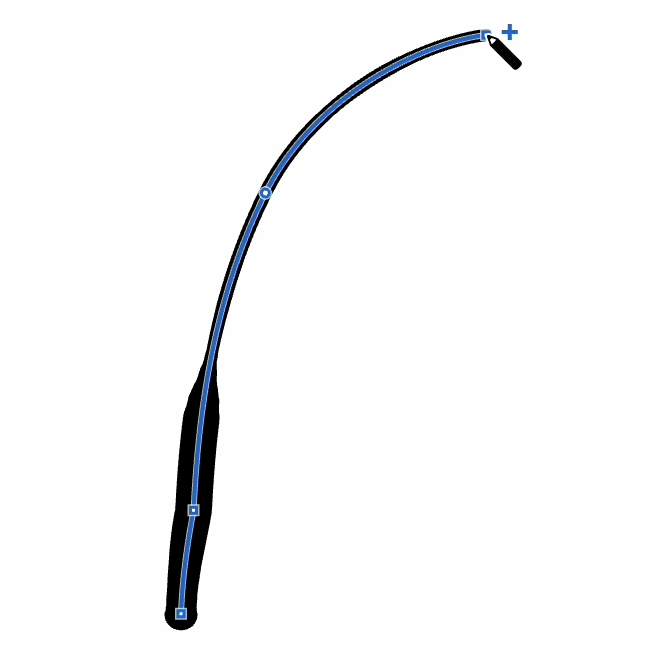 |
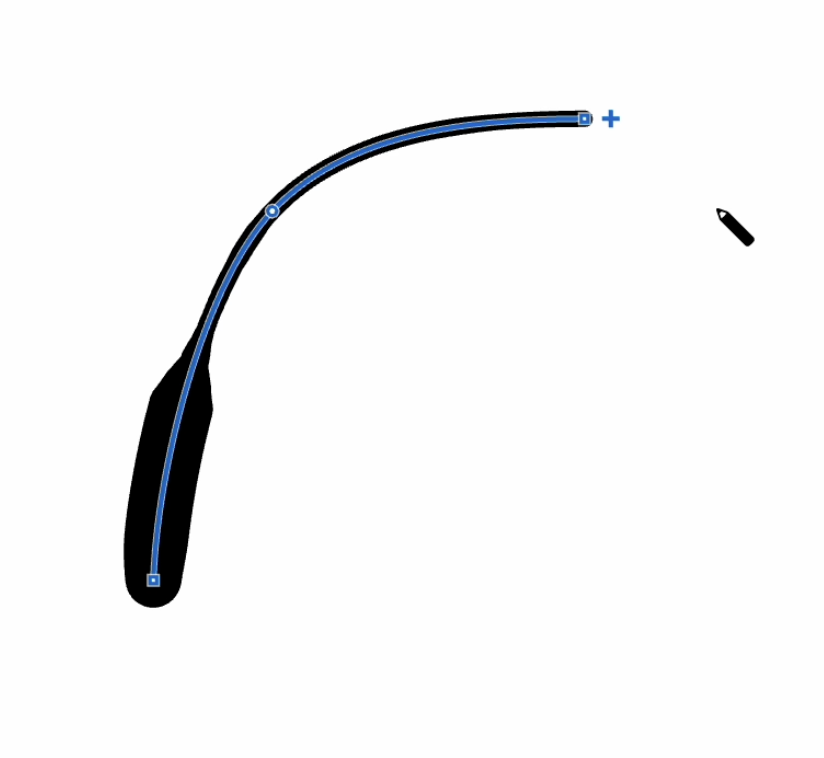
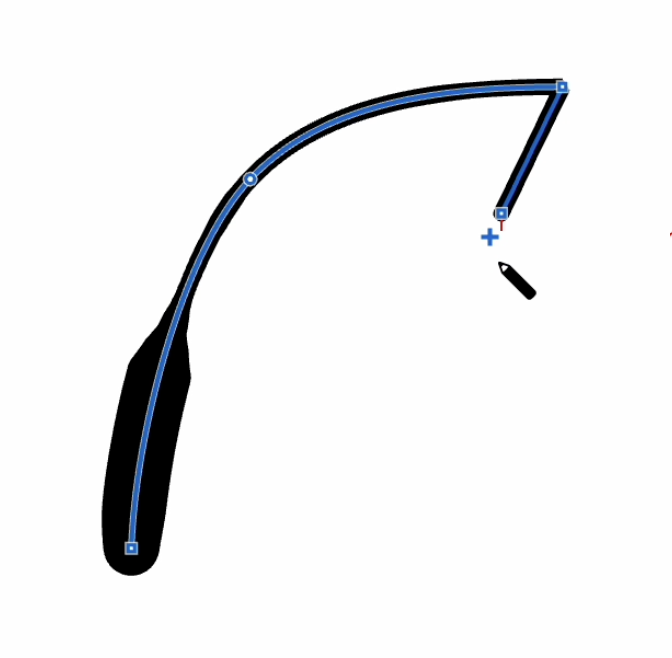
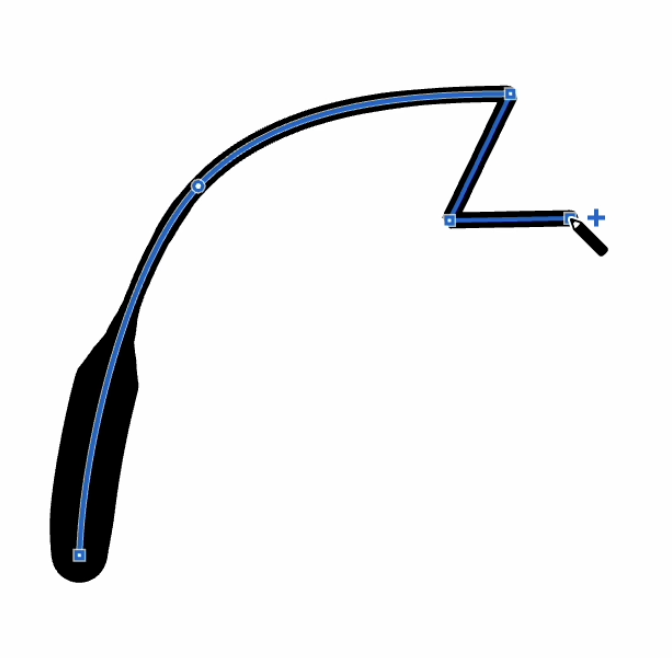
You can also extend an active curve by simply clicking anywhere in your workspace. A straight line will be added from the last point of the curve to your clicked position.
| activate curve | click | click |
|---|---|---|
 |
 |
 |
To reverse the direction of an active curve, use the menu command Fill -> Reverse Curve or the keyboard shortcut ⌘ (ctrl) + R.