Welcome!
Let’s quickly set up Vexy Lines so you can start creating stunning vector artwork. This guide is designed to be easy to follow, even if you’re new to design software.
Before You Begin
Ensure your computer meets these system requirements:
- Mac: macOS 12 (Monterey) or newer.
- Windows: Windows 10 or later.
- Memory: Minimum 4 GB RAM.
- Internet: An internet connection is required for initial setup.
Installation
Follow these steps to download and install Vexy Lines:
- Visit https://www.vexy.art.
- Click the TRY FREE button and select your operating system.
- Double-click the downloaded installer file and follow the on-screen instructions.
- After installation, launch Vexy Lines by clicking its icon in your Applications folder or Start menu.

Activation
Activate Vexy Lines upon first launch:
- The activation window appears automatically, or you can click ACTIVATE in the top-right corner.

- Enter the serial number from your purchase confirmation email.
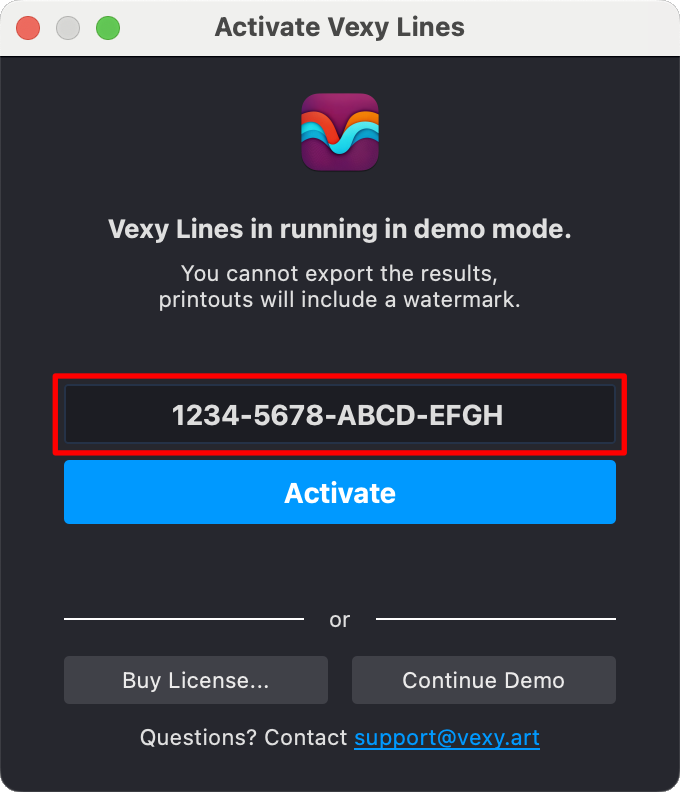
- Click Activate to finish.

No license yet? Click Continue Demo to explore Vexy Lines in trial mode.
Intro Tour
An interactive Intro Tour starts automatically the first time you launch Vexy Lines:
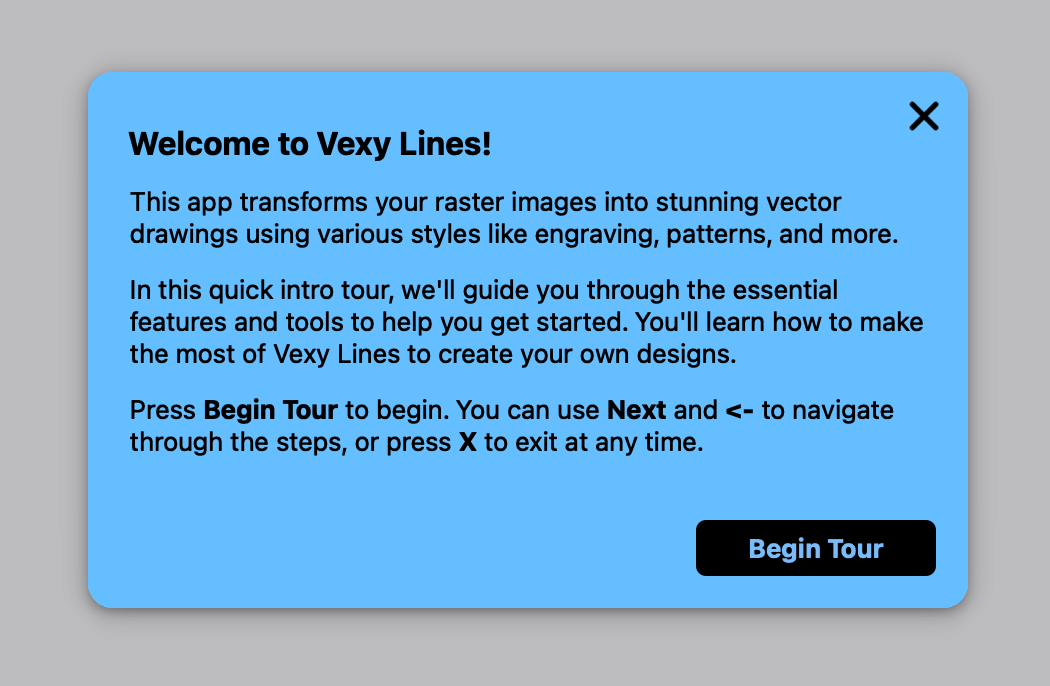
This tour introduces essential features:
- Toolbar: Main tools for creating and editing.
- Editor Tools: Tools like Meter, Pencil, and Transform.
- Masking Tools: Shape and refine artwork.
- Layers Panel: Organize document structure.
- Properties Panel: Customize fills, colors, and settings.
- View Controls: Toggle visibility of fills and images.
Navigate the tour using Next, Back, or press X to exit. Access it anytime via Help > Intro Tour.
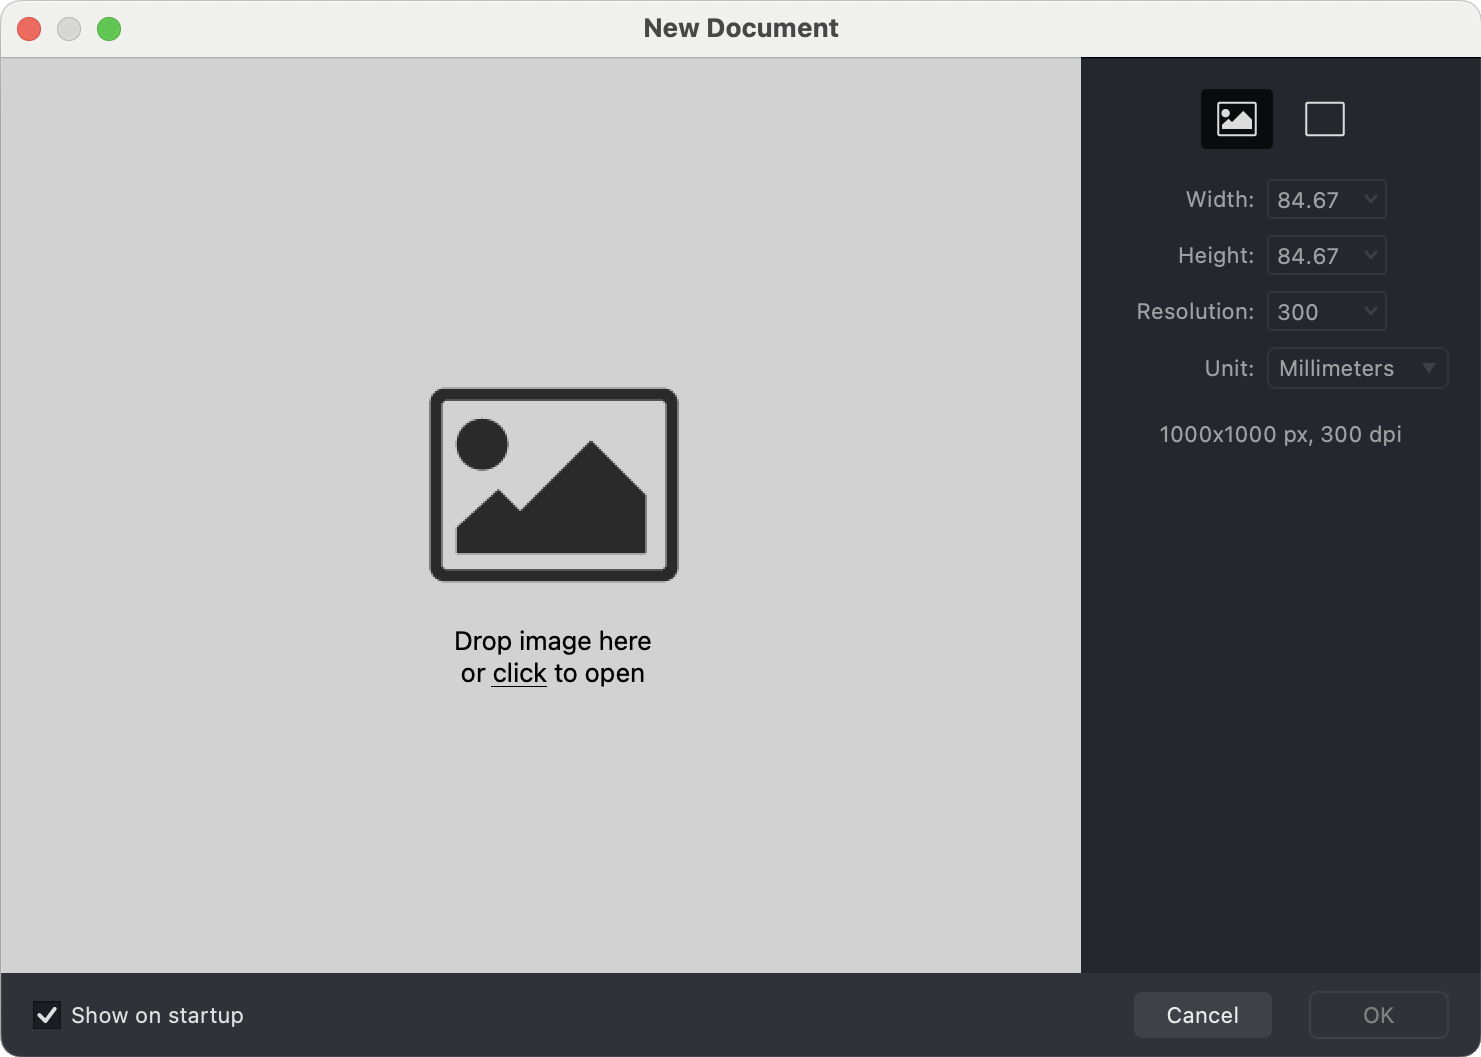
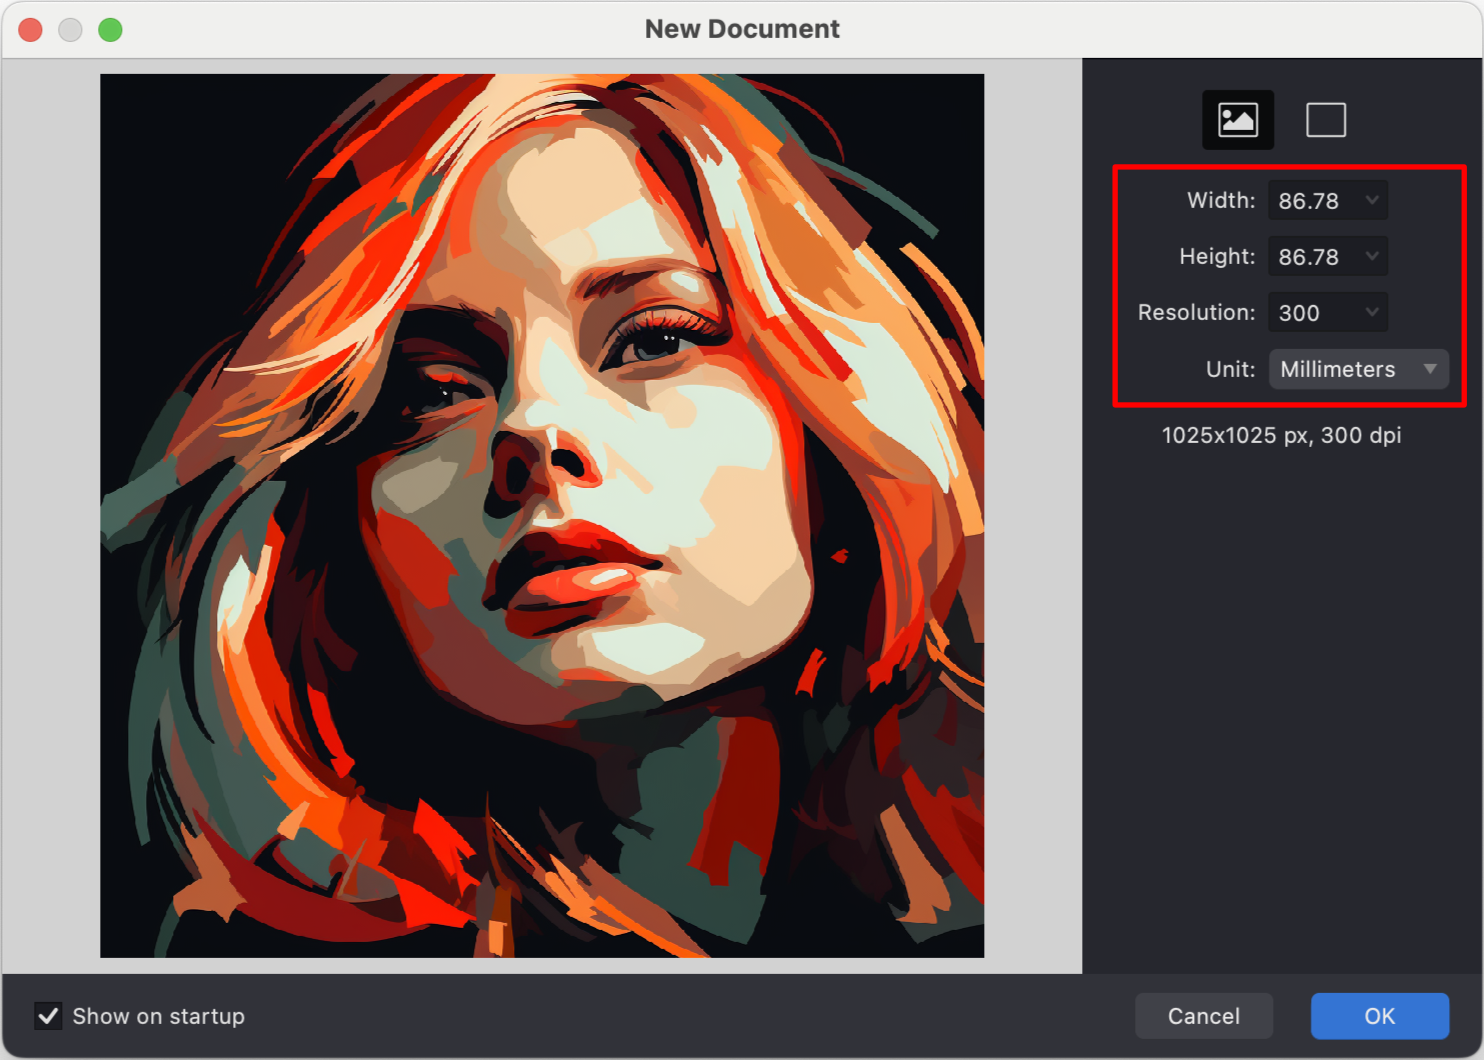
Create Your First Document
-
Select File > New in the main menu.
-
Drag and drop your inspiration image into the window.
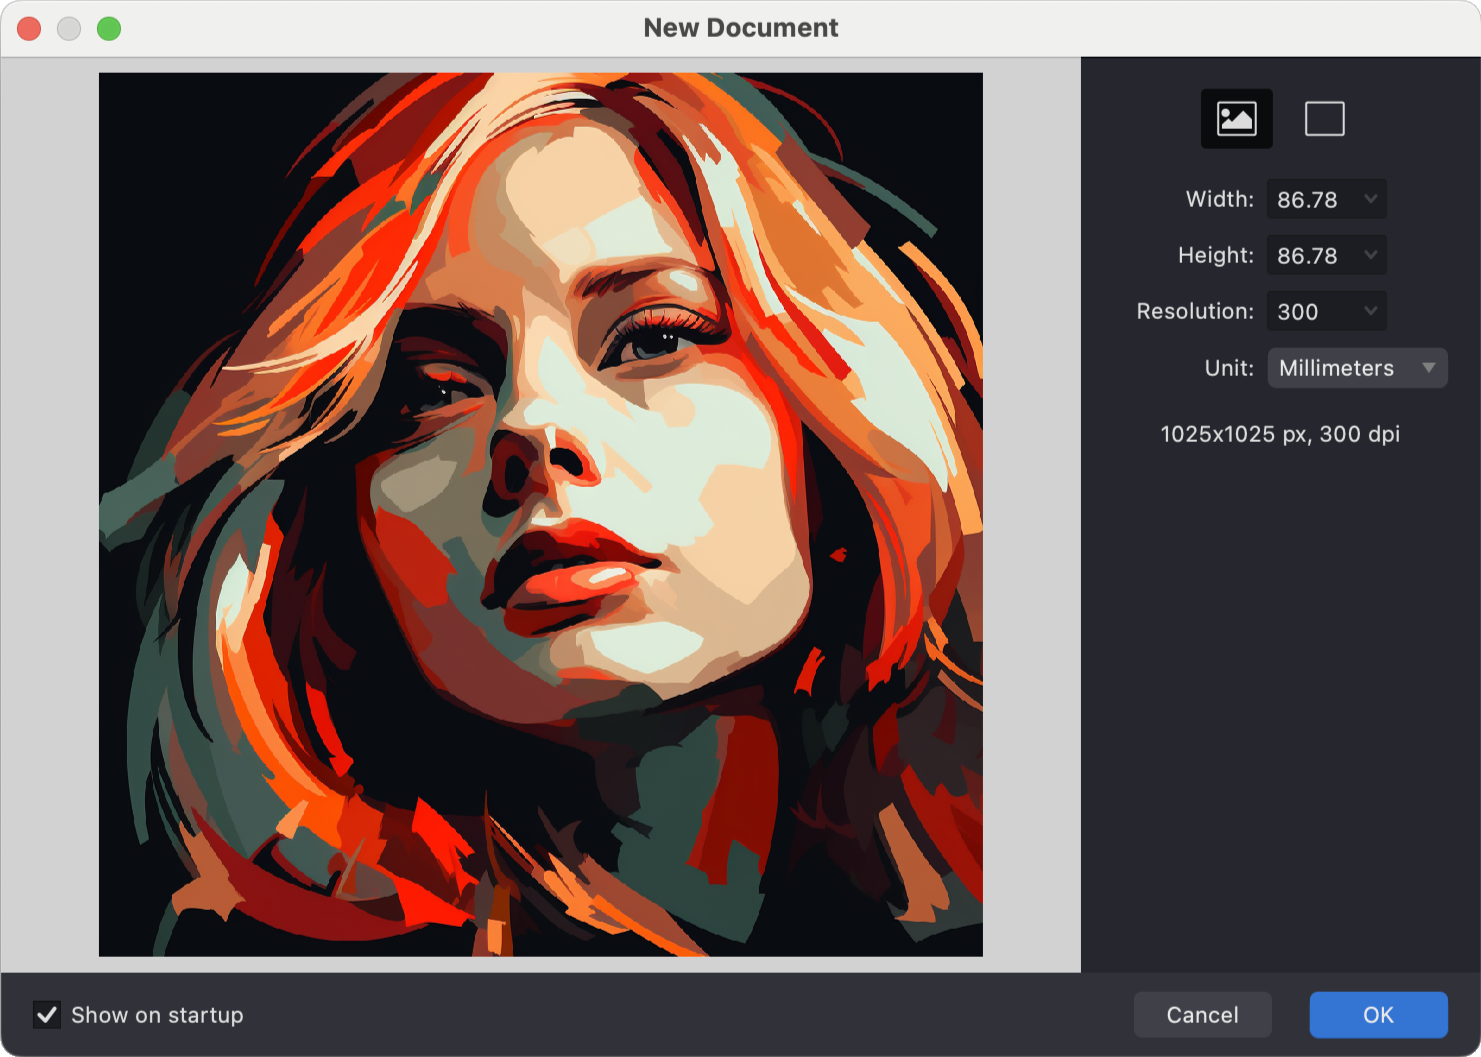
You can download sample images from the Vexy Lines website.
-
Adjust the document size if needed.
-
Click OK to start creating!
Workspace Overview
Familiarize yourself with the layout:
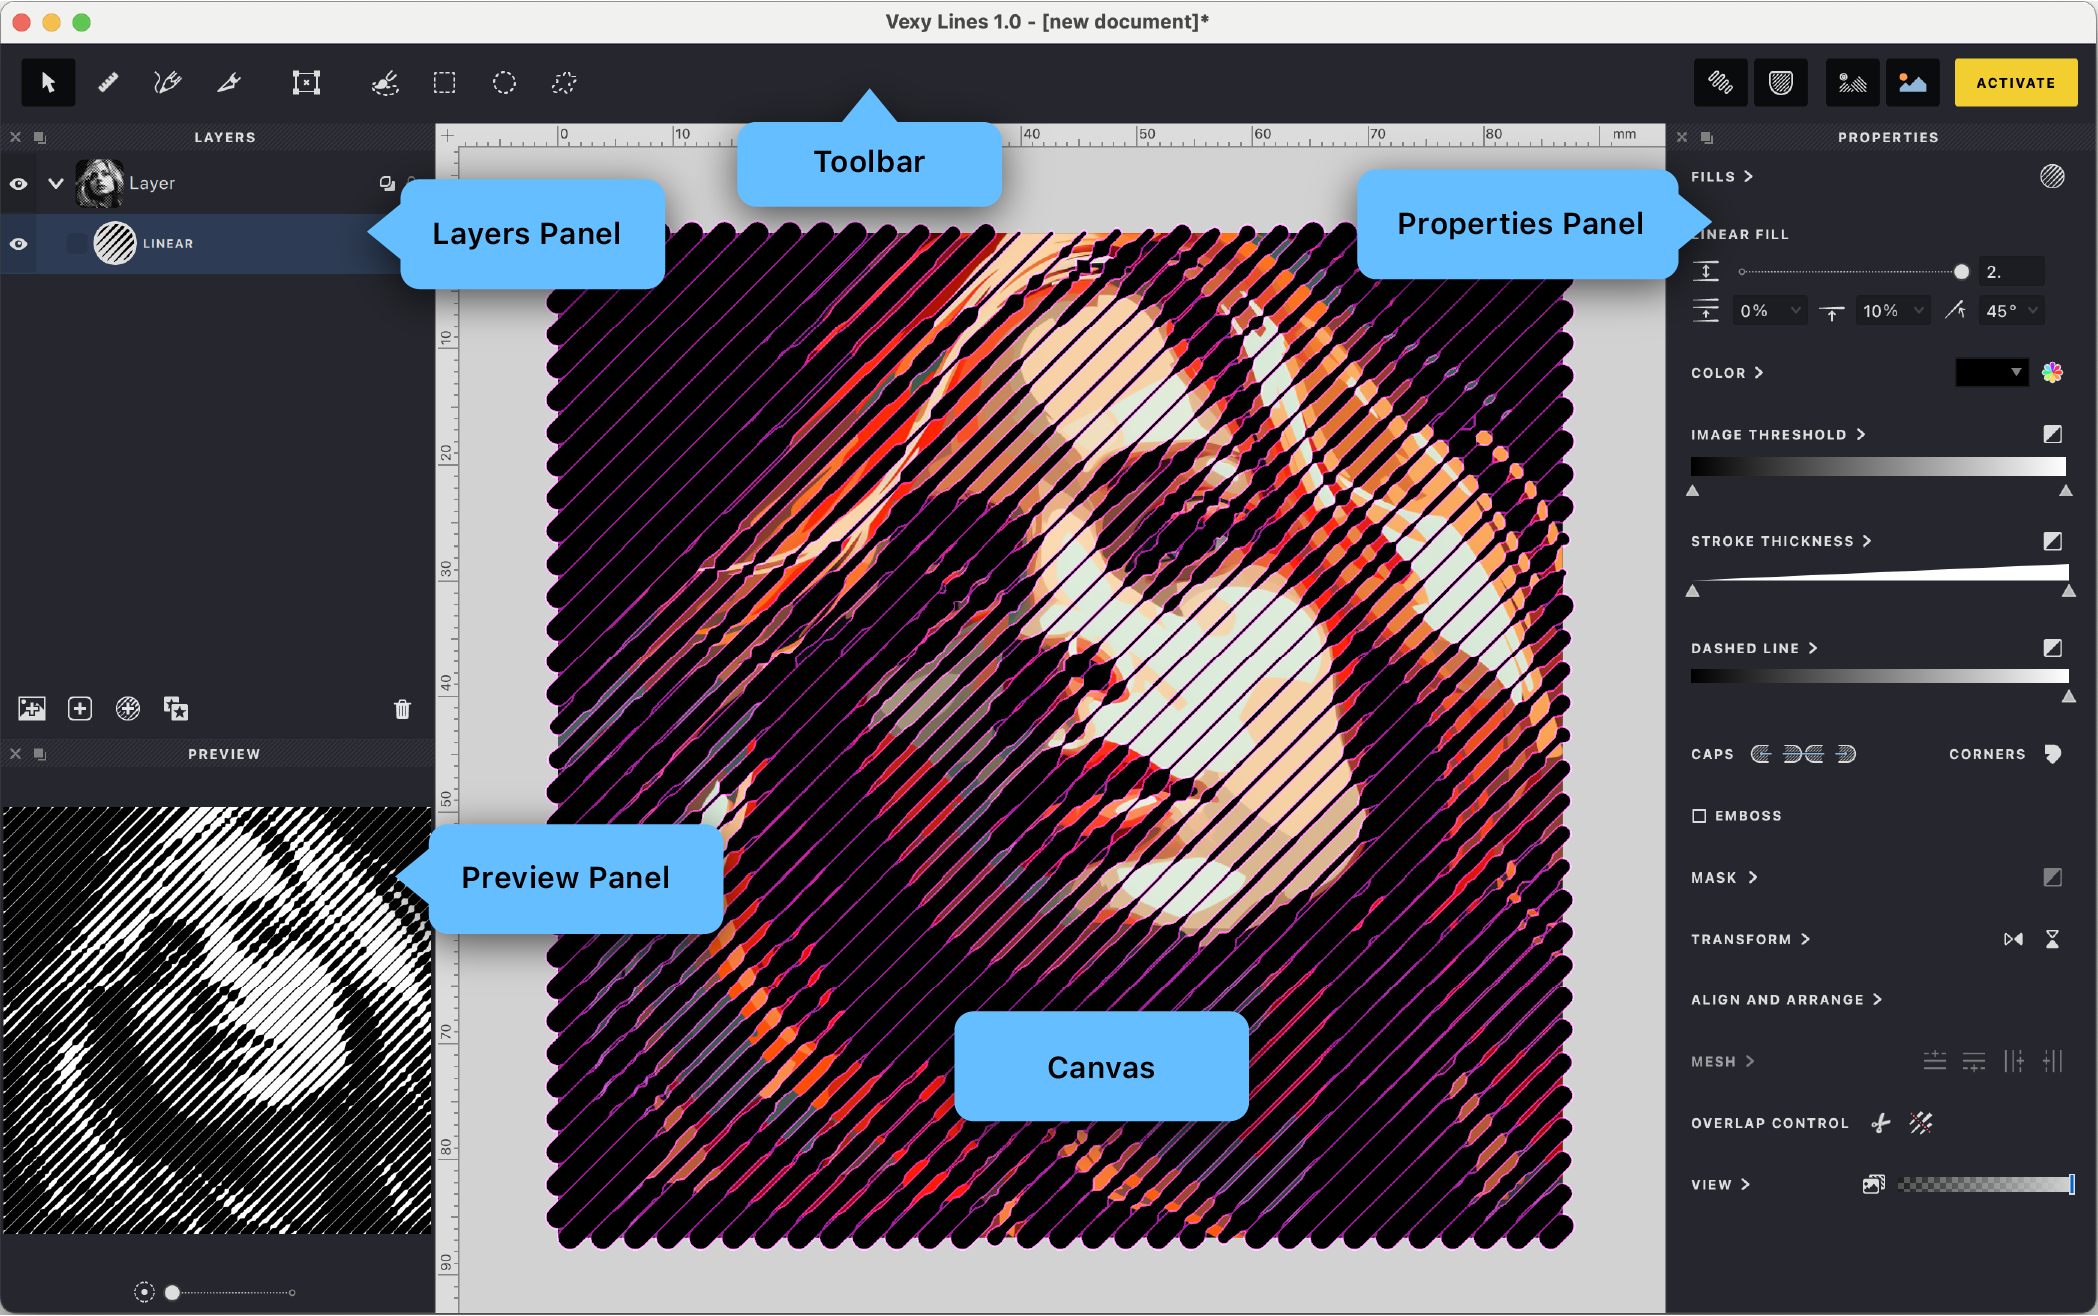
- Canvas: Your main drawing area.
- Tools Panel: Essential tools for vector art.
- Properties Panel: Adjust details of selected items.
- Layers Panel: Organize artwork layers.
- Preview Panel: Real-time artwork preview.
Navigation Tips:
- Zoom: ⌘+ / ⌘− (Mac) or Ctrl+ / Ctrl− (Windows).
- Pan: Hold Spacebar and drag.
- Reset View: Double-click the Hand tool.
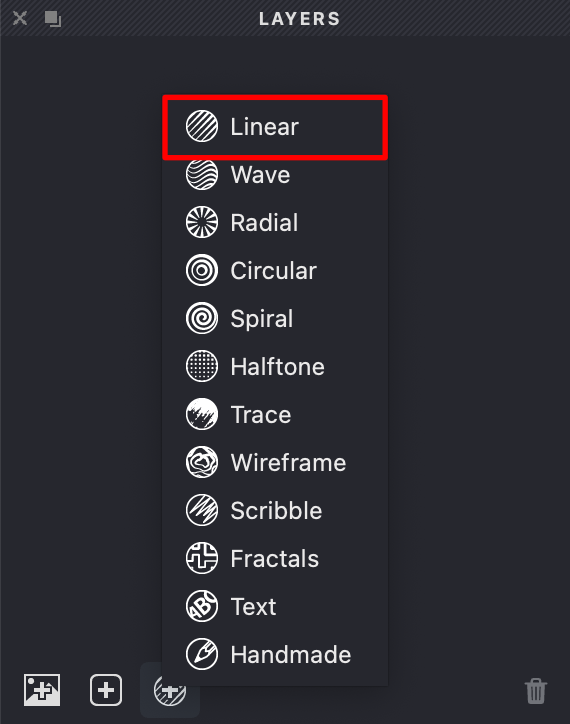
Create Your First Fill
- A fill is a pattern of lines that forms your artwork.
- Select Fill > New > Linear for straight lines or Wave for curves.
- Or click +Fill in the Layers Panel.
Experiment with Fill Properties
- Use sliders in the Properties Panel to adjust interval, angle, and thickness.
- Watch your artwork update instantly.

Switch Between Views
- Use View Controls to compare your vector art with the original image.
- Adjust image opacity to check your progress.

Save Your Work
- Regularly save using ⌘S (Mac) or Ctrl+S (Windows).
- Projects are saved as
.linesfiles.
Helpful Tips
- Start with simple images like silhouettes or outlines.
- Use the Preview Panel frequently to review the final result.
- Experiment with different fill types.
- Regularly save your work, even though automatic backups are available.
- Visit our community forum for support and inspiration.
Need Help?
We’re here to assist:
- Documentation: Access via Help > User Manual.
- Tutorials: Beginner-friendly videos at vexy.tv.
- Support: Contact our team at support.vexy.art.
- Community: Join discussions in our forum.
Ready to create something amazing? Let’s explore more features in the following sections!