In Vexy Lines, a Fill is the core mechanism that transforms your source image into vector artwork. Fills generate patterns of vector lines or shapes based on the image's details, with each fill type offering a distinct artistic style.
How to Add a Fill
You can add a new Fill to your document in several ways:
Using the Main Menu
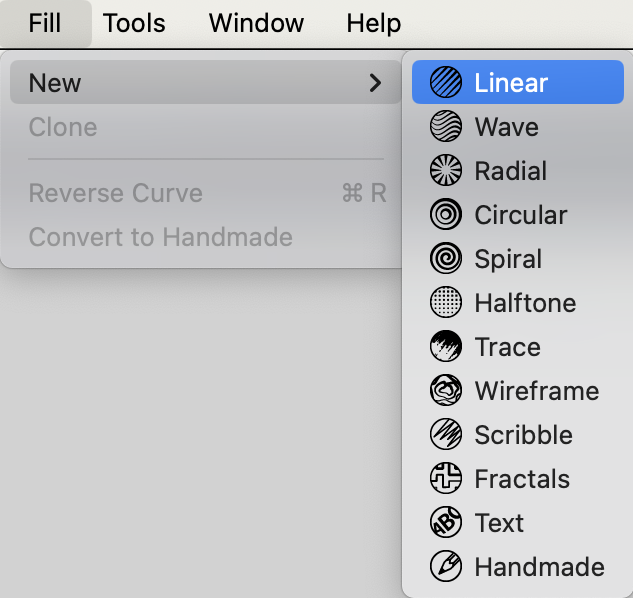
- Navigate to Fill > New in the main menu bar.
- A dropdown list will display the available fill types.
- Select the desired fill type.
- The new fill will be added to the currently selected layer (or a new layer if none is selected) and appear in the Layers Panel.
Using the Layers Panel
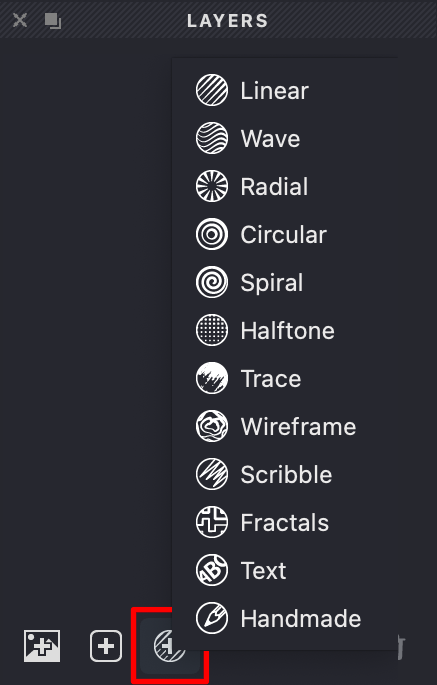
- Locate the Layers Panel (typically on the side of the workspace).
- Click the Add new fill button (marked with a + icon) at the bottom of the panel.
- Choose the desired fill type from the pop-up menu.
- The fill will be added to the selected layer in your document.
In a New Document
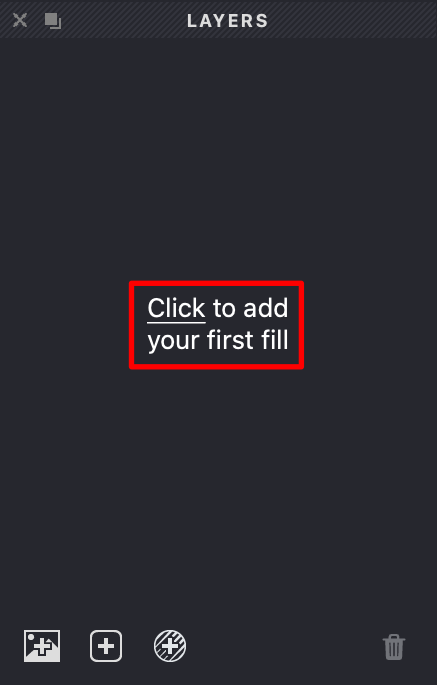
If your document is currently empty:
- A prompt like "Click to add your first fill" may appear in the Layers Panel.
- Click this prompt to open the fill type selection menu.
- Select a fill type to add it to a new layer.
Overview of Fill Types
Vexy Lines offers a range of fill types, each producing a different visual effect:
Basic Fills
 Linear: Generates straight, parallel lines. Suitable for clean, engraving-style effects.
 Wave: Creates parallel, wavy lines, adding a sense of flow or organic texture.
 Radial: Produces lines radiating from a central point, useful for emphasizing focus.
 Circular: Generates concentric circles, ideal for rounded forms or textures.
Artistic Fills
 Spiral: Creates a continuous spiral pattern originating from a center point.
 Halftone: Simulates traditional halftone printing using dots or shapes of varying size.
 Trace: Automatically detects and outlines shapes based on the source image's tonal values.
 Wireframe: Generates a network of lines connecting points based on the image, creating a structural look.
Expressive Fills
 Scribble: Produces lines resembling hand-drawn scribbles for a sketchy effect.
 Fractals: Uses fractal algorithms (like Peano curves) to create intricate, space-filling patterns.
 Text: Uses text characters, mapped along paths, to represent the image tones.
 Handmade: Allows you to draw or import custom vector paths to use as fill elements.
Recommendation for New Users: The Linear and Wave fill types are excellent starting points for learning how fills interact with source images and properties.
Customizing Fill Properties
Once a fill is added, you can adjust its appearance using the Properties Panel:
- Select the fill you want to modify by clicking its name in the Layers Panel.
- Locate the Properties Panel (usually positioned on the right side of the workspace).
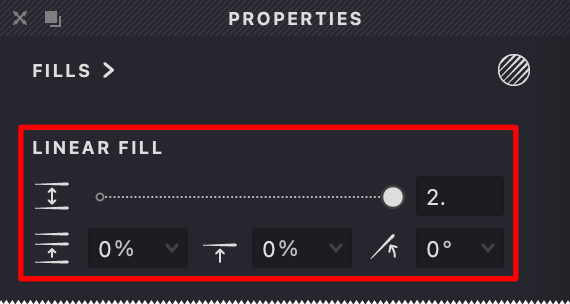
- The panel displays settings specific to the selected fill type.
- Adjust parameters like:
Interval: Controls the spacing between lines or elements.
Angle: Sets the orientation or direction of the fill pattern.
Thickness: Adjusts the width of the lines or strokes.
(Other settings specific to the fill type will also be available.) - Changes are reflected on the Canvas in real-time, allowing you to see the immediate effect of your adjustments.
Working with Fills: Key Points
- Start Focused: Begin by experimenting with a single fill type to understand its behavior and settings.
- Adjust Gradually: Small modifications to properties like interval, thickness, or angle can significantly alter the result.
- Layer Fills: Combine multiple fills on different layers (or sometimes the same layer) to create more complex and textured artwork.
- Reset Option: Look for reset buttons (to the right of manyindividual settings) in the Properties Panel to revert adjustments if needed.
- Save Variations: If you achieve a result you like, consider saving a version of your document (File > Save As...) before making further significant changes.
Common Questions
Q: Why doesn't my fill appear correctly?
A: This can happen if the source image is very complex or lacks contrast. Try using a simpler image initially. Also, check the fill's Interval, Thickness, and Image Threshold settings in the Properties Panel, as extreme values can sometimes produce unexpected results.
Q: How can I increase the detail in my artwork?
A: Reducing the Interval setting generally creates more lines and finer detail. For outlining shapes accurately, the Trace fill type might be effective. Experimenting with Stroke Thickness linked to image tone can also add detail.
Q: Is it possible to use multiple fill types in one project?
A: Yes, combining different fill types, sometimes on separate layers, is a common technique for achieving rich and sophisticated vector illustrations in Vexy Lines.
Now that you understand how to add and customize fills, the next step is learning about properties common to most fills. The following sections will delve into settings like color, stroke appearance, and image interaction.