Flowlines Fill
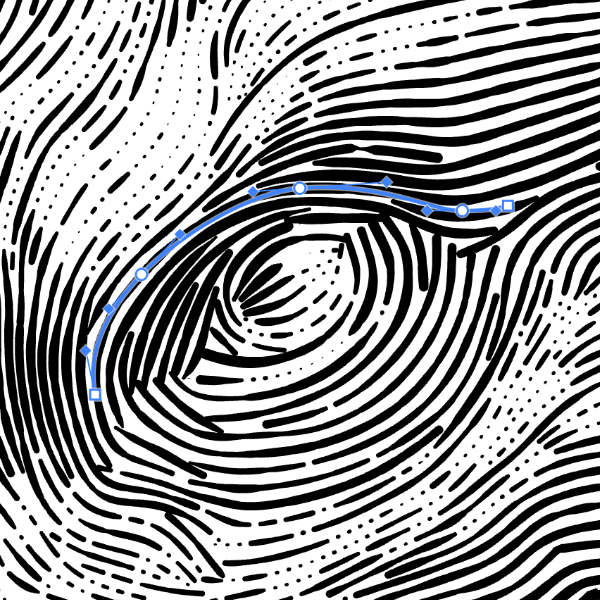
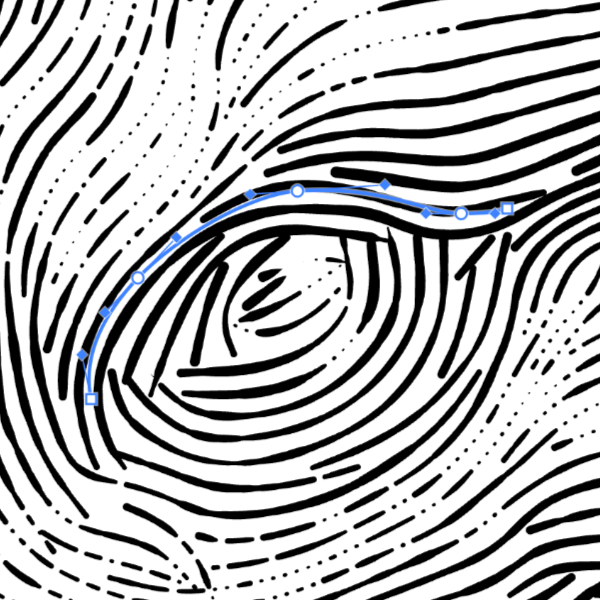
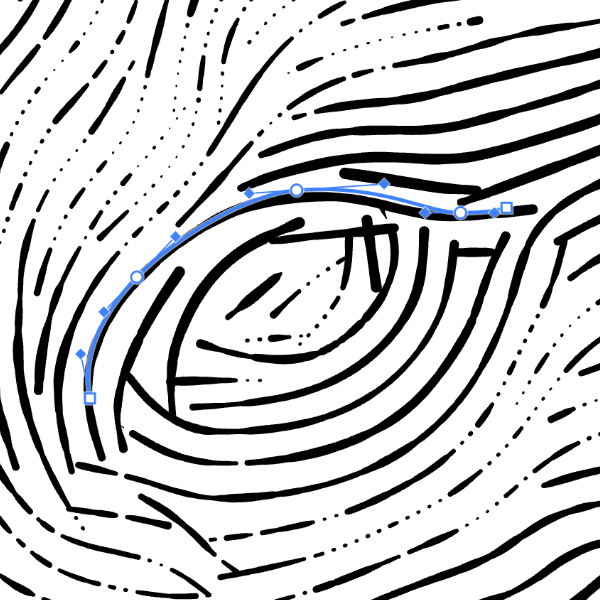
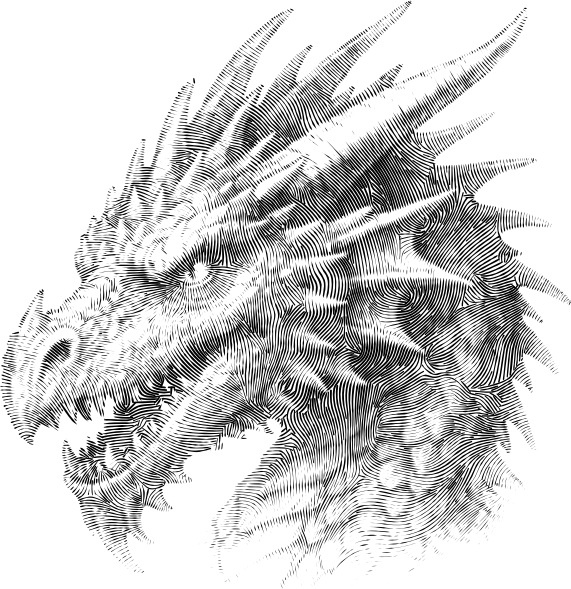
Flowlines builds a direction field from the underlying curves (a map that stores the local line angle across the image), then traces a dense set of field-guided isolines to cover the area with continuous, “flowing” strokes.
The result can resemble woodgrain, fluid motion, or topographic linework—lines that naturally wrap around forms instead of following a fixed global angle. Because the field is just an angle per point, you can rotate or invert it to generate counter-flow and clean cross-hatching (e.g., +45°, −45°, or any custom direction) while keeping the same underlying structure.
Enable and Customize a Flowlines Fill
To enable the Flowlines mode for Handmade fill:
-
Select Handmade as the fill type.
-
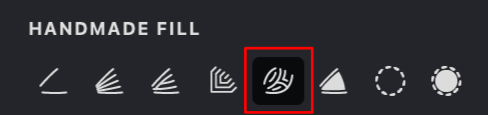
Open the HANDMADE FILL tab.
-
Click the Flowlines button.
Fill Parameters
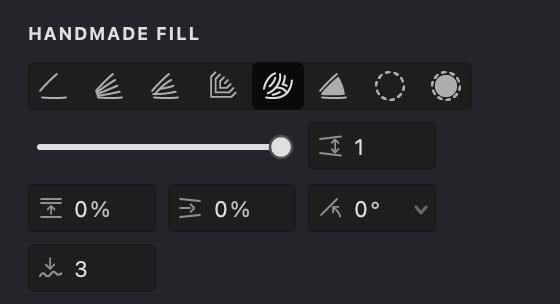
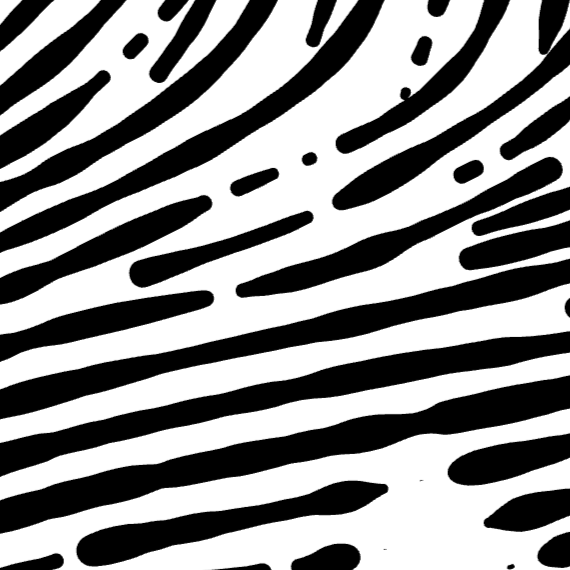
 Interval (units): Defines the spacing between flowlines. Lower values place the lines closer together, while higher values increase the distance between them.
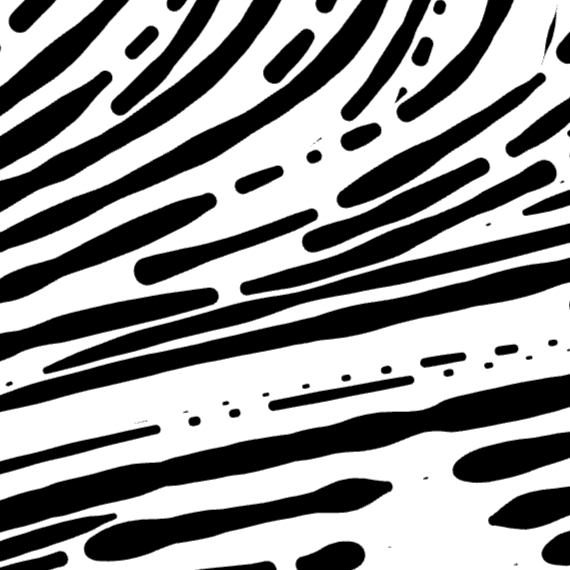
 Randomization (%): Adds controlled randomness to the spacing of the flowlines, creating a more organic and natural-looking result.
 Smoothness: Adjusts how smoothly the flowlines follow their paths, reducing sharp transitions and producing cleaner, more fluid curves.
 Angle (°): Sets the overall direction of the flowlines. Modify the angle to align them with the image structure or the desired visual flow.
 Push strength(%): Controls how strongly strokes push through dense hatching, allowing them to extend deeper between nearby strokes.
Interval
- Find the Interval parameter.
- Adjust the value using the slider or enter it manually.
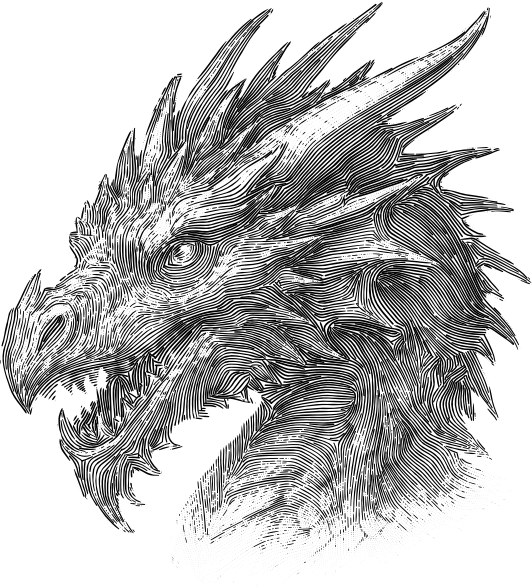
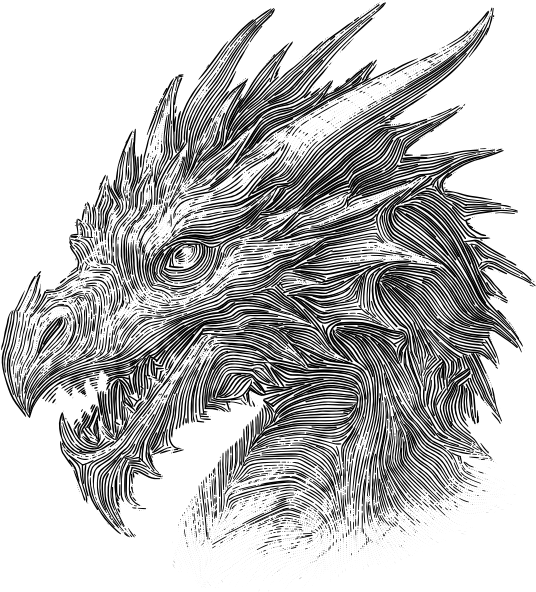
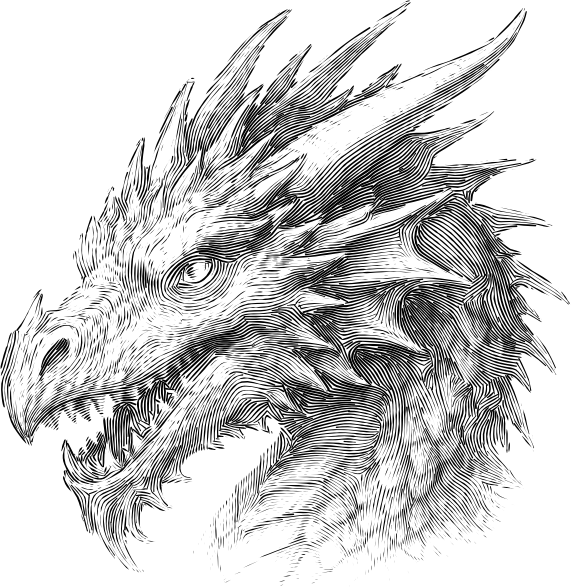
Smaller intervals produce denser, darker flowlines with more detail, whereas larger intervals create a lighter appearance with reduced detail.
| interval: 1 | interval: 1.5 | interval: 2 |
|---|---|---|
 |
 |
 |
Adjusting Randomization
- Locate the Randomization setting.
- Use the slider or enter a percentage value to introduce variation in stroke spacing.
| randomization: 10% | randomization: 50% | randomization: 100% |
|---|---|---|
 |
 |
 |
Smoothness
- Find the Smoothness option.
- Adjust the value using the slider or by entering a number manually.
- Higher values produce smoother transitions between the fill strokes.
Adjusting Angle
- Find the Angle setting.
- Use the circular dial control or enter a specific angle in degrees.
| angle: 0° | angle: 90° | angle: -45° |
|---|---|---|
 |
 |
 |
Setting the Push Strength
- Find the Push Strength parameter.
- Adjust the value using the control or enter a value manually.
Higher Push Strength lets strokes go farther between nearby strokes. Lower values make strokes stop sooner when they meet other lines, creating a denser and more controlled result.
| push strength: 0% | push strength: 50% | push strength: 100% |
|---|---|---|
 |
 |
 |